1. Original Size (X1 and Y1)
Specify the original's entire size.
Enter the actual values in [X1] and [Y1] while referring to "How to measure sizes", and then press the [ ] key.
2. Start Position (X2 and Y2)
Specify the scanning start position.
Enter the actual values in [X2] and [Y2] while referring to "How to measure sizes", and then press the [ ] key.
3. Scan Area (X3 and Y3)
Specify sizes of the area you want to scan.
Enter the actual values in [X3] and [Y3] while referring to "How to measure sizes", and then press the [ ] key.
• When scanning originals using [Custom Size], you cannot enter specific values in [Original Size] and
[Start Position]. To configure the scan area, specify [Scan Size] and [Start Position] first, and then
[Original Size].
How to set originals to scan them by custom size
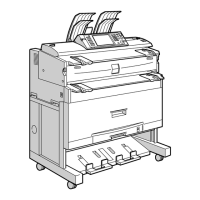
This section explains how to place originals you want to scan at Custom size.
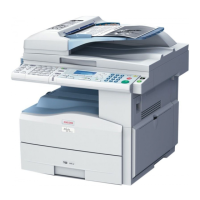
Original Orientation setting
Under [Original Orientation], select [ ] or [ ] according to the orientation of your original. To
display [Original Orientation], on the initial scanner screen, press [Original Orientation]. For details,
see "Setting of Original Feed Type".
Placing an original
Place originals face up in the ADF; face down on the exposure glass.
6. Various Scan Settings
128
 Loading...