10. Press [Fax Dest.].
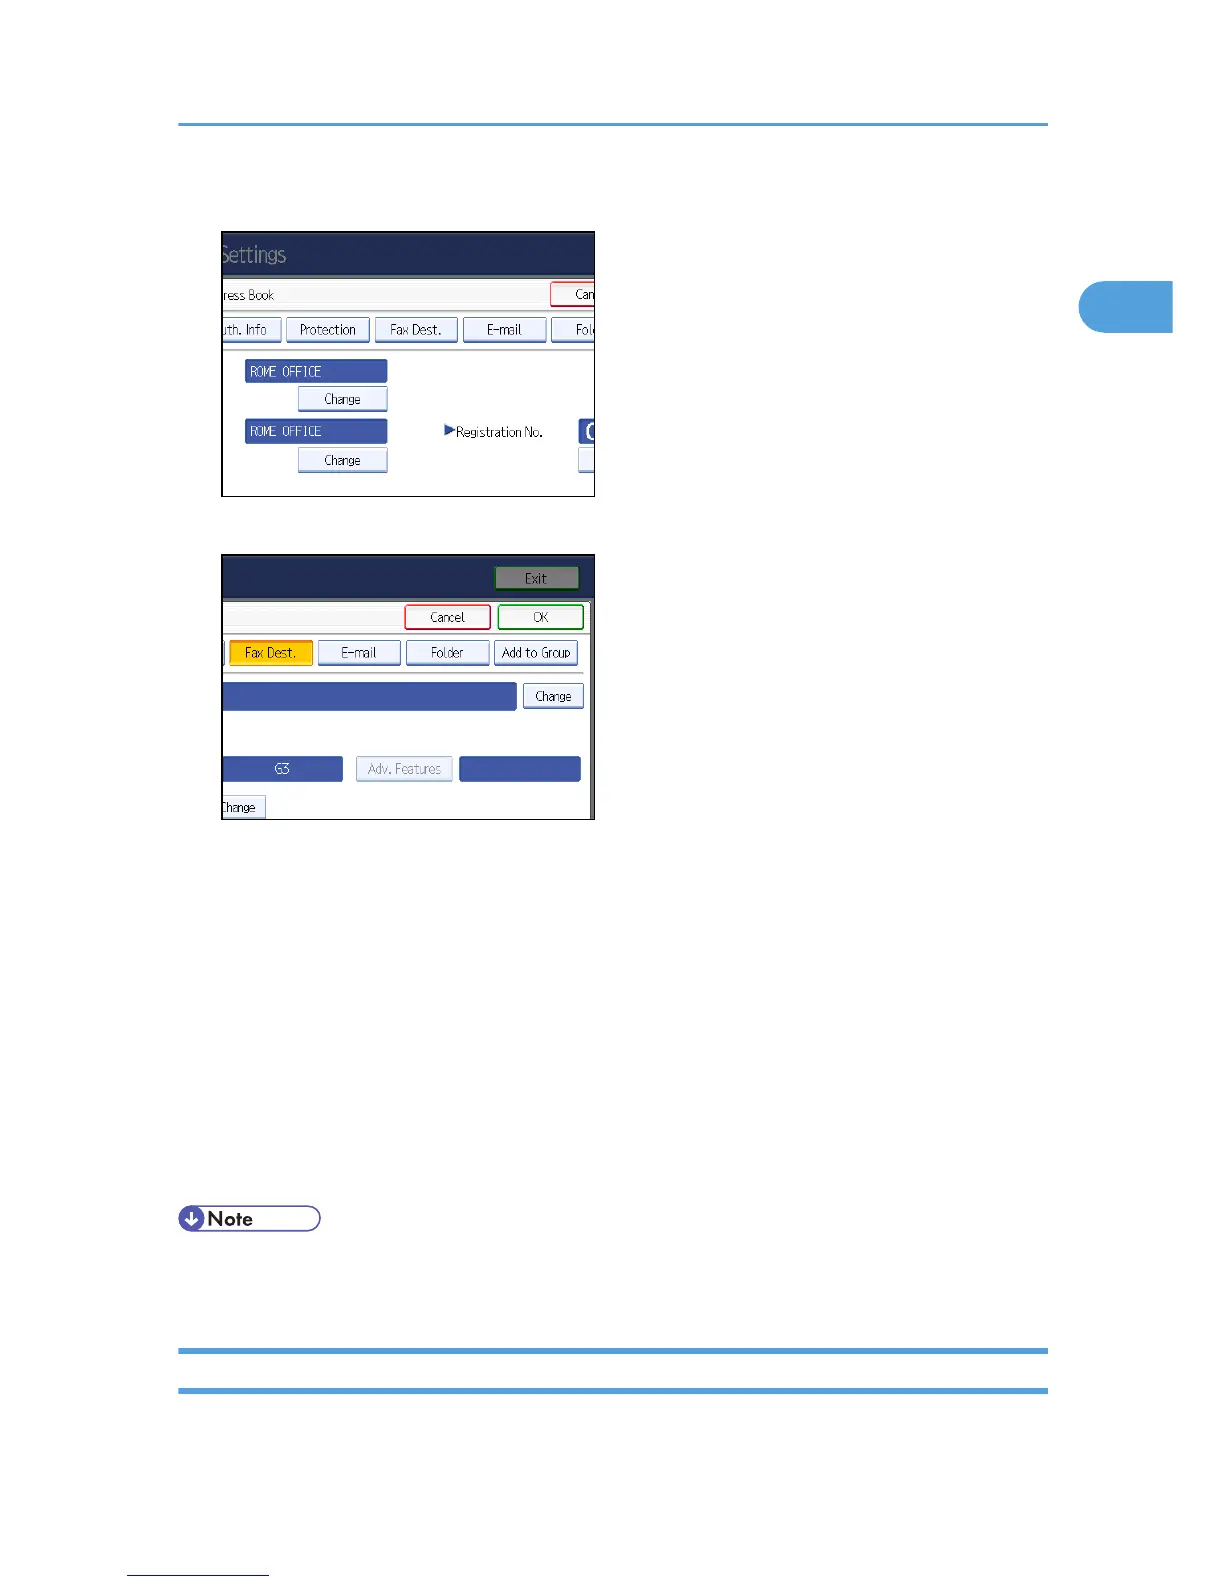
11. Press [Change] under “Fax Destination”.
12. Enter the fax number using the number keys, and then press [OK].
13. Specify the following functions for each destination, as necessary:
• Select Line: specify a line port for each destination.
• Adv. Features: program SUB/SID/SEP/PWD Codes.
• Fax Header: specify the header that appears on your faxes when the receiver prints them.
• Label Insertion: specify label information such as the destination name that appears on your
faxes when the receiver prints them.
14. Press [OK].
15. Press [Exit].
16. Press the [User Tools/Counter] key.
• For details about the procedure in step 13, see “Registering Addresses and Users for Facsimile/
Scanner Functions”, General Settings Guide.
Changing a Fax Destination
This section explains how to change a name and fax number registered in the Address Book.
Programming Destinations in the Address Book
105
 Loading...