1126800 SmartPAC 2 with WPC Integration
Page 102 Chapter 2 Installing SmartPAC 2 and WPC
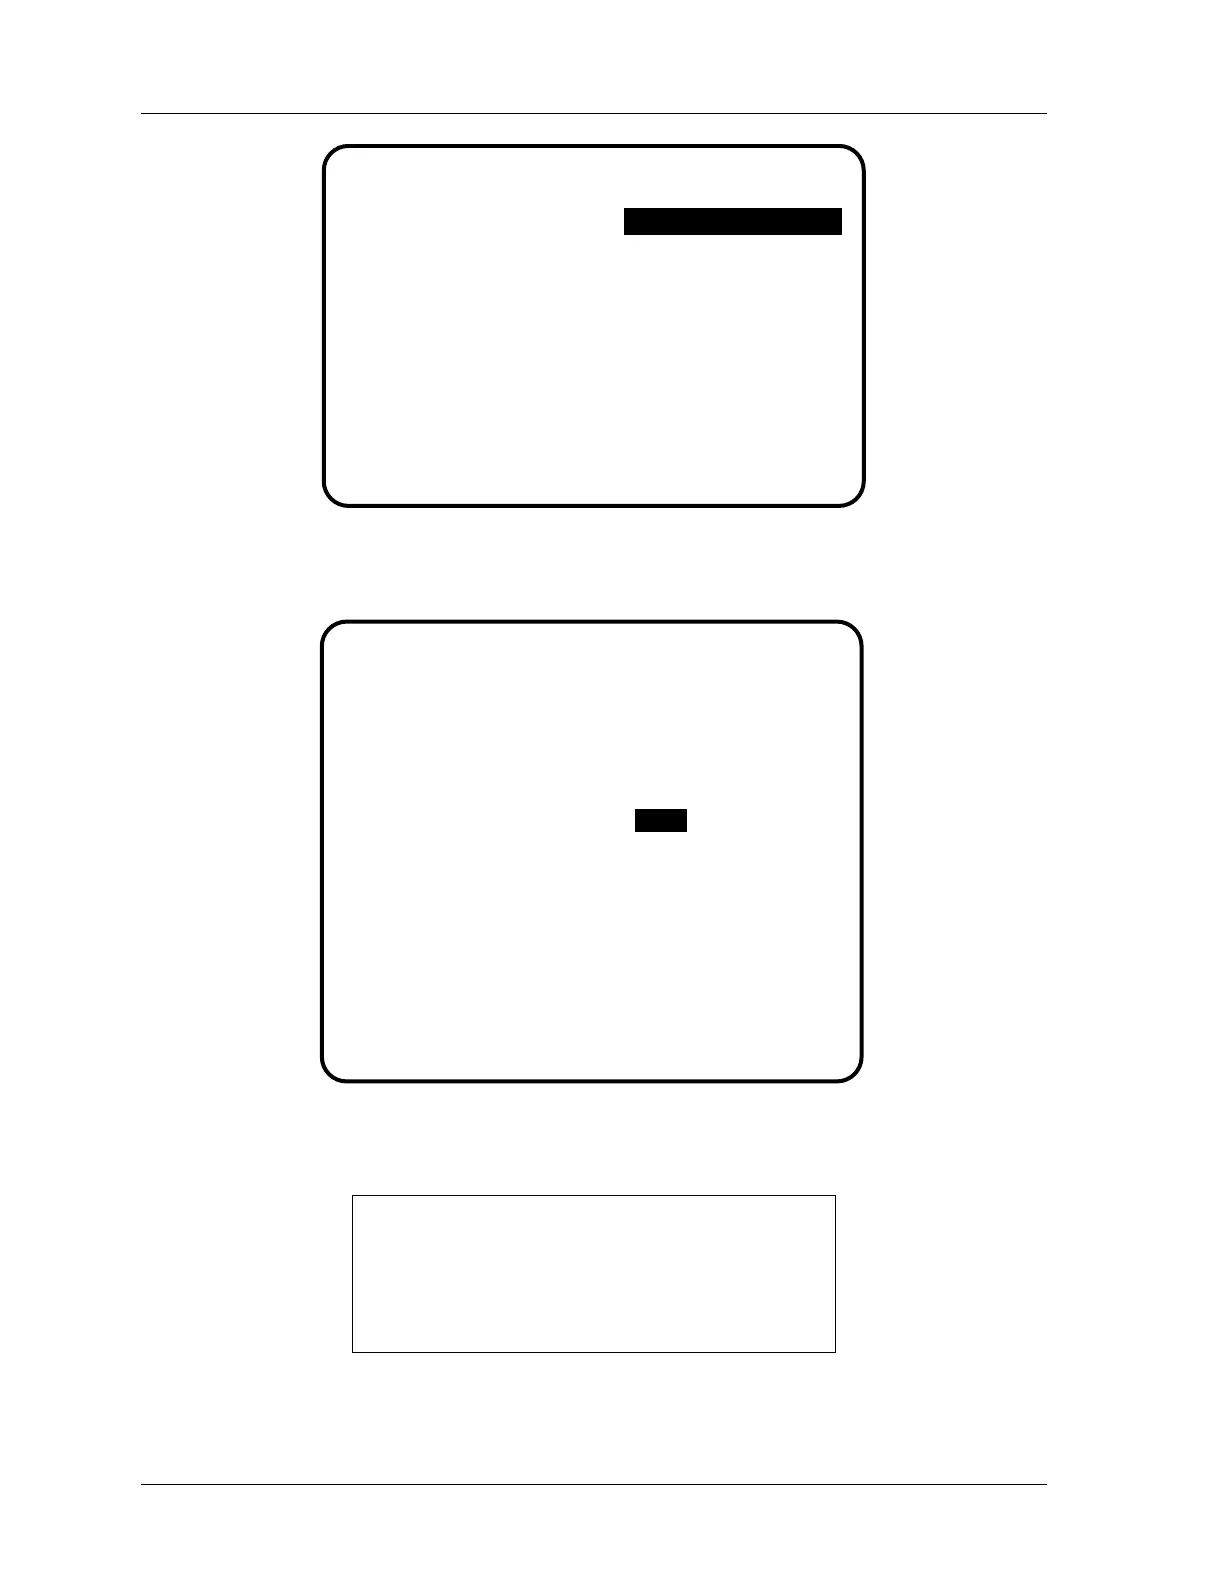
WPC INITIALIZATION MENU
USE THE CURSOR KEYS USER INTERLOCKS
TO SELECT THE ITEM PRESS PARAMETERS
YOU WISH TO SEE. PRESS OPTIONS
PRESS ENTER TO INPUT STATUS
ACCESS IT. PRESS
RESET WHEN DONE.
USER INTERLOCKS
Figure 2 - 31. WPC Initialization Menu
2. Select PRESS PARAMETERS. You will see a screen similar to the following.
TOP STOP DEFLT
CARRYUP ANGLE
MICRO TIME
MICRO ANGLE
MAIN AIR LIMIT
CNTR BAL +/-
STOP LIMIT
START LIMIT
SHUT DOWN LIMIT
FLYWHEEL TIMER
ACTS ANGLE
220 DEG
149 DEG
100 MSEC
185 DEG
0 PSI
0 PSI
250 MSEC
199 MSEC
5 MIN
6 SEC
0 DEG
=
=
=
=
=
=
=
=
=
=
=
INITIALIZE PARAMETERS
USE THE CURSOR KEYS TO CHOOSE THE VALUE
YOU WANT TO CHANGE.
PRESS THE ENTER KEY TO CHANGE THE VALUE.
PRESS THE RESET KEY WHEN DONE.
PRESS CONTROL PARAMETER MENU
250
Figure 2 - 32. "Press Parameters" Display in SmartPAC's Initialization Mode
3. Select INITIALIZE PARAMETERS. The following warning message appears:
IF YOU CONTINUE THIS WILL INITIALIZE
ALL OF THE PRESS CONTROL PARAMETERS.
THESE INCLUDE THE BRAKE MONITOR
SETTINGS AND TOP STOP ANGLE.
PRESS THE ENTER KEY TO CONTINUE.
PRESS RESET TO CANCEL.
Figure 2 - 33. Initialize Parameters Warning Message

 Loading...


