SmartPAC 2 with WPC Integration 1126800
SmartPAC 2 Run Mode Chapter 6 page 335
NOTICE
IF YOU DO NOT KNOW READY WINDOW TIMING FOR GREEN SENSORS
When you install a new sensor and you do not know the correct timing for it, try this procedure:
1. Program the sensor type and stop type.
2. Set the ready window to your best estimate of when it should turn ON and OFF.
3. Load the tool.
4. In the main Program menu, highlight Sensor Enable/disable and Status. Press ENTER.
Turn off the sensor you just programmed. (See page 318.)
6. Without reloading the tool, turn the Program/Run switch to Run. A message appears, telling
you the sensor is turned off. Press ENTER.
7. Run the press.
8. In Run mode, select Die Protection and select the sensor. You can see the angles at which
the sensor actually turned ON and OFF. Adjust the ready window based on the sensor’s
actual ON and OFF angles.
9. When done, go back to Program mode and turn the sensor back on.
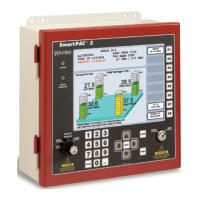
Here is an example of a display for a green sensor:
Figure 6 - 11. Adjust Ready Signal
The above display is for a part ejection sensor. This display shows that the sensor turns on
and off within the ready signal. You can change the ready signal using the cursor keys. To
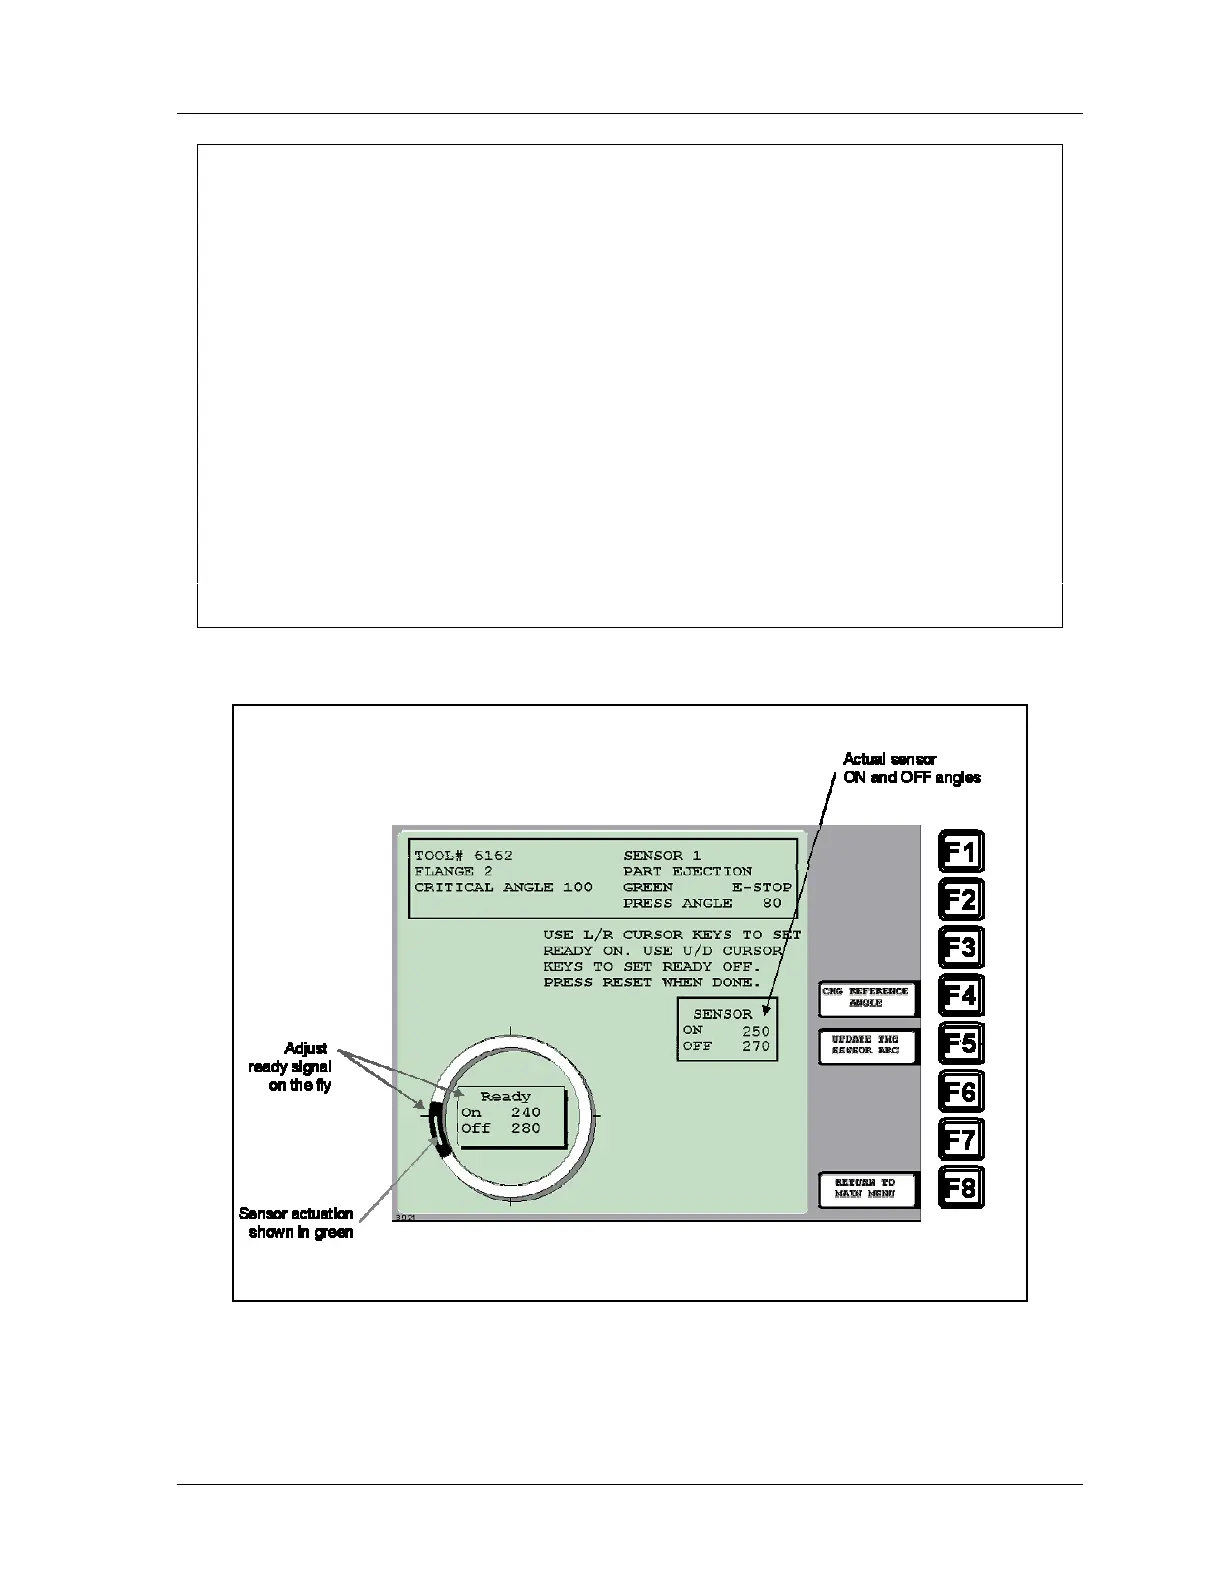 Loading...


