SmartPAC 2 with WPC Integration 1126800
SmartPAC 2 Program Mode Chapter 5 page 279
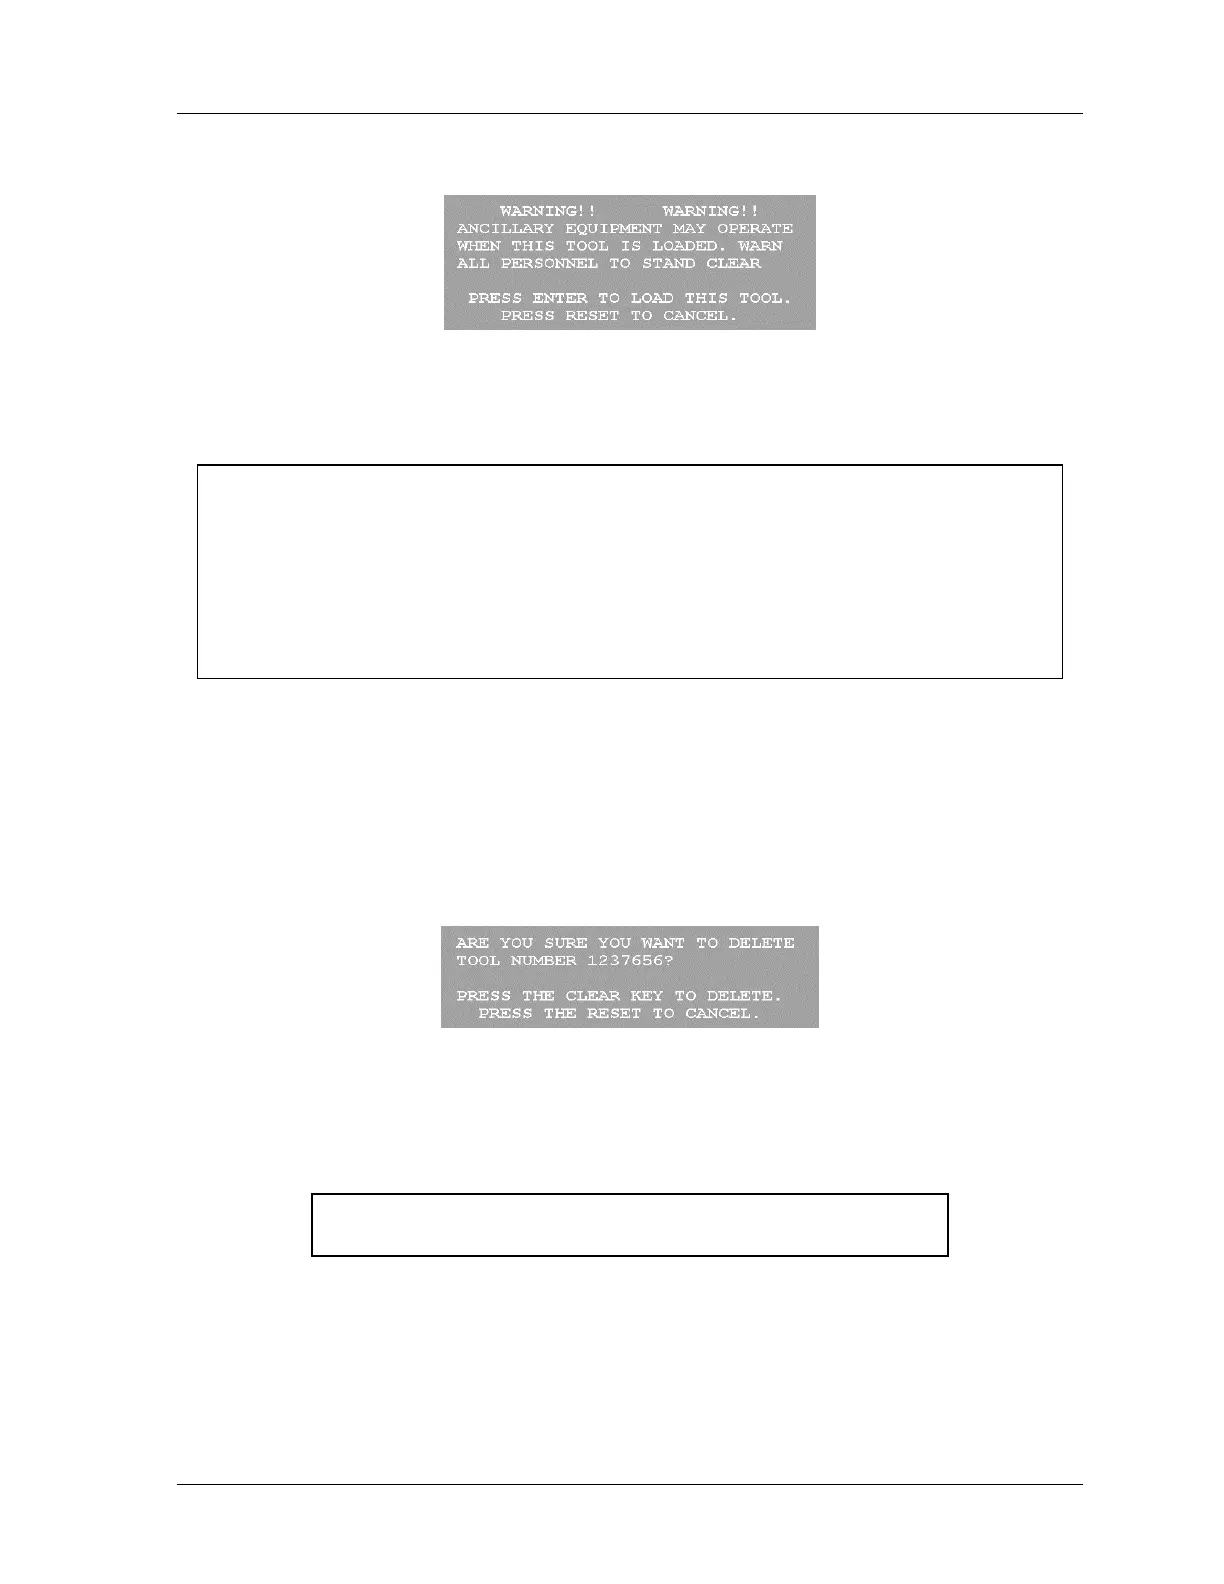
A warning box appears, similar to the following figure.
Figure 5 - 6. Load Tool Warning Box
3. Press ENTER to load the tool. A message should appear saying that the tool number is
being loaded.
NOTICE
If the “tool being loaded” message does not appear and the screen shows an error message,
go to Chapter 7 and follow the instructions for correcting the problem. If the error is not
covered in Chapter 7, or you cannot fix the problem, contact Wintriss Tech Support. Be
ready to provide the following information: product name (e.g. SmartPAC 2 standard);
installed options (e.g. DiProPAC, ProCamPAC, etc.); and firmware version number (e.g., Vs.
2.00). Find the last two items by going into "Installed options" in Initialization mode (see
Chapter 4).
Delete a Tool
(PROGRAM – GO TO THE TOOL MANAGER – F6-DELETE TOOL)
1. To delete a tool, first highlight it, using the cursor keys.
2. Then press F6, “Delete Tool.” The following message appears, asking if you are sure you
want to delete the tool.
Figure 5 - 7. Confirmation Message to Delete Tool
(Your tool number may be different)
5.
Delete the tool number by pressing the "Clear" key. You will then get this confirmation
(your tool number may be different):
DELETING TOOL NUMBER 1237656
3. The display returns to the Tool Manager screen and the deleted tool number is gone.

 Loading...


