SmartPAC 2 with WPC Integration 1126800
SmartPAC 2 Program Mode Chapter 5 page 287
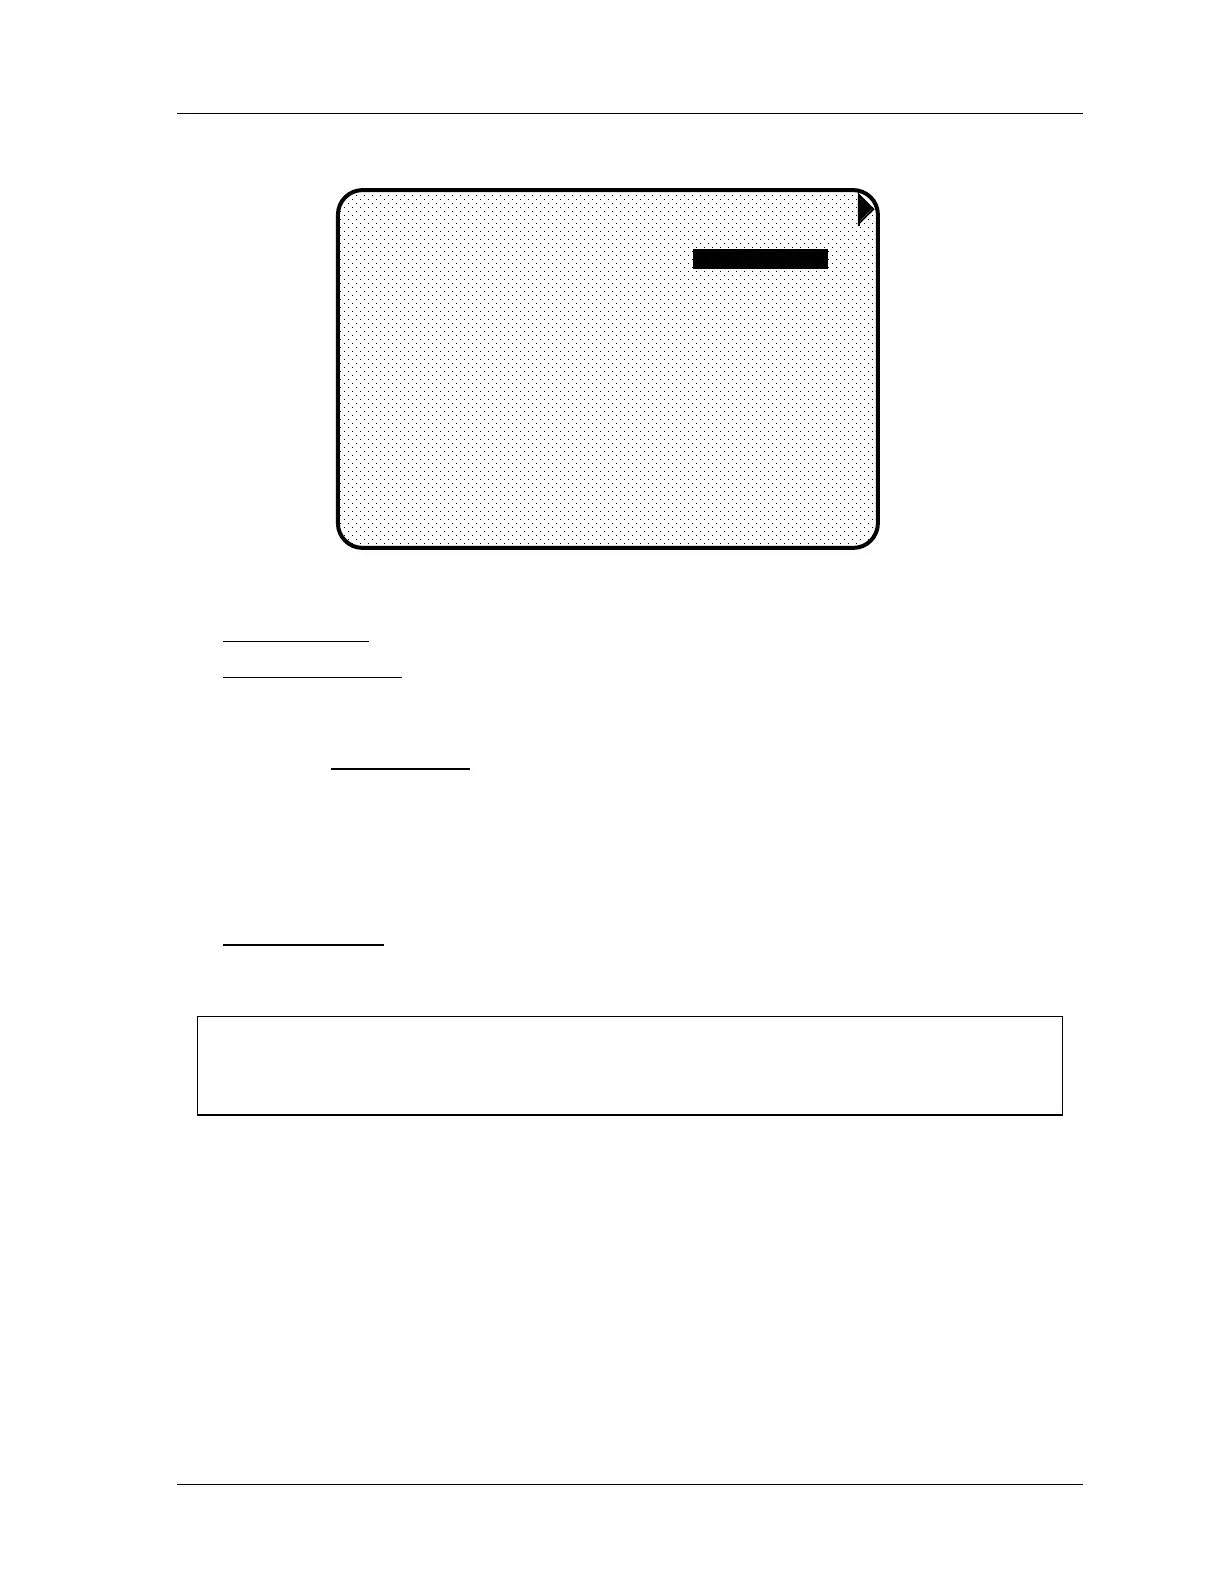
2. You will then see this display:
STROKES
GOOD PARTS
BATCH 1
(TOP STOP)
BATCH 2 CHANNEL 7
(TOGGLE)
BATCH 3 CHANNEL 8
(PULSE)
TOTAL HITS
0
0
0
0
0
0
0
0
0
0
0
0
COUNT PRESET VALUE
USE CURSOR KEYS TO MAKE SELECTION.
PRESS ENTER TO SET THE COUNTER.
PRESS RESET WHEN DONE.
COUNTER MODES F1
Figure 5 - 13. Counter display
The strokes counter counts all press strokes.
The good parts counter counts the press strokes unless a die protection or other fault
occurred. When the good parts preset has been reached, SmartPAC 2 signals the press to top
stop.
There are three batch counters. You can set individual preset values for each of the batch
counters. The batch counts can be incremented either to the good parts counter or the strokes
counter. You can also set each batch counter to either top stop or toggle, or pulse a
programmable limit switch (PLS) output when its preset is reached. If you set the batch
counters to either toggle or pulse, the counter display shows the PLS channel that is
controlled by that batch counter (see figure above).
The total hits counter counts all hits on a tool. If the tool number is loaded again after other
tools are used, the counter starts counting from the last recorded number for the previous job.
The counter is useful for deciding when a tool needs regrinding.
NOTICE
In Run mode, when the Total Hits counter reaches its preset value, a flashing message,
“Total Hits Preset,” appears in the status box at the top of the screen.
Setting or Clearing the Counter Presets
1. Highlight the value displayed in the "preset" column that you want to set, and press
ENTER. You will see a display superimposed over the Counter display (see Figure 5 -
13). This applies to either strokes, good parts, or batch.
2. As the screen suggests, use the number keys to input a value. See "Entering a number"
in Chapter 3 for step-by-step instructions for entering a number. Then press ENTER,
and the value will "jump to" the designated preset value location.
3. If you want to clear the counter, press the CLEAR key, then Enter. If you do not want to
make a change to that counter preset value, just press RESET.

 Loading...


