1126800 SmartPAC 2 with WPC Integration
page 294 Chapter 5 SmartPAC 2 Program Mode
Naming the Sensor
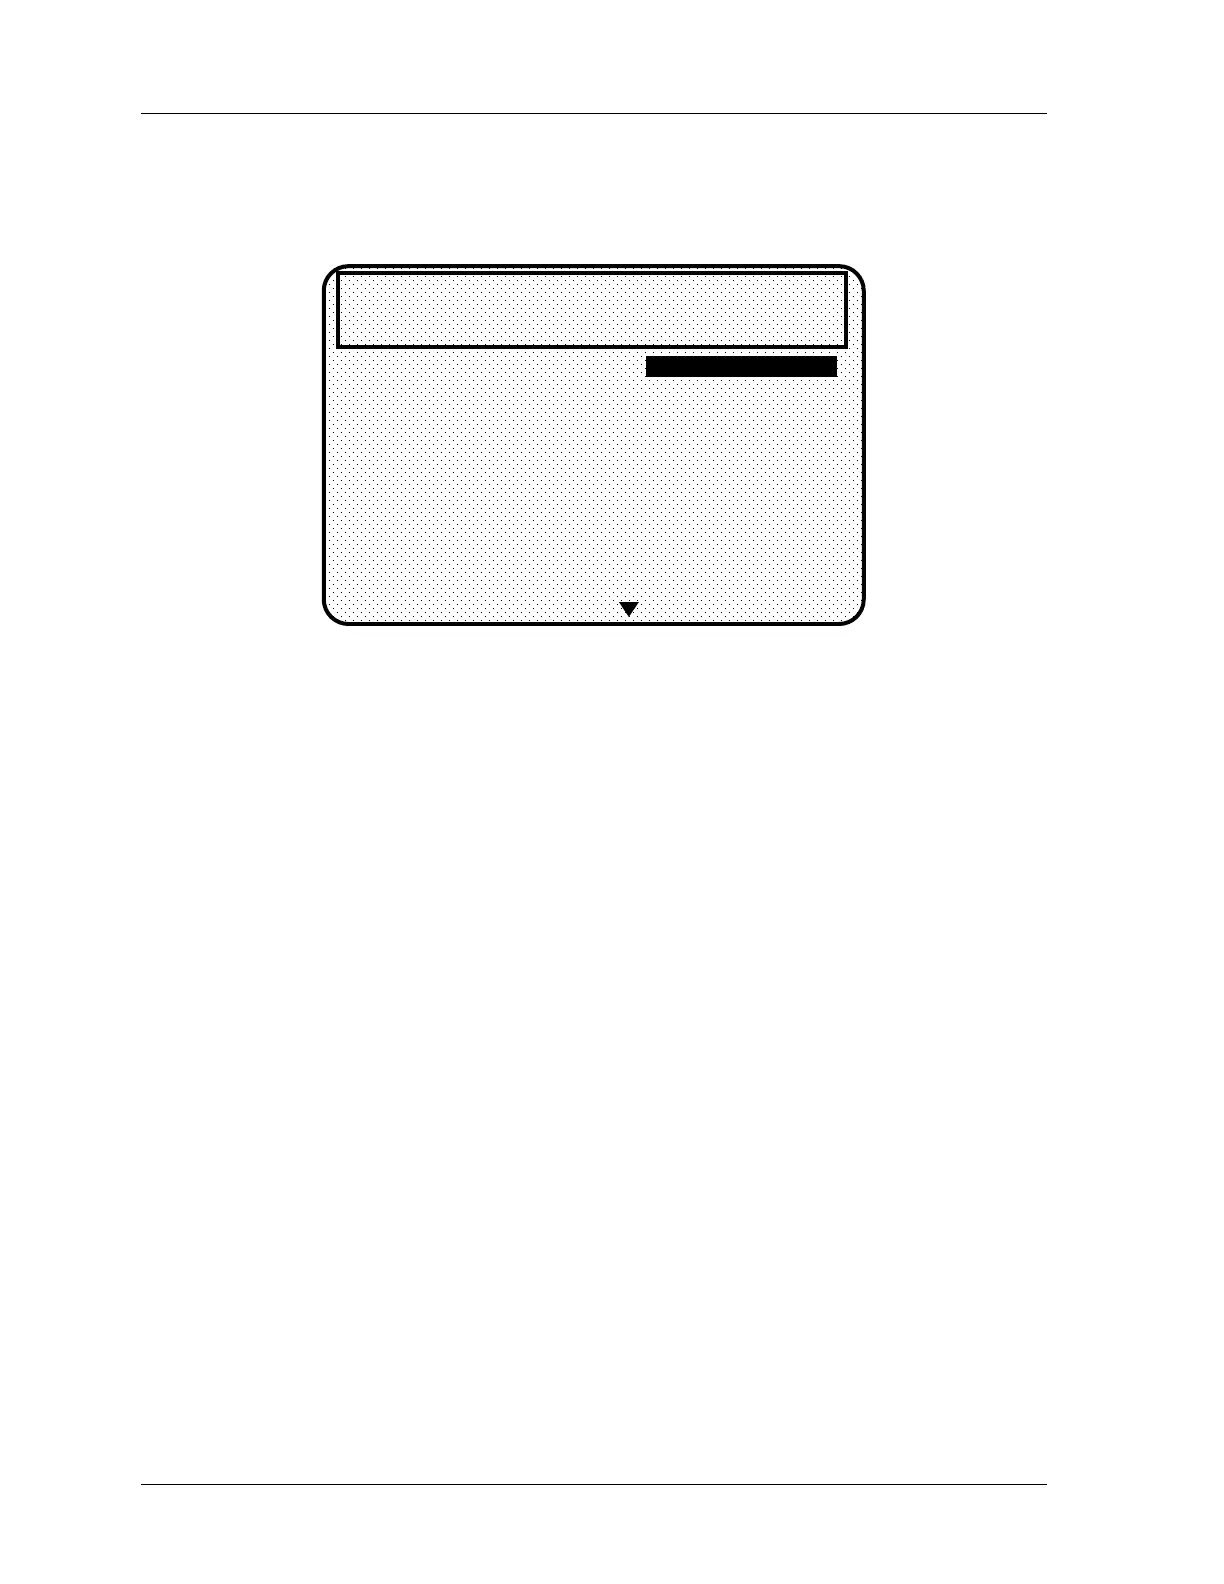
1. You see this display when you select a sensor. It allows you to name the sensor.
CUSTOM NAME
AIR PRESSURE
BLANK FEED
CAM DRIVE 1
CAM DRIVE 2
CLAMP PRESSURE
DIE OVERLOAD
END OF STOCK
HIGH LOOP
MATERIAL BUCKLE
MISFEED
UNNAMED
SENSOR NAME FOR
DIPRO SENSOR 1
USE CURSOR KEYS TO
CHANGE SELECTION
PRESS ENTER TO SELECT,
RESET WHEN DONE
MORE NAMES
TOOL NUMBER 1234567
CHAIR BRACKET
CRITICAL ANGLE 0
SENSOR 1
PART EJECTION
GREEN ESTOP
Figure 5 - 19. Naming the Sensor
2. Use the "down" cursor key to move the bar and highlight the name you want. More
names appear from the bottom of the name column as you keep pressing the key. You
can scroll back and forth through the name column using these keys.
3. There are several names from which to choose. You can also choose not to name a
sensor by selecting "unnamed.”
4. If you do not find a suitable name but you still want to select a name the sensor, you can
select "Custom Name,” by highlighting it and pressing Enter.
5. If you select "Custom name,” another display appears that lists all the customized names
(up to 16 possible choices) that you set in Initialization mode (see "Custom sensor
names" in Chapter 4).
Assign any one of these names to each of your sensors by highlighting the name and
pressing Enter. The names are interchangeable. This means, for instance, that you can
assign "Sensor 3" the custom name set for "Custom 15.”
Setting the "Auto Enable by Sensor and Tool" Counter Value
1. If you had selected "Auto enable by sensor and tool" in Initialization mode (Chapter 4),
a screen appears asking you to enter the stroke value. If you had selected "Auto Enable
by tool" in Initialization, this screen will not appear (refer to Figure 5-9 towards the
beginning of this section) .
Use cursor keys to change the number of strokes. Then press ENTER when done (see
Chapter 3 for help in using cursor keys).

 Loading...


