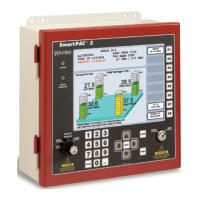
SmartPAC 2 with WPC Integration 1126800
SmartPAC 2 Fault Messages Chapter 7 page 423
Install Revised Firmware into WPC
DANGER!
MACHINE MALFUNCTION AFTER INSTALLING REVISED FIRMWARE
Perform the installation verification and final checkout tests listed in Chapter 2 after
performing this firmware installation.
Failure to comply with these instructions will result in death or serious injury.
DANGER!
ELECTRIC SHOCK OR HAZARDOUS ENERGY
• Disconnect main power before installation.
• Remove all power to the press, press control, and other equipment used with the press.
• Remove all fuses and “tag out” per OSHA 1910.147 Control of Hazardous Energy (Lockout/
Tagout).
• Ensure that Installation is performed by qualified personnel.
• Complete all wiring installation procedures before connecting to the AC power source.
Failure to comply with these instructions will result in death or serious injury.
NOTICE
RECORD SETTINGS BEFORE INSTALLING NEW WPC FIRMWARE
Before you install new WPC firmware, use the WPC Parameter Setup Sheets at the end of
this manual to record your WPC settings, including top stop angle, auto carry-up angle, stop
time limit, micro-inch timing and ON/OFF cam settings. You must re-enter these settings
after you install the new firmware chips. Also record the counter reading, if needed.
NOTICE
To install new firmware into SmartPAC 2, see “Appendix C – Update SmartPAC 2
Firmware,” page 453
If you wish to install revised firmware into WPC, follow these instructions:
1. Verify that power has been turned off to WPC..
2. Open the front cover.
3. Locate the firmware chips “A” (at U108) and “B” (at U125). See Figure 2 - 36 for exact
location. Each chip is labeled.
4. Make a note of the orientation of each firmware chip. The new chip must be installed in
the same orientation as the one you remove. There is a semi-circular notch on one end of
each chip to indicate orientation. The notch goes on the same side as the notch in the
socket. Remove chip A and install its replacement; then remove chip B and install its
replacement.
 Loading...


