SmartPAC 2 with WPC Integration 1126800
SmartPAC Preventive Maintenance Appendix B page 451
(PM) Monitor
Viewing and modifying PM Alerts
1. Select "PM Monitor" from the first display in Run mode.
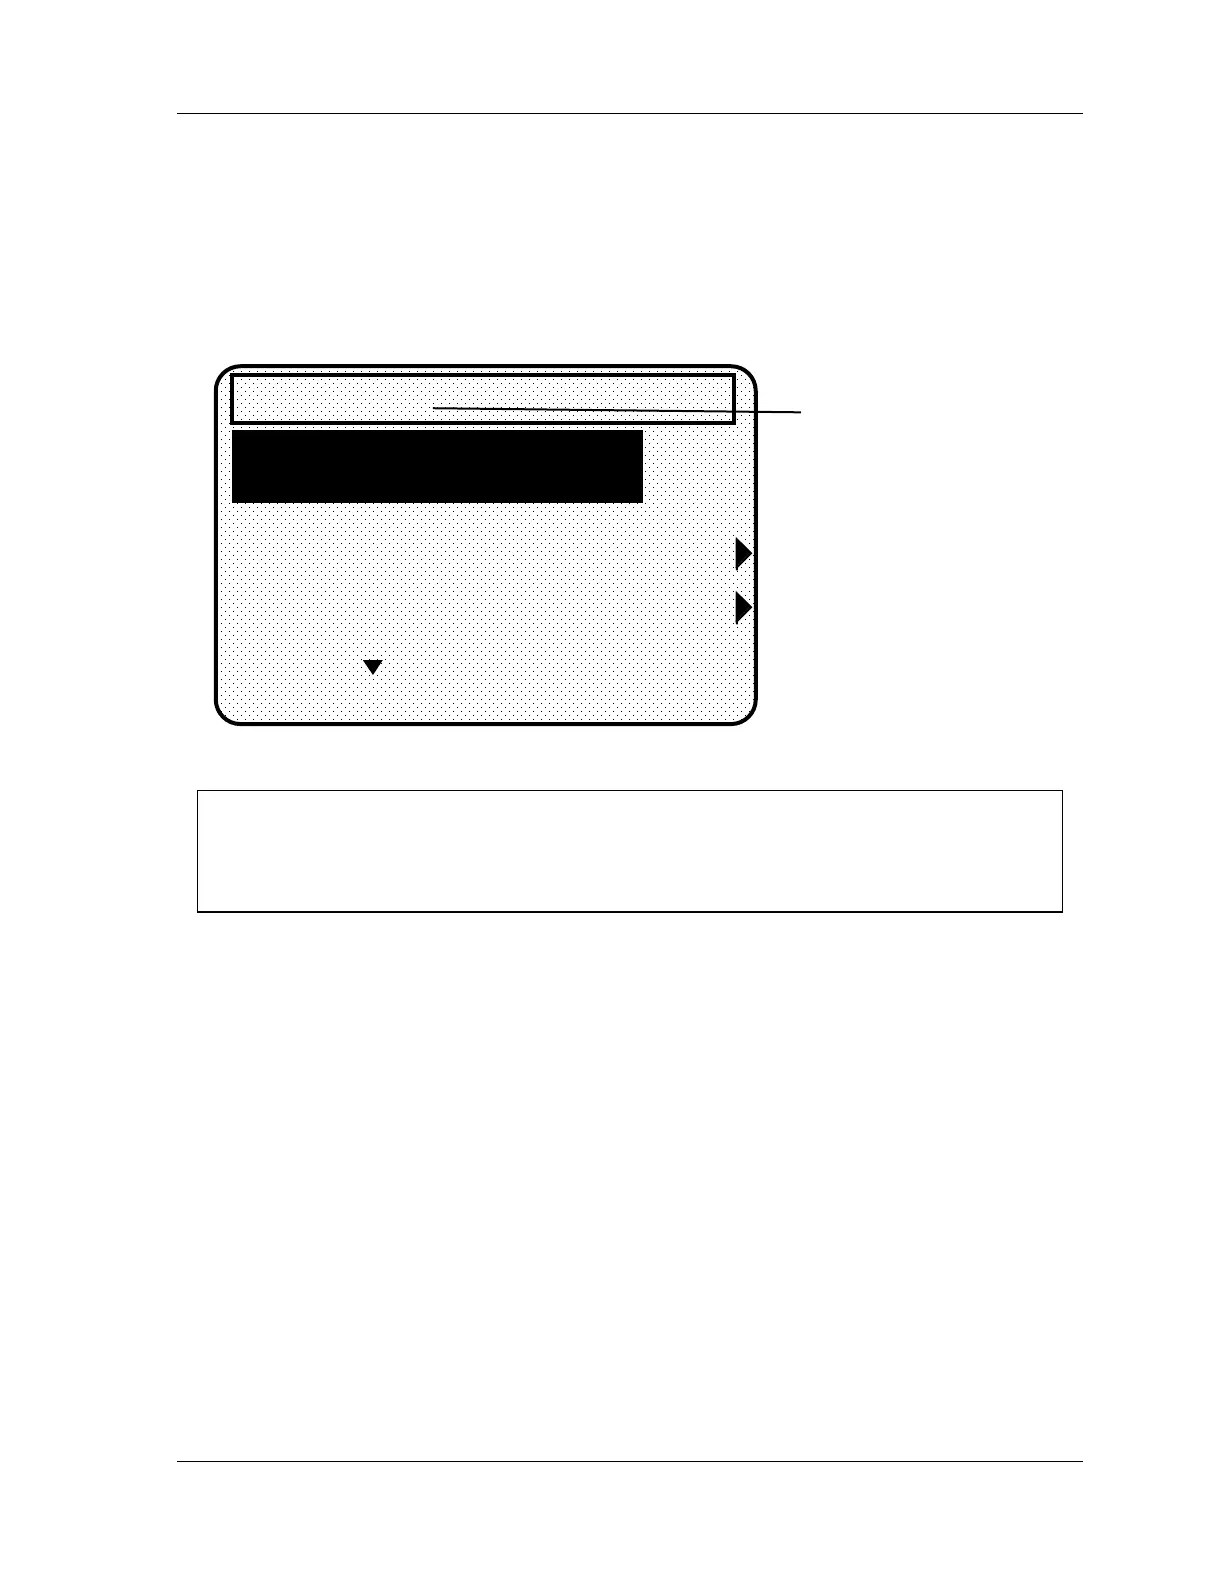
2. You will see the list of PM items that you previously assigned in the Initialization status.
The first item is highlighted in the next example. Use the cursor keys to view the other
items on the schedule. Currently the PM status for all items is "normal" (see display).
This means that none of the items have reached the limits set in Initialization.
USE CURSOR KEYS TO CHANGE SELECTION
PRESS ENTER TO SELECT, RESET WHEN DONE
CLUTCH VALVE
ALERT AT
CURRENT
2000 STARTS/STOPS
1001 STARTS/STOPS
YOUR PRESS NAME
STATUS IS NORMAL
PM MONITOR
SLIDE ADJ. MOTOR
ALERT AT
CURRENT
100 DIE CHANGES
75 DIE CHANGES
GIBS
ALERT AT
CURRENT
1000000 STROKES
458239 STROKES
MORE
notice that alert status
is "normal"
CLEAR
ALERT
F3
CHANGE
VALUE
F4
Figure B - 15. Display Showing PM Monitor in "Normal" Status Mode
NOTICE
You may notice that some of the current values do not update on every stroke while the
press is running. SmartPAC is keeping track of these items, but does not refresh the display
until the press actually stops.
3. The next display shows that one of the items, "Slide Adjust Motor" is now in "alert"
status mode. It flashes on the screen. Also, the number of items in alert status mode
appears at the top of the screen.

 Loading...


