1126800 SmartPAC 2 with WPC Integration
page 308 Chapter 5 SmartPAC 2 Program Mode
Setting Multiple ON/OFFs
NOTICE
A new arc always starts at 0° . Move each arc to the correct location before adding another
arc. If one of the arcs will stay near 0° , program it last. If you find you have too many arcs at
0° , delete the channel settings (page 313) and start over again.
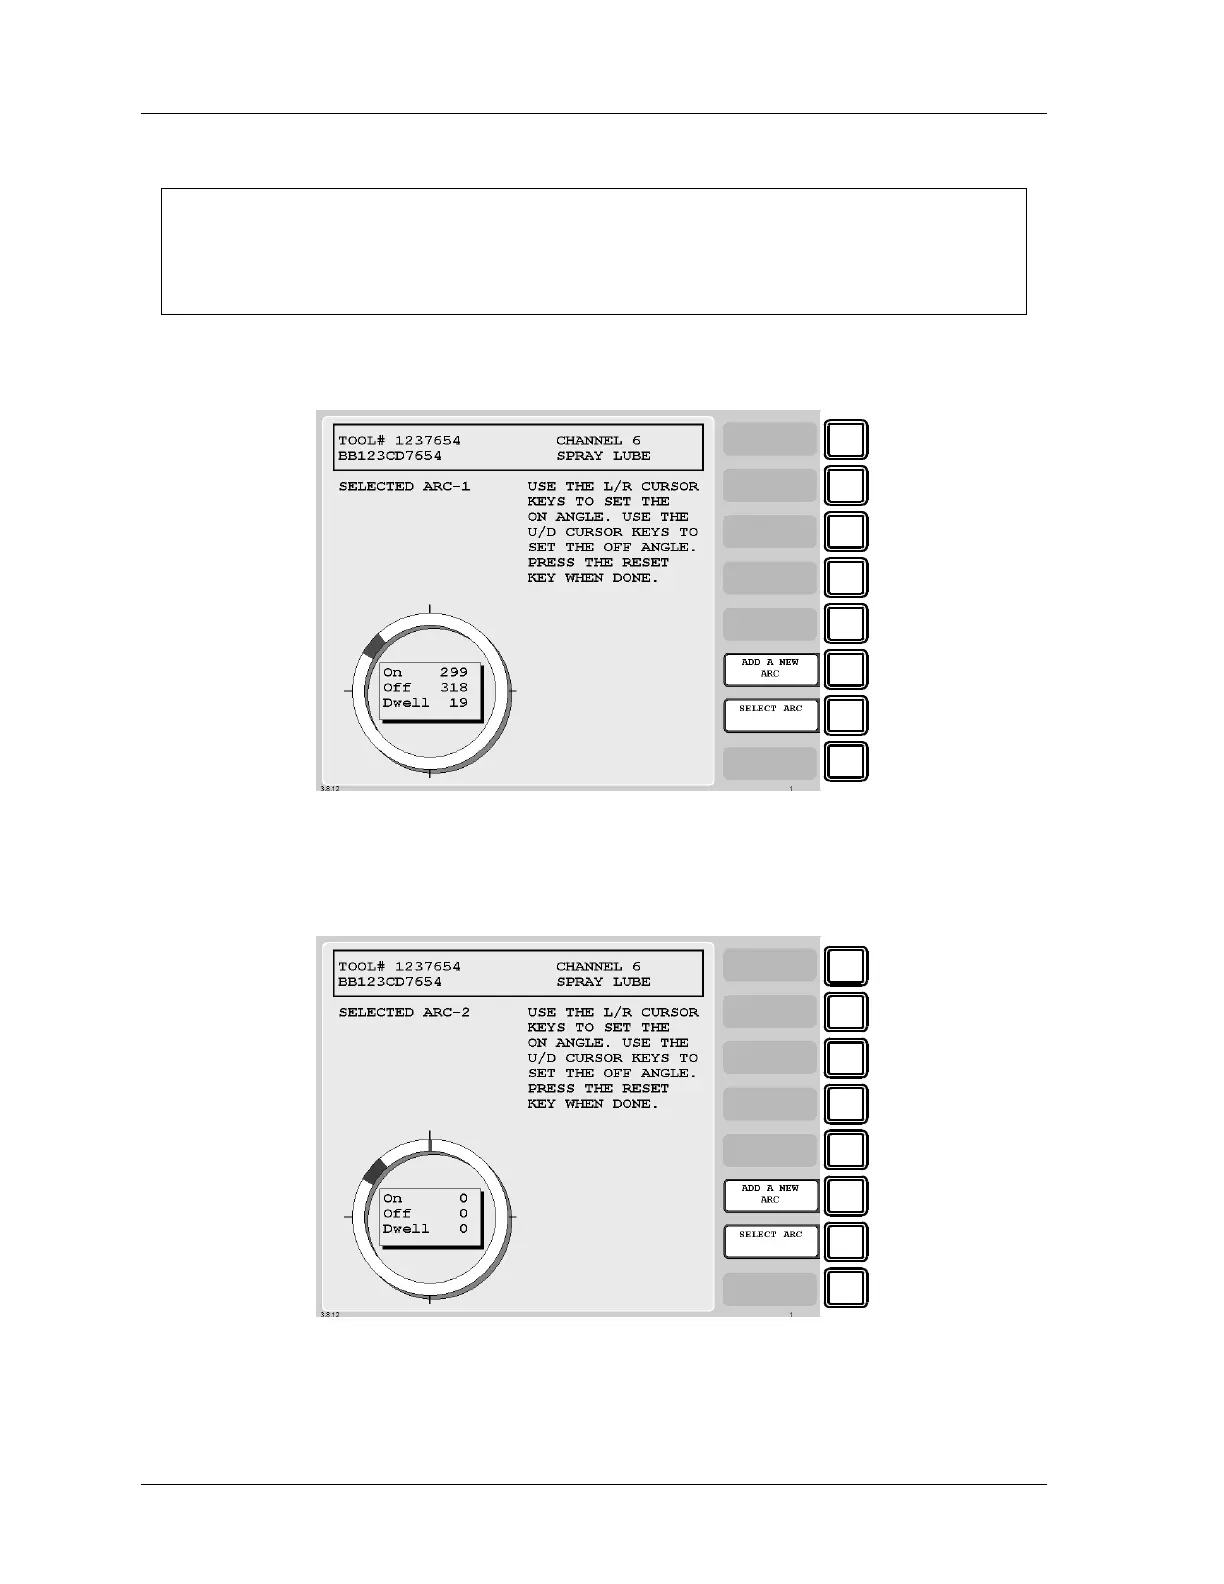
1. Set the first ON/OFF arc as described above, “Make an ON/OFF Setting for a Channel,”
page 305. The display looks something like the following figure.
F1
F2
F3
F4
F5
F6
F7
F8
Figure 5 - 32. One ON/OFF Arc
2. Add another arc by pressing F6-“Add a New Arc.” The arc you already set turns dark
gray. A new arc appears as a green line at the zero (0) position.
F1
F2
F3
F4
F5
F6
F7
F8
Figure 5 - 33. Add a New Arc
3. Use the cursor keys to place the arc where you want it.

 Loading...


