1126800 SmartPAC 2 with WPC Integration
Page 76 Chapter 2 Installing SmartPAC 2 and WPC
Connecting AC Wiring Between WPC and
SmartPAC 2
WARNING
!
ELECTRIC SHOCK HAZARD
• Do not connect the AC power source until you are done with all other installation procedures.
• Turn off and disconnect power from the machinery SmartPAC 2 is connected to before
making any wiring connections. This includes power to the machine control and motor.
Failure to comply with these instructions could result in death or serious injury.
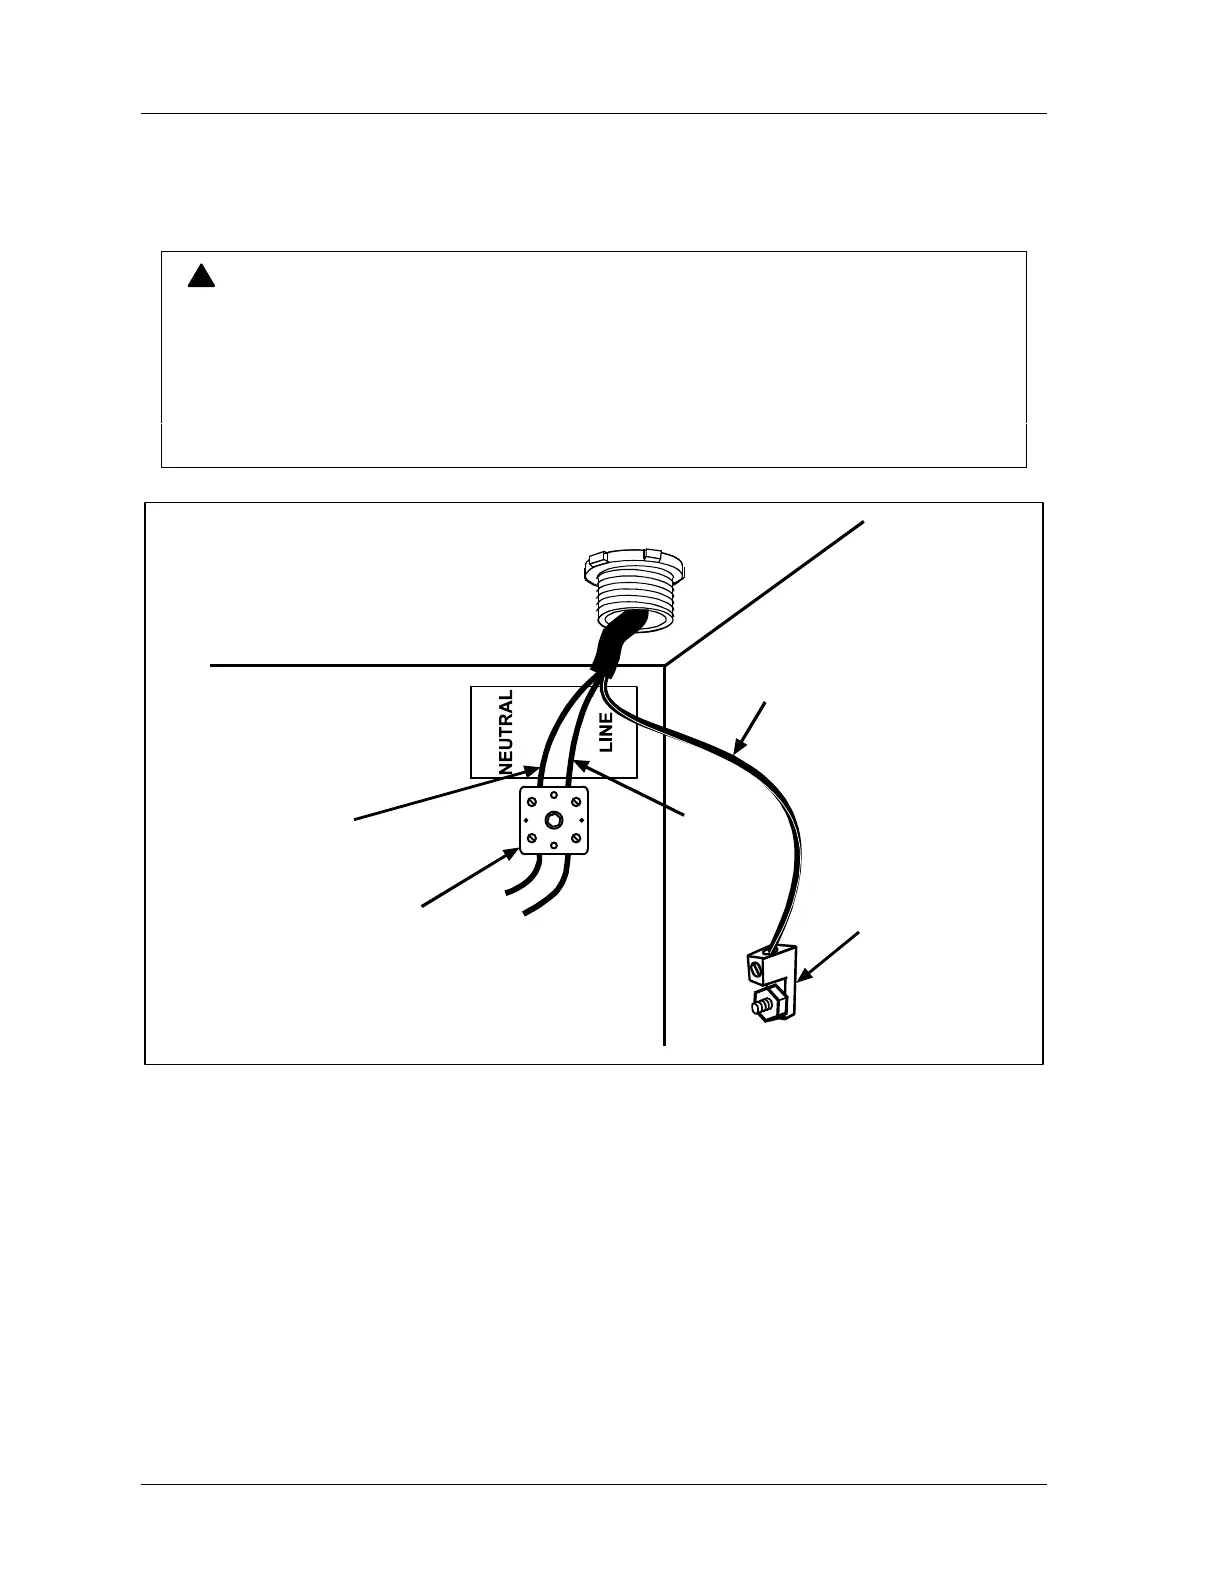
L1
(High)
Terminal block
Ground
Setscrew
terminal
L2
(Neutral)
AC Input Voltage: 115/230 V
Figure 2 - 20. Wiring AC to SmartPAC 2, Top Right Inside Enclosure
Run the AC power wires through the “high voltage” conduit described earlier in this chapter.
Bring the wires for AC power, the emergency stop, and top stop circuits, and for the input
check circuit through the top right knockout. No. 16 wire (No. 14, if local codes require it)
with a minimum 75°C temperature rating is recommended for these circuits. To wire AC
input terminal block, follow these steps.
1. Find the AC terminal block at top right corner of the back wall of the enclosure (see
Figure 2 - 20). For a panel mount unit, find the terminal block mounted to the back of
the face plate near the top right corner of the SmartPAC PC board.

 Loading...


