SmartPAC 2 with WPC Integration 1126800
SmartPAC 2 Run Mode Chapter 6 page 333
DIE PROTECTION (Optional)
(RUN – DIE PROTECTION)
NOTICE
Find instructions for running the press at the end of this chapter, starting on page 364.
In Run mode, the tool number must be loaded before you can adjust settings for the tool. You
can only change the ready signal for green sensors and the preset value for the green special
sensors. You cannot change any other sensor settings. Sensors set to "unused" in Program
mode will not appear in Run mode. For example, if two sensor inputs are set to "unused,”
you will only see the sensors used displayed in Run mode. To adjust settings for the loaded
tool number:
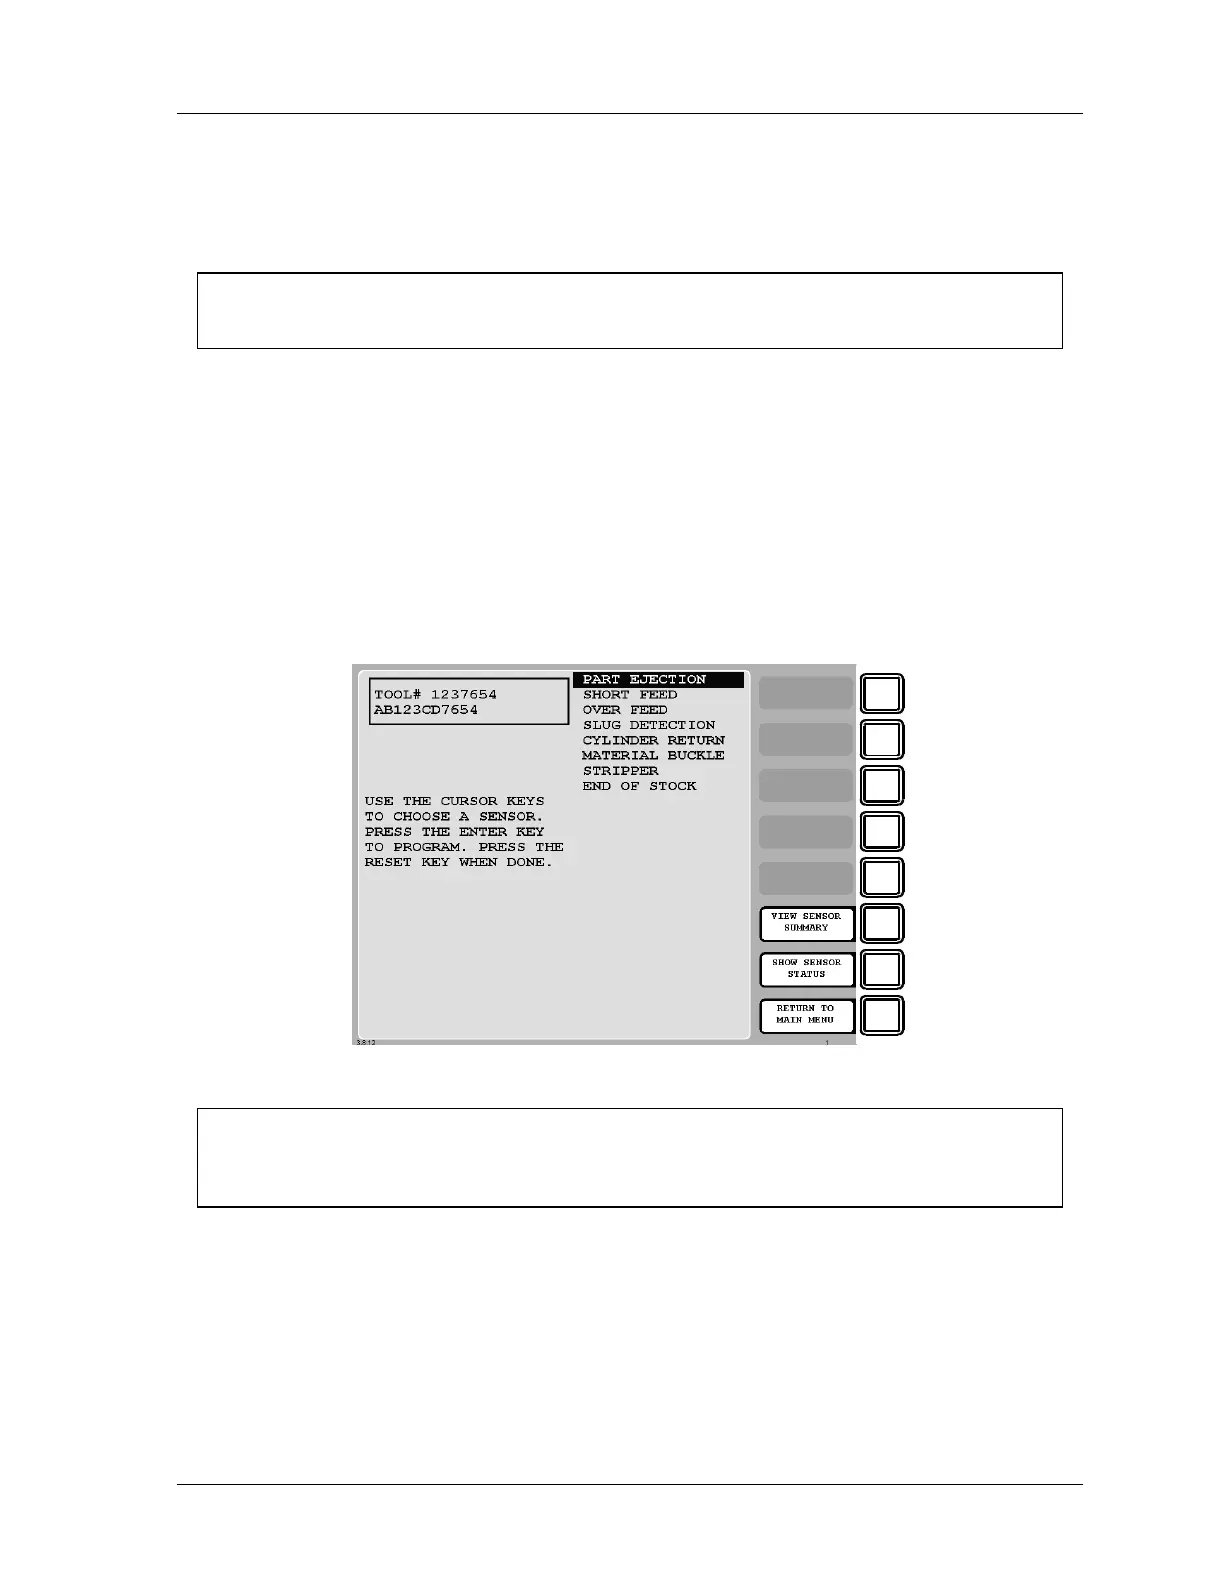
1. Select "Die Protection" from the first display you see in Run mode.
2. The Die Protection menu appears, showing the list of sensors names you assigned for
this tool.
F1
F2
F3
F4
F5
F6
F7
F8
Figure 6 - 10. Die Protection Menu
NOTICE
From this view you can choose to see a “Sensor summary” (see page 337) and a graphic
display of the sensor status (see page 338).
3. Select the sensor you want to adjust. The display will show the sensor number, name,
and type. For green sensors, it will show the ready signal and sensor actuation angle,
which is convenient for adjusting the timing. If you choose a yellow or red sensor,
settings will be displayed, but you cannot make any changes.

 Loading...


