1126800 SmartPAC 2 with WPC Integration
Page 266 Chapter 4 SmartPAC 2 Initialization Mode
SET CLOCK
(INITIALIZATION – DIAGNOSTICS – SET CLOCK)
F1
F2
F3
F4
F5
F6
F7
F8
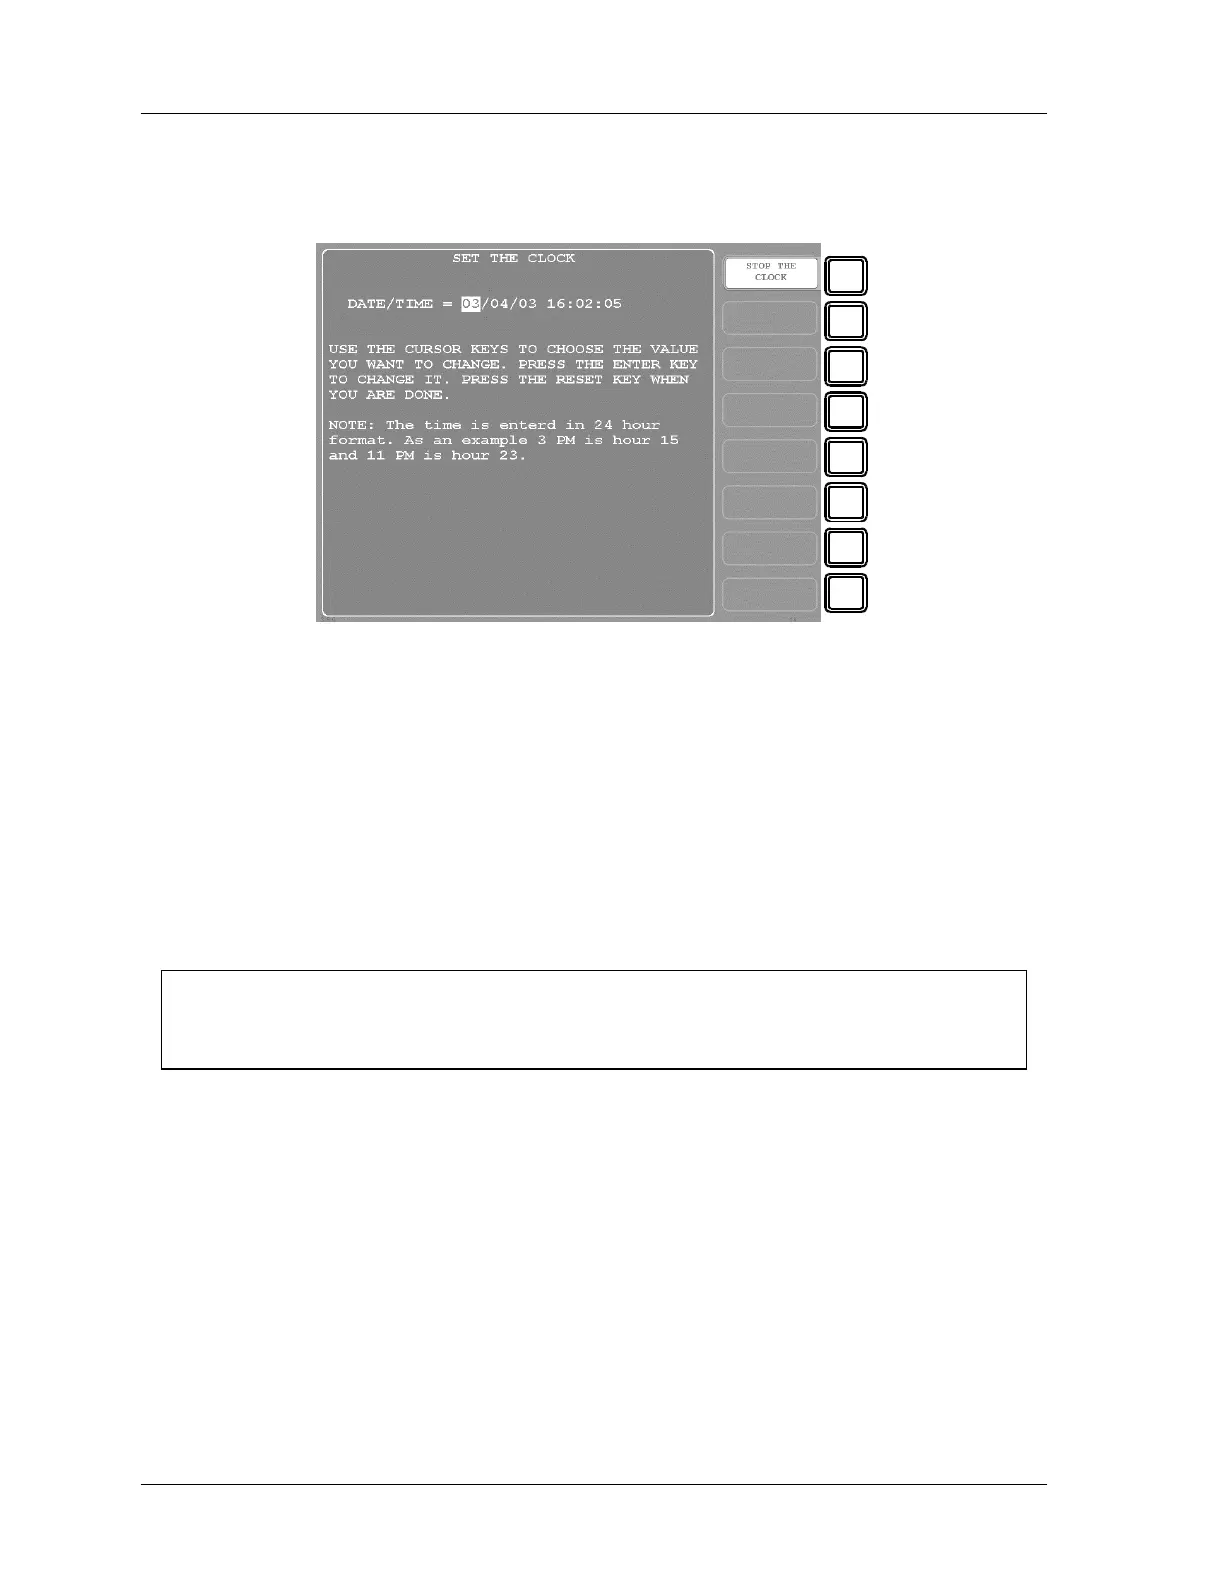
Figure 4 - 45. Clock Setting Screen
In this screen you can set the month, day, year and time. The date is month/day/year
(mm/dd/yy). The time is based on 24 hours, so 1:30 p.m. is 13:30 and 11:00 p.m. is 23:00
1. Use the left and right cursor keys to highlight the part of the date and time that you want
to change. Press ENTER. A number entry box appears.
2. Use the number keys or the up and down cursors to place the number you want in the
entry box.
3. Press ENTER when done; press RESET to cancel and close the box. To stop the clock,
press F1. To start it again, press F1 again.
NOTICE
You will have to change the clock setting when your local time changes from Standard to
Daylight Savings time in the spring and from Daylight Savings to Standard time in the fall.
UPDATE FIRMWARE
(INITIALIZATION – DIAGNOSTICS – UPDATE FIRMWARE)
To update the firmware in your SmartPAC 2, go to “Appendix C – Update SmartPAC 2
Firmware,” page 453.
 Loading...


