1126800 SmartPAC 2 with WPC Integration
Page 34 Chapter 2 Installing SmartPAC 2 and WPC
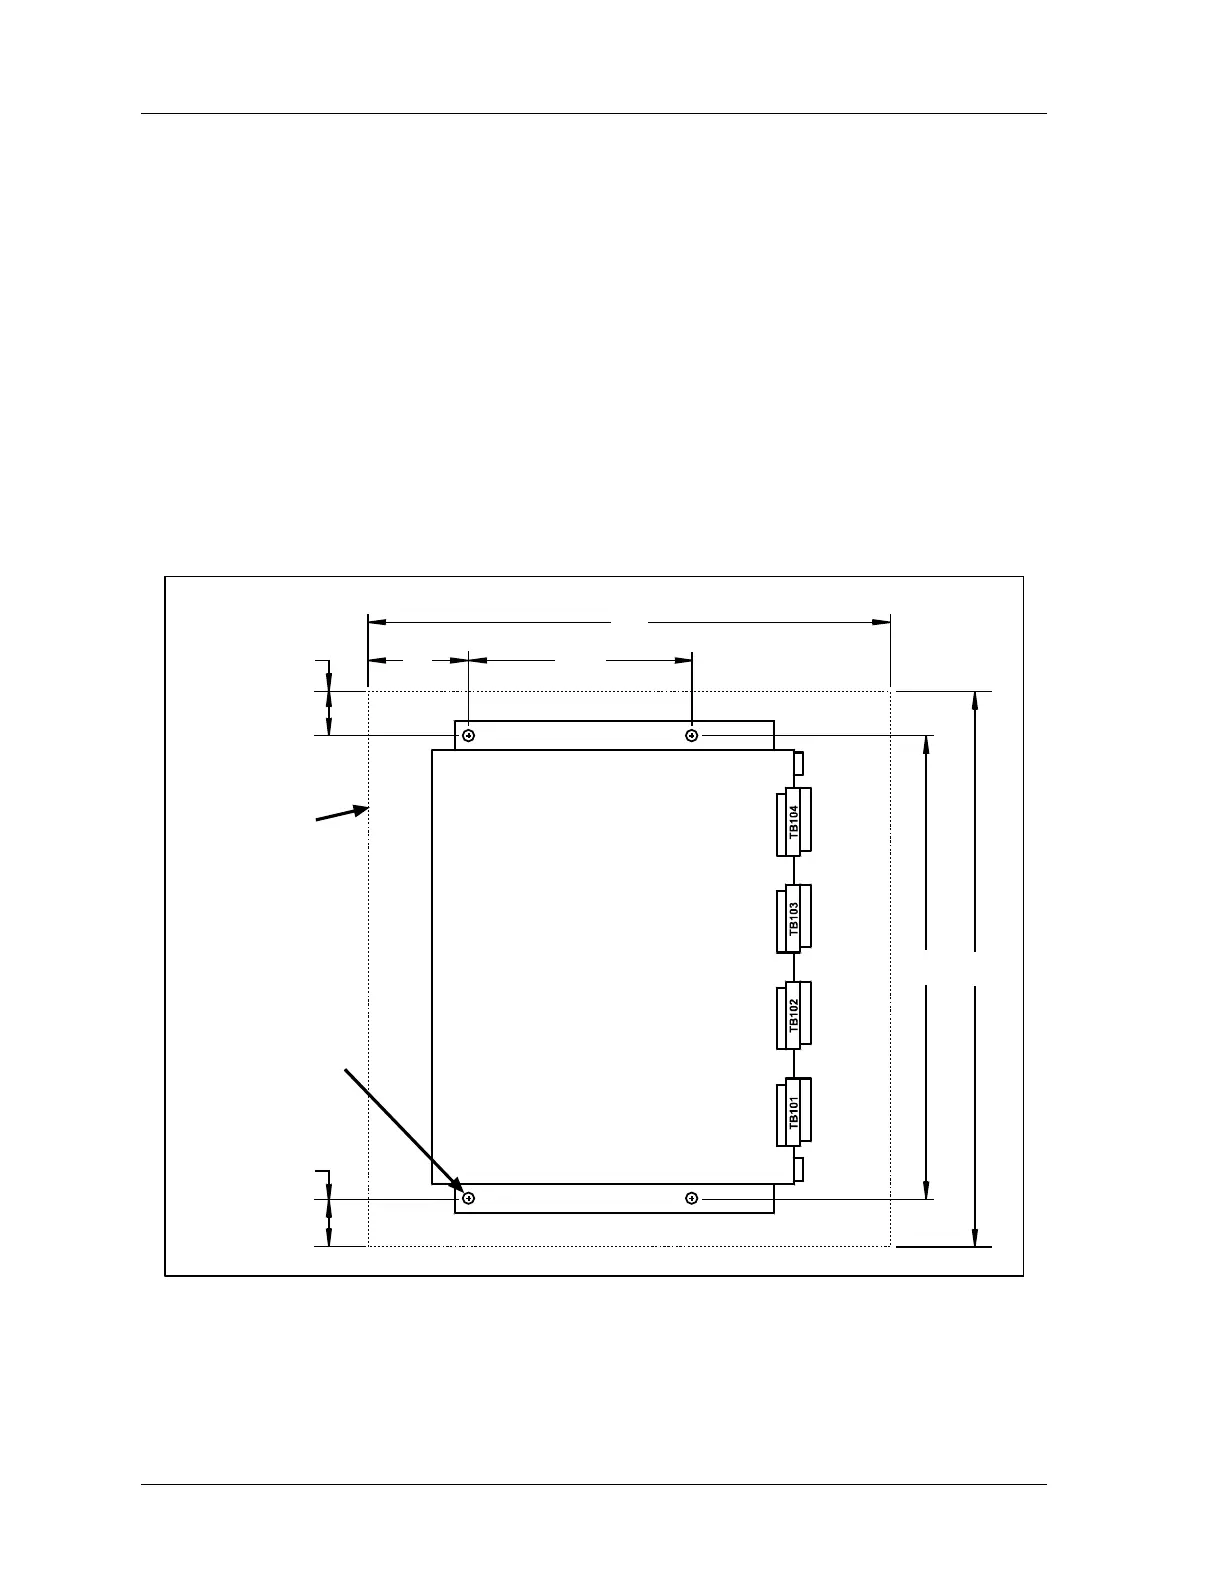
Install WPC Without Enclosure
When you order WPC without enclosure, you receive the “control assembly”—the various
processor boards that make up the basic system. See Figure 2 - 5, below, for mounting
dimensions and clearances.
Mount the control assembly so that it is convenient during installation and maintenance.
Your control enclosure does not have to be mounted to the press. It can be mounted on a free
standing pedestal, pendant, or column. For easy access to the interior, make sure that there is
enough room to open your control enclosure door at least 120°.
After you mount the control assembly in your enclosure, go to “Wiring the WPC,” page 35,
and make the necessary connections.
7.00
(178.0)
3.5
(89)
1.0
(25)
15.5
(394)
1.0
(25)
15.5
(394)
Control assembly
including
WPC boards
Allow clearance
as indicated by
broken line
and 5.5 inches
(140 mm) from
mounting surface
15.5
(394)
1/4-20 screws
for mounting
4 places
Dimensions:
inches (mm)
Figure 2 - 5. Mounting dimensions for Non-enclosure WPC

 Loading...


