4 Object Definition
4.1 Scheduling
Scheduling allows you to create time schedule rules which can be consistently applied to a range of NTC-400 Series Router
functionality. For example, you may want a schedule rule for Office Hours and one for Closing Hours.
4.1.1 Scheduling Configuration
To create a pre-defined scheduling rule:
1 From the Object Definition submenu select Scheduling then click its Configuration tab.
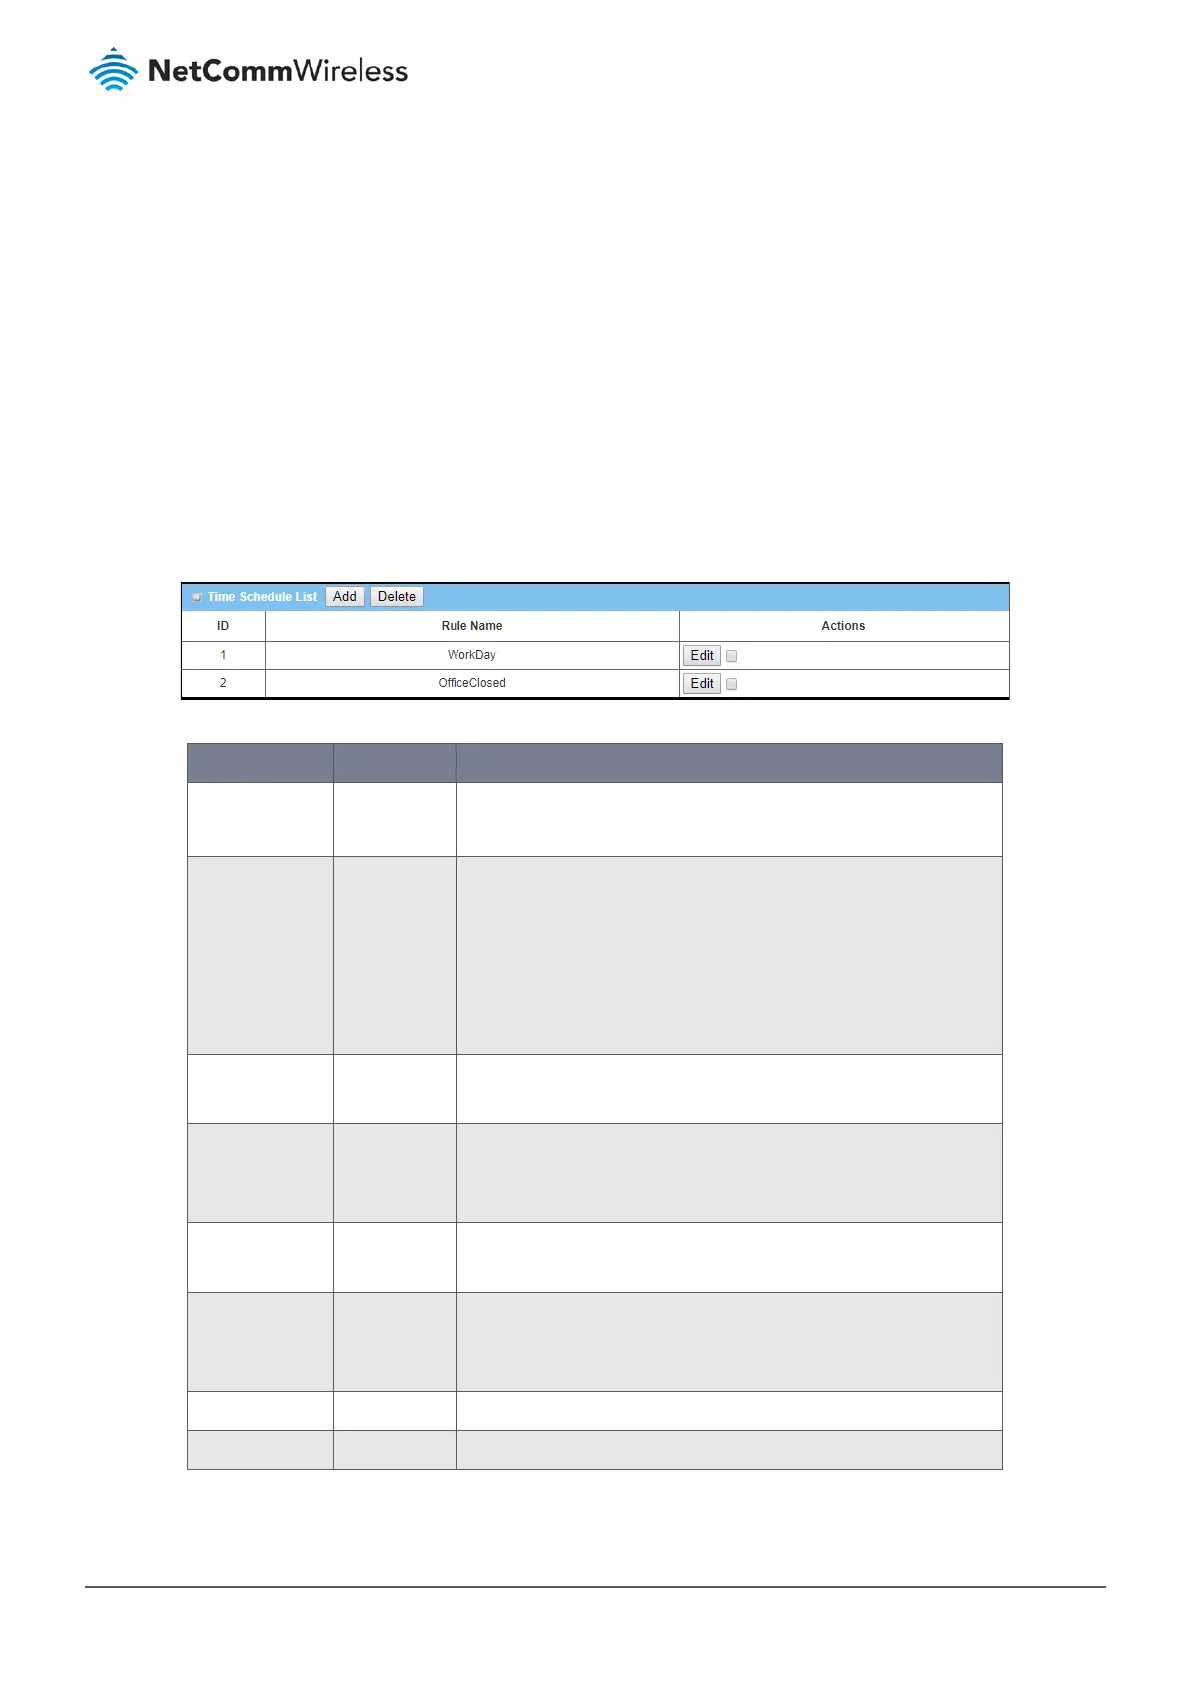
2 In the Time Schedule List you can manage existing schedules or create new ones:
Figure 193 – Time Schedule list
Item Notes Description
ID Integer.
Auto-fill.
The Time Schedule’s system-generated reference number.
Rule Name Uneditable in
this list.
The Rule Names in this list will populate drop down lists throughout
the NTC-400 Series Router that reference Scheduling Rules.
Rule Name is entered in Time Schedule Configuration section, see
next.
Click this group’s Edit button in the Actions column to change this
name.
Actions - Edit Button Modify an existing Time Schedule by clicking its corresponding Edit
button in the Actions section.
Actions - select Checkbox Redundant or obsolete time schedules can be permanently removed
by checking for those schedules and then clicking the Delete
button in the Time Schedule List’s title bar.
Add Button Click the Add button to configure a new time schedule rule, see next
section.
Delete Button Use the Delete button in conjunction with the checkbox in the
Actions section to permanently delete schedules that are no longer
required.
Save Button Click Save to save the settings.
Refresh Button Click Refresh to update the list.
Table 108 – Time Schedule List