Item Notes Description
USSD Command Text entry box. The USSD Command string of the selected profile will be shown
here.
USSD Response buttons Click the Send button to send the USSD command, and the USSD
Response screen will appear.
You will see the response message of the corresponding service,
receive the service SMS.
The Clear button will cause the USSD Response text box to
disappear.
Table 232 – USSD Profile Configuration
8.1.5 Network Scan
The Network Scan function allows an administrator to specify how to connect the device to the mobile system for data
communication in each 3G/4G interface. For example, administrator can specify the mobile system, 2G, 3G or LTE, used for a
connection and can set the router to automatically connect to the mobile system. The Administrator can also manually scan
the mobile systems, select a target system and apply it. The manual scanning approach is often used for diagnostics.
8.1.5.1 Network Scan Setting
To access the Network Scan settings and tools:
1 Select Cellular Toolkit from the Service submenu and click the Network Scan tab.
2 The Network Scan page contains two sections relating to the USSD functionality:
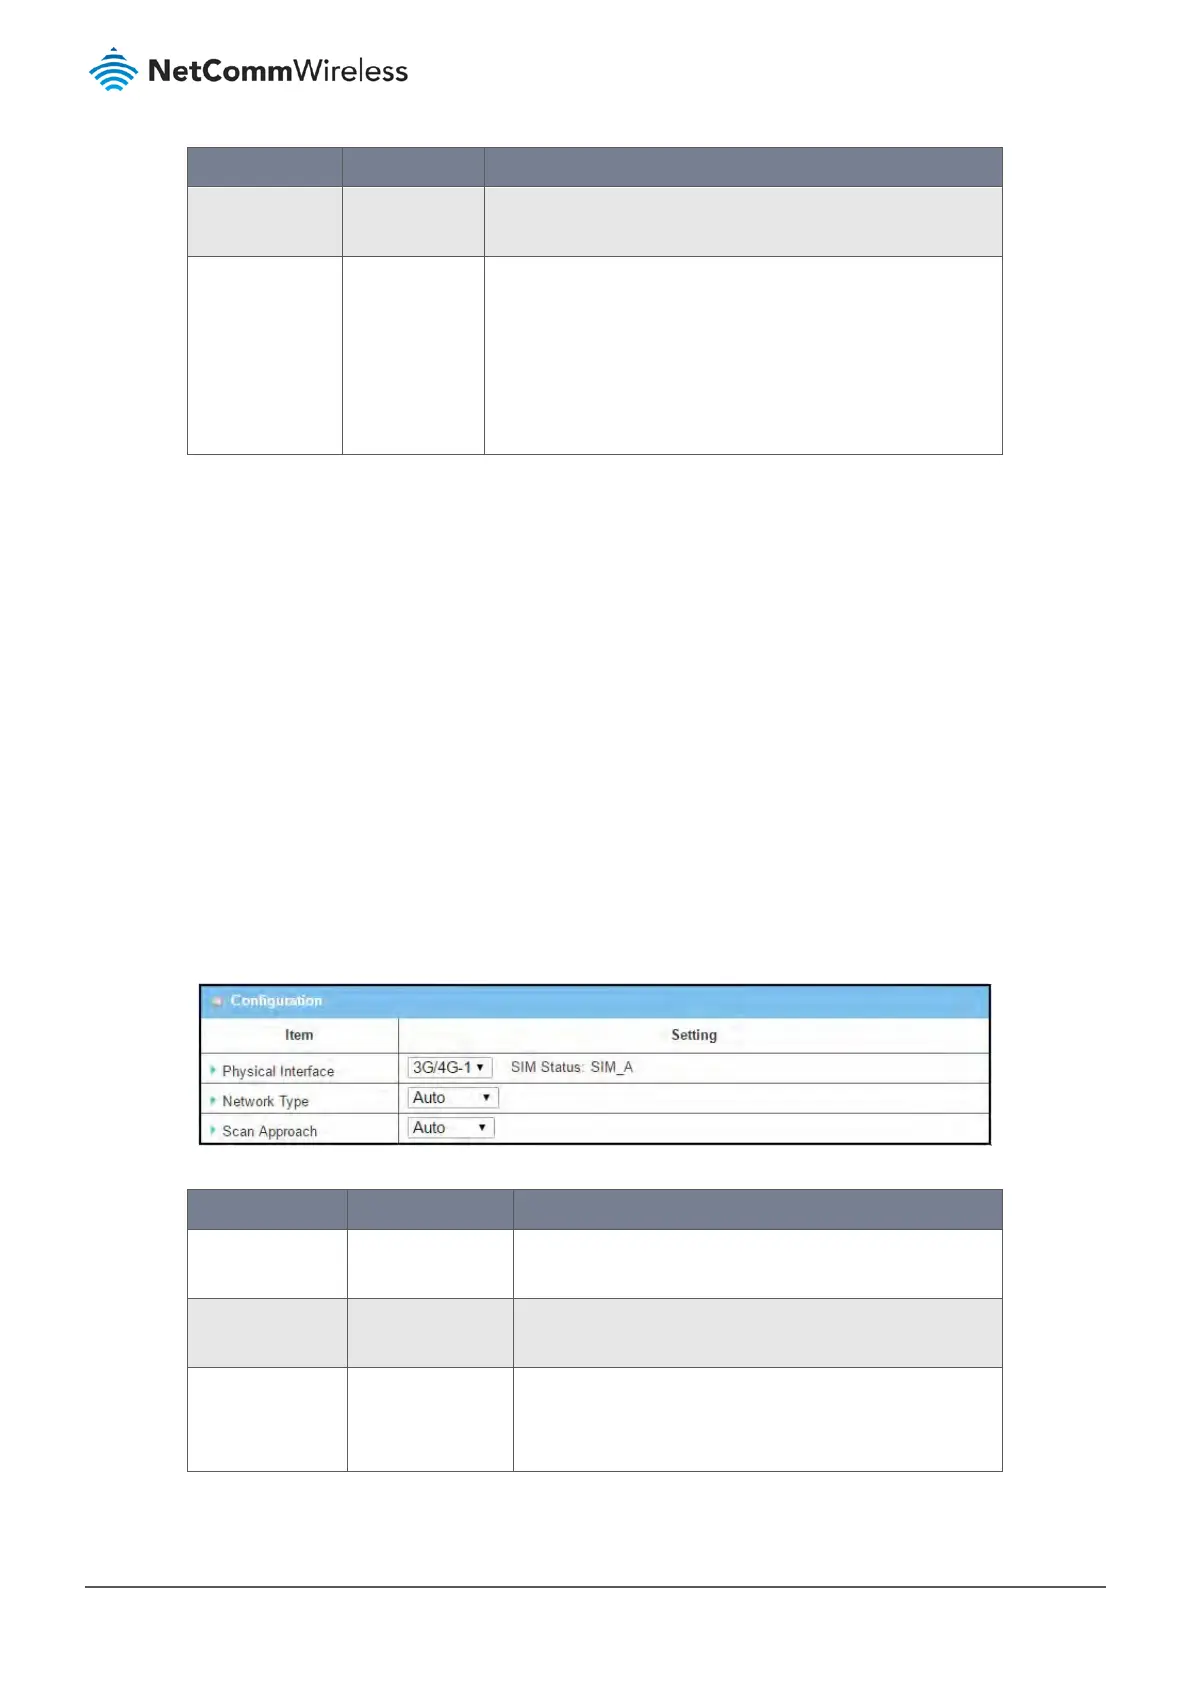
8.1.5.2 Configuration
The Configuration section contains settings for network scans.
Figure 374 – Network Scan Configuration
Item Notes Description
Physical Interface Default setting:
3G/4G-1
Choose a cellular interface (3G/4G-1 or 3G/4G-2) for the
network scan service.
SIM Status System generated The system displays the SIM card (identified with SIM_A or
SIM_B) associated with the selected cellular service.
Network Type Default setting:
Auto
Specify the network type for the network scan function.
Auto – When Auto is selected, the network will be register
automatically;
 Loading...