Router 2 can establish an IPSec VPN tunnel with "Site to Site" scenario and IKE and X.509 protocols to Router 1.
The client hosts in two subnets of 10.0.75.0/24 and 10.0.76.0/24 can communicate with each other.
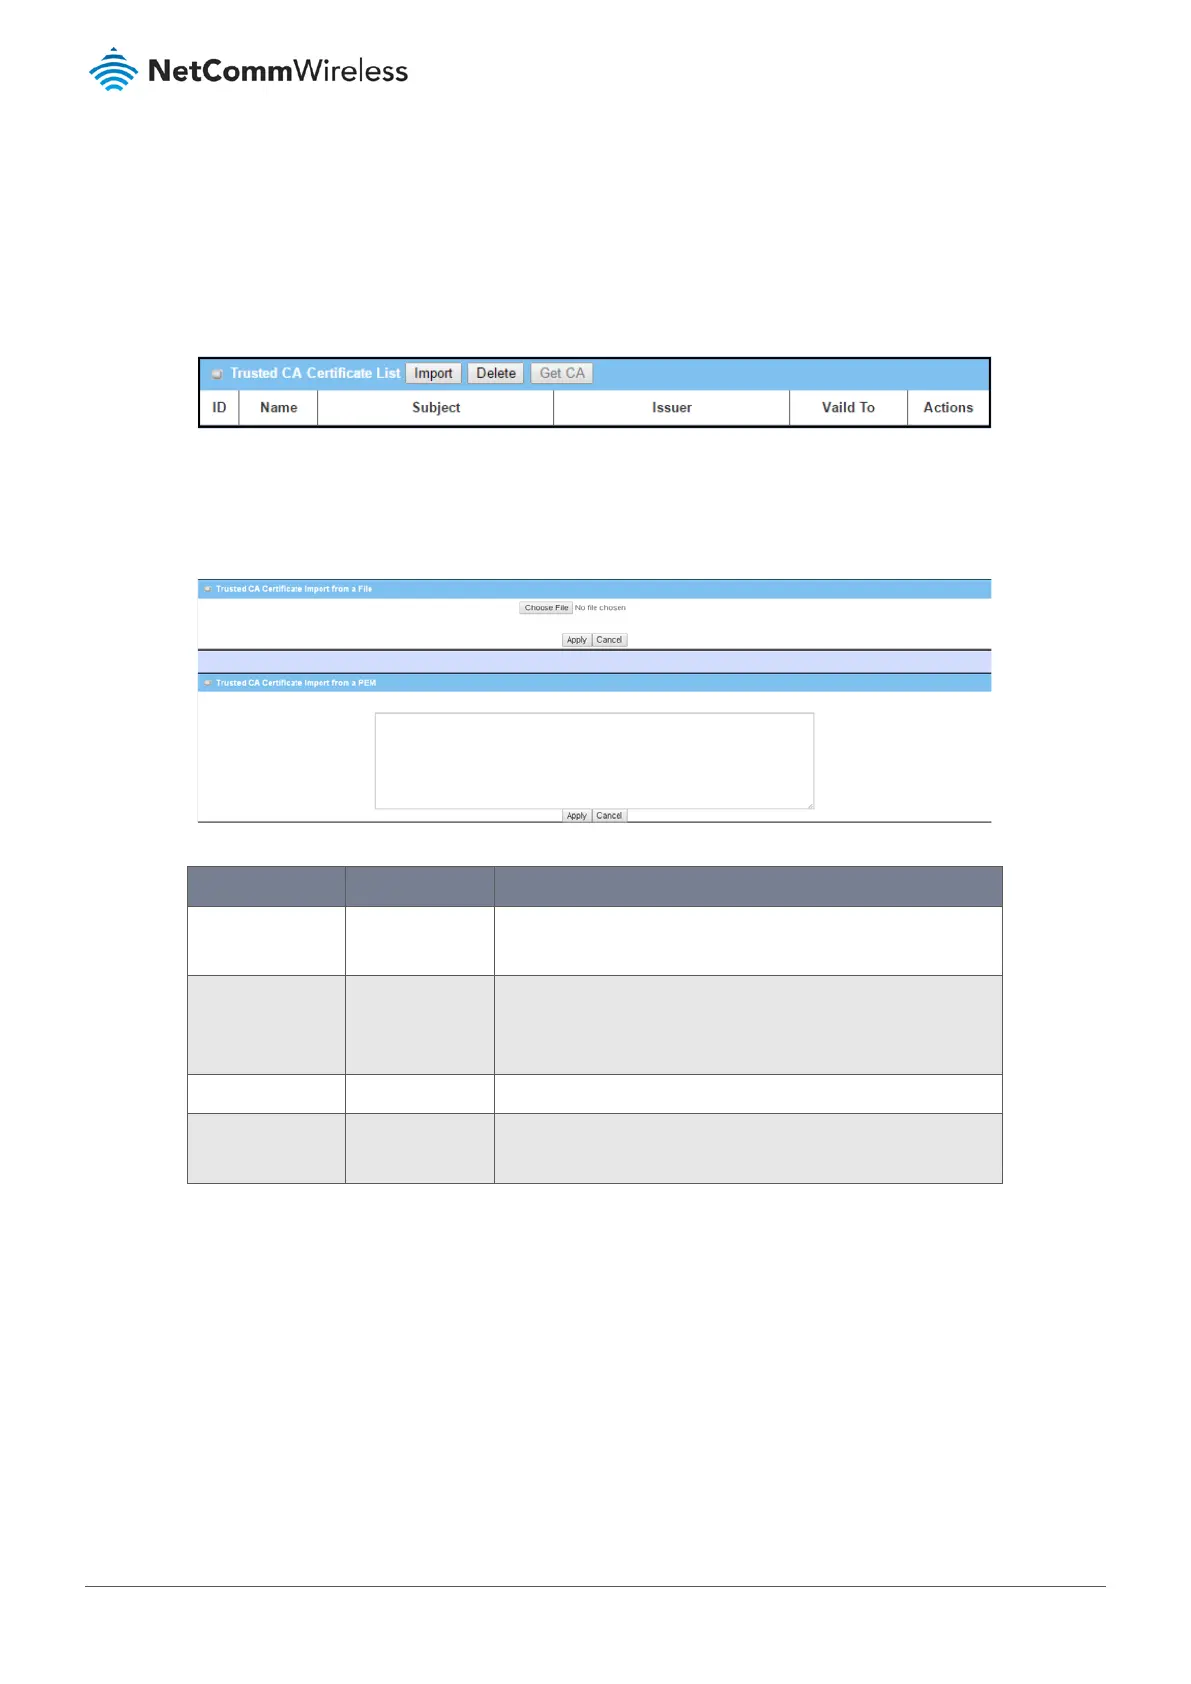
4.5.4.2 Trusted CA Certificate List
To view the Trusted CA Certificate List open the Object Definition submenu, select Certificate and then click its Trusted
Certificate tab, the Trusted CA Certificate List will appear in its own section:
Figure 210 – Trusted CA Certificate List
4.5.4.3 Import Trusted CA Certificate
Click the Import button in the Trusted CA Certificate List’s title bar to either import an existing Trusted CA certificate file or
create a CA certificate by copying and pasting a PEM code string into the text entry field.
Figure 211 – Trusted CA Certificate Import – From File & From a PEM
Item Notes Description
Import from a File Mandatory field. Select a CA certificate file from a directory, and click the Apply
button to import the specified CA certificate file in to the router.
Import from a
PEM
Mandatory field.
Enter text string.
Alternatively, copy (Ctrl+C) and paste (Ctrl+V) the PEM CA
certificate code string into the text entry field, and click the
Apply button to create the CA certificate in the router.
Apply Button Click the Apply button to import or create the certificate.
Cancel Button Click the Cancel button to discard the import operation and the
screen will return to the Trusted Certificate page.
Table 123 – Trusted CA Certificate List
4.5.4.4 CA Certificate from SCEP Server
Providing SCEP is enabled, as an alternative to importing a Trusted CA certificates suing the import tools mentioned above,
you can also generate the CA certificate from the SCEP server.
To enable SCEP go to Object Definition > Certificate > Configuration. When enabled, the Get CA button in the Trusted CA
certificate List’s caption bar will be available
Click the Get CA button to open the Get CA Configuration screen.
 Loading...