ProSYS Installation and Programming Manual 159
Accessories: Add Delete Module
Quick Keys Parameter Default Range
3. Place the cursor over the TYPE field and use the / key to
toggle between the options and select the required Power Supply as
follows:
None
PS01: 1.5A power supply
PS02: 3A power supply
4. Press
/ to store your choice.
5. If NONE was selected, skip the next step. If PS01 or PS02 was selected,
the following display appears:
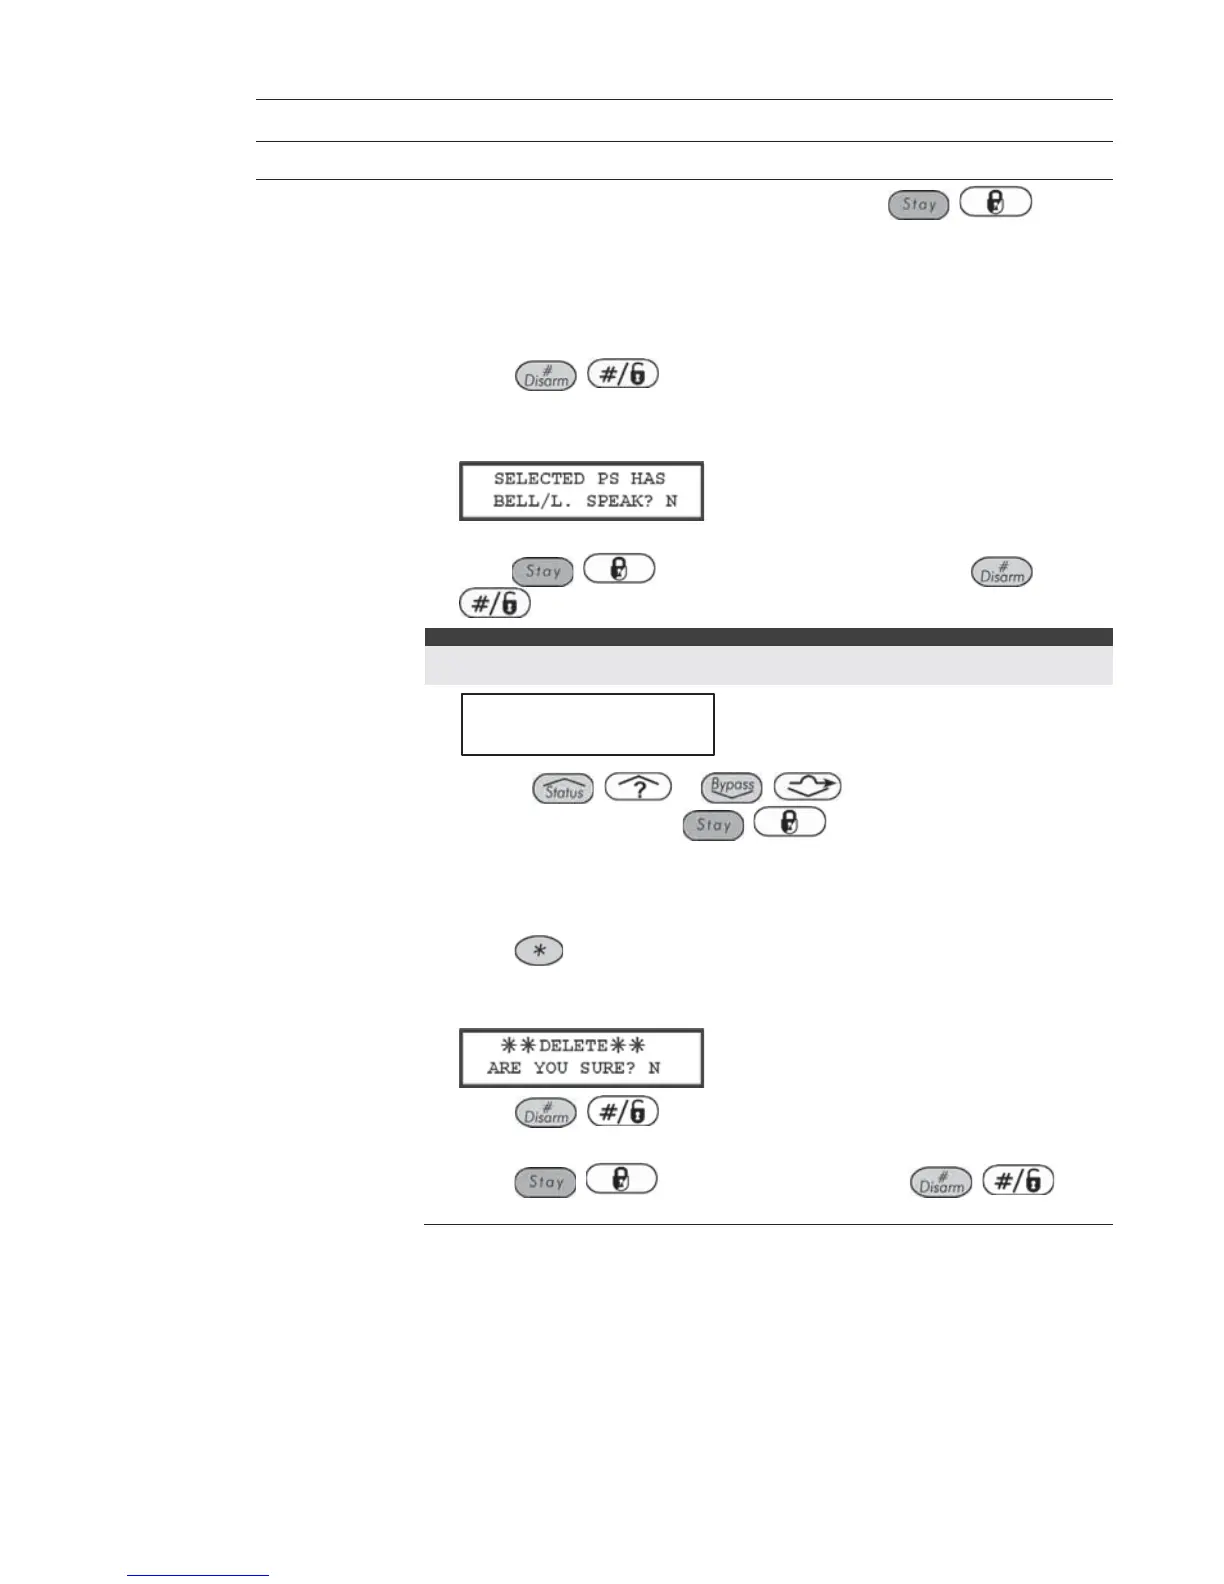
6. If a bell siren or loudspeaker is connected to the Power Supply module,
press
/ to select [Y] YES; otherwise, press /
. The Partition display appears.
NOTE:
If YES is selected, the system will look for, detect, and sound any problems in the sounder
circuit.
P=12345678 PS=1
Y.......
7. Use the
/ or / keys to select a partition
number and then use the
/ key to toggle [Y] YES or [N] NO
to assign that partition to the power supply.
8. Repeat the process for any other Power Supply modules in the system, up
to the system's maximum of 8, depending on your installed model.
9. Press
to return to the previous programming level.
If a Power Supply module is found and NONE has been selected, the
following display appears:
10. Press / to return to the previous display,
-OR-
Press
/ to select [Y] YES and press / to
confirm the delete.