ProSYS Installation and Programming Manual 75
Zones: Cross Zone
Quick Keys Parameter Default
22
77
11
Zone Crossing
The Zone Crossing menu is used for additional protection from false alarms
and contains parameters that enable you to link together two related zones.
Both must be violated within a designated time period (between 1 and 9
minutes) before an alarm occurs.
This type of linking is used with motion detectors in hostile or false-alarm prone
environments.
NOTES:
The ProSYS allows 10 unique sets of zone links (pairs of zones), which can be
manually specified, as required. Zones crossed with themselves are valid pairs.
They need to register a violation twice to trigger the alarm. This process is known
as Double Knock. You may want to establish a number of zone links, but leave
them deactivated at this time (see below).
22
77
11
11
None
Temporarily disables any associated zone pairings.
22
77
11
22
Ordered
Effects an alarm so the first listed zone is tripped before the second.
22
77
11
33
Not Ordered
Affects an alarm in which either zone in the pair may be tripped first. If this
case, the specified zone order (1st, 2nd) has no bearing on the alarm
activation.
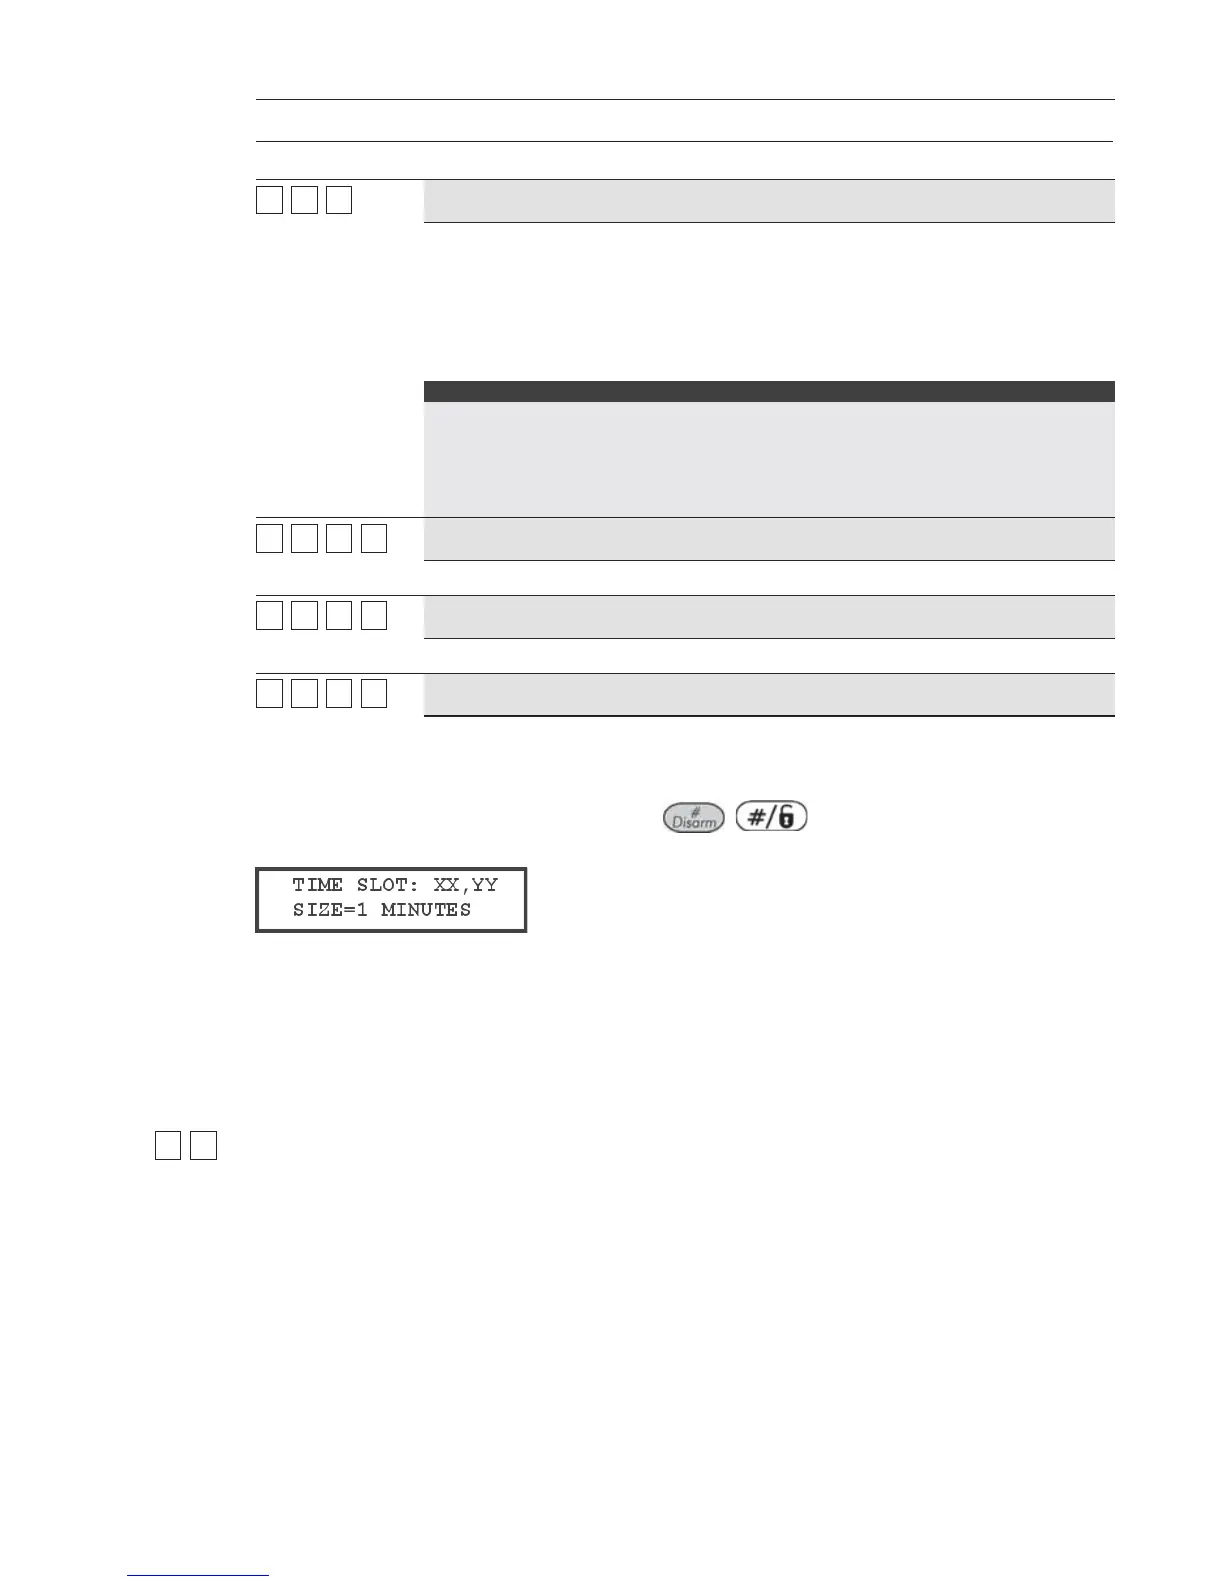
7 After choosing one of the above, press / to define the maximum time-
lapse interval between 1 and 9. The Time Slot parameter appears:
8 Enter the time slot, meaning the maximum amount of time allowed between the
triggering events for them to be considered a valid violation (XX,YY indicate the
crossed zones).
O Default: 1 min
O Range: 1 to 9 minutes
9 Repeat the entire process, as required, for any additional zone links (up to 10).
22
88
Zones: Labels
The Labels menu enables you to create and/or edit up to 15 characters to describe each of
the system's zones.
Default: Zone 01, Zone 02, Zone 03, Zone 04 and so on for each zone
Range: Any characters
To access the Labels menu:
Access the Zones menu, as described on page 62.
1 From the Zones menu, press [8] to access the Labels menu options. The following
display appears: