172 ProSYS Installation and Programming Manual
3 Use the
/ or / keys to position the cursor and make any
changes to the Button Number you want to learn-in to the system.
4 Press
/ .
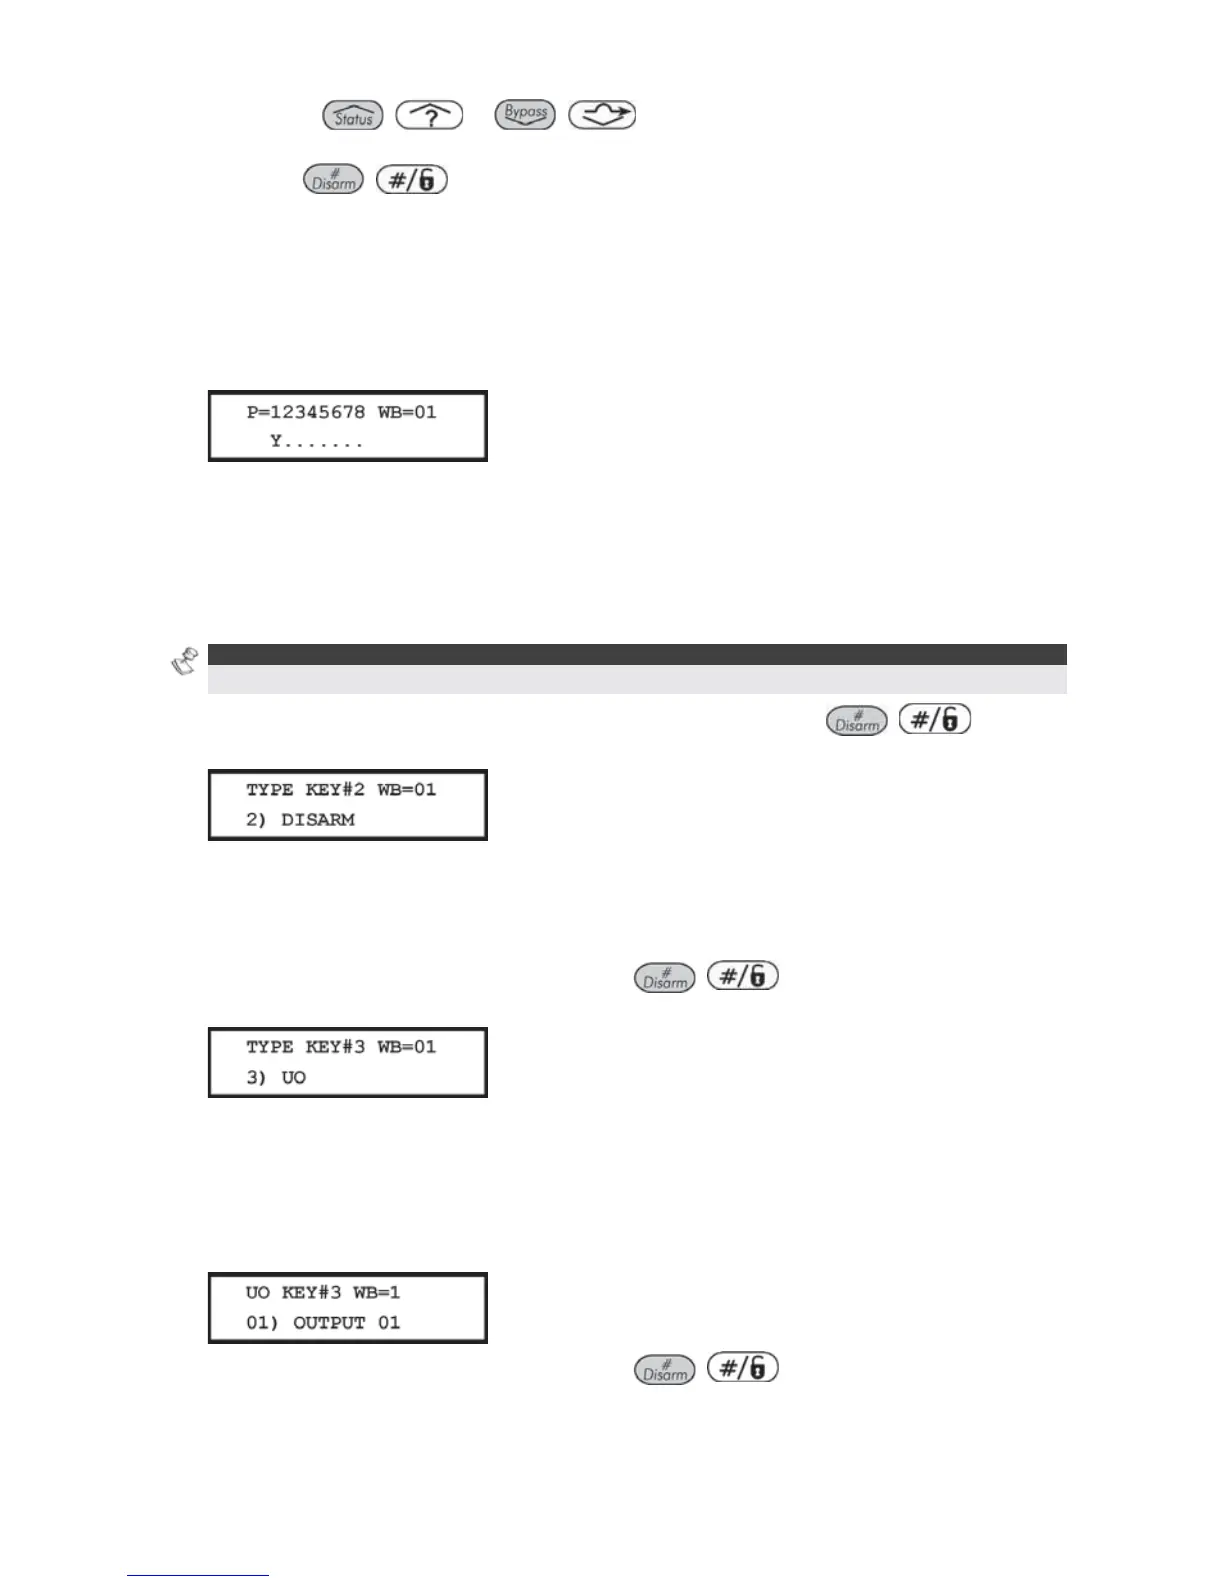
Changing the Wireless Button Parameters
Each wireless button consists of 4 keys, and each key can be programmed to a different
mode of operation.
To change the wireless button parameters:
1 Assign the relevant partitions for the selected button.
2 Set the parameters for the Arm Key #1 () (used to perform the Away Arming
operation) from the following options:
O NONE: The key is disabled (default).
O AWAY: The key is used for AWAY arming the assigned partitions.
O STAY: The key is used for STAY arming the assigned partitions.
O GROUP: The key is used for GROUP arming the assigned partitions.
NOTE:
Away or STAY arming can be defined as instant or delayed (Exit Delay).
3 After selecting the Arming type and mode of operation, press / . The
system moves to the next key, and the following display appears:
4 Set the parameters for the Disarm Key #2 () (used to perform the Disarming
operation) from the following options:
O NONE: The key is disabled (default).
O DISARM: The key ID is used for disarming its assigned partitions.
5 After selecting the required option, press
/ . The system moves to the
next key, and the following display appears:
6 Set the parameters for the Panic Key #3 (used to perform a Panic or Utility Output
operation) from the following options:
O NONE: The key is disabled (default).
O PANIC: The key is used as a Panic button.
O UO: The key is used to operate a Utility Output. When selecting this option, you must
select a Utility Output. The following display appears:
7 After selecting the required option, press
/ . The system moves to the
next key, and the following display appears: