Initialization
Before you can use a TSP-Link
®
system, it must be initialized. For initialization to succeed, each
instrument in a TSP-Link system must be assigned a different node number.
Assigning node numbers
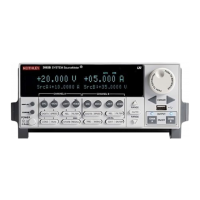
At the factory, each 2600B instrument is assigned as node 1. The node number is stored in
nonvolatile memory and remains in storage when the instrument is turned off. You can assign a node
number to a 2600B using the front panel or by using a remote command. Note that there can only be
32 physical nodes, but you can assign node numbers from 1 to 64.
To assign a node number from the front panel of the instrument:
1. Press the MENU key, then select TSPLINK > NODE.
2. Press the navigation wheel and select the node number.
3. Press the ENTER key to save the number.
To assign a node number using a remote command:
Set the tsplink.node attribute of the instrument:
tsplink.node = N
Where N = 1 to 64
To determine the node number of an instrument, you can read the tsplink.node attribute by
sending the following command:
print(tsplink.node)
The above print command outputs the node number. For example, if the node number is 1, a 1
is displayed.
Resetting the TSP-Link network
After all the node numbers are set, you must initialize the system by performing a TSP-Link
®
network reset.
If you change the system configuration after initialization, you must reinitialize the system by
performing a TSP-Link network reset. Changes that require that you reinitialize the TSP-Link network
include turning off power or rebooting any instrument in the system, or rearranging or disconnecting
the TSP-Link cable connections between instruments.
 Loading...
