Adjustment procedure
Use the following procedure to perform remote calibration adjustment by sending commands over a
communications interface. The remote commands and appropriate parameters are separately
summarized for each step.
Step 1. Prepare the 2600B for adjustment
A. Connect the 2600B to the controller IEEE-488 interface, RS-232 port, USB interface, or LAN
using an appropriate interface cable.
B. Turn on the 2600B and the test equipment. Allow them to warm up for at least two hours before
performing adjustment.
C. Make sure the IEEE-488, RS-232, or LAN interface parameters are set up properly. To configure
the interface, press the MENU key, and then select RS232, LAN, or GPIB, as applicable;
configuration of the USB interface is not necessary so it is not available.
Step 2. Voltage calibration adjustment
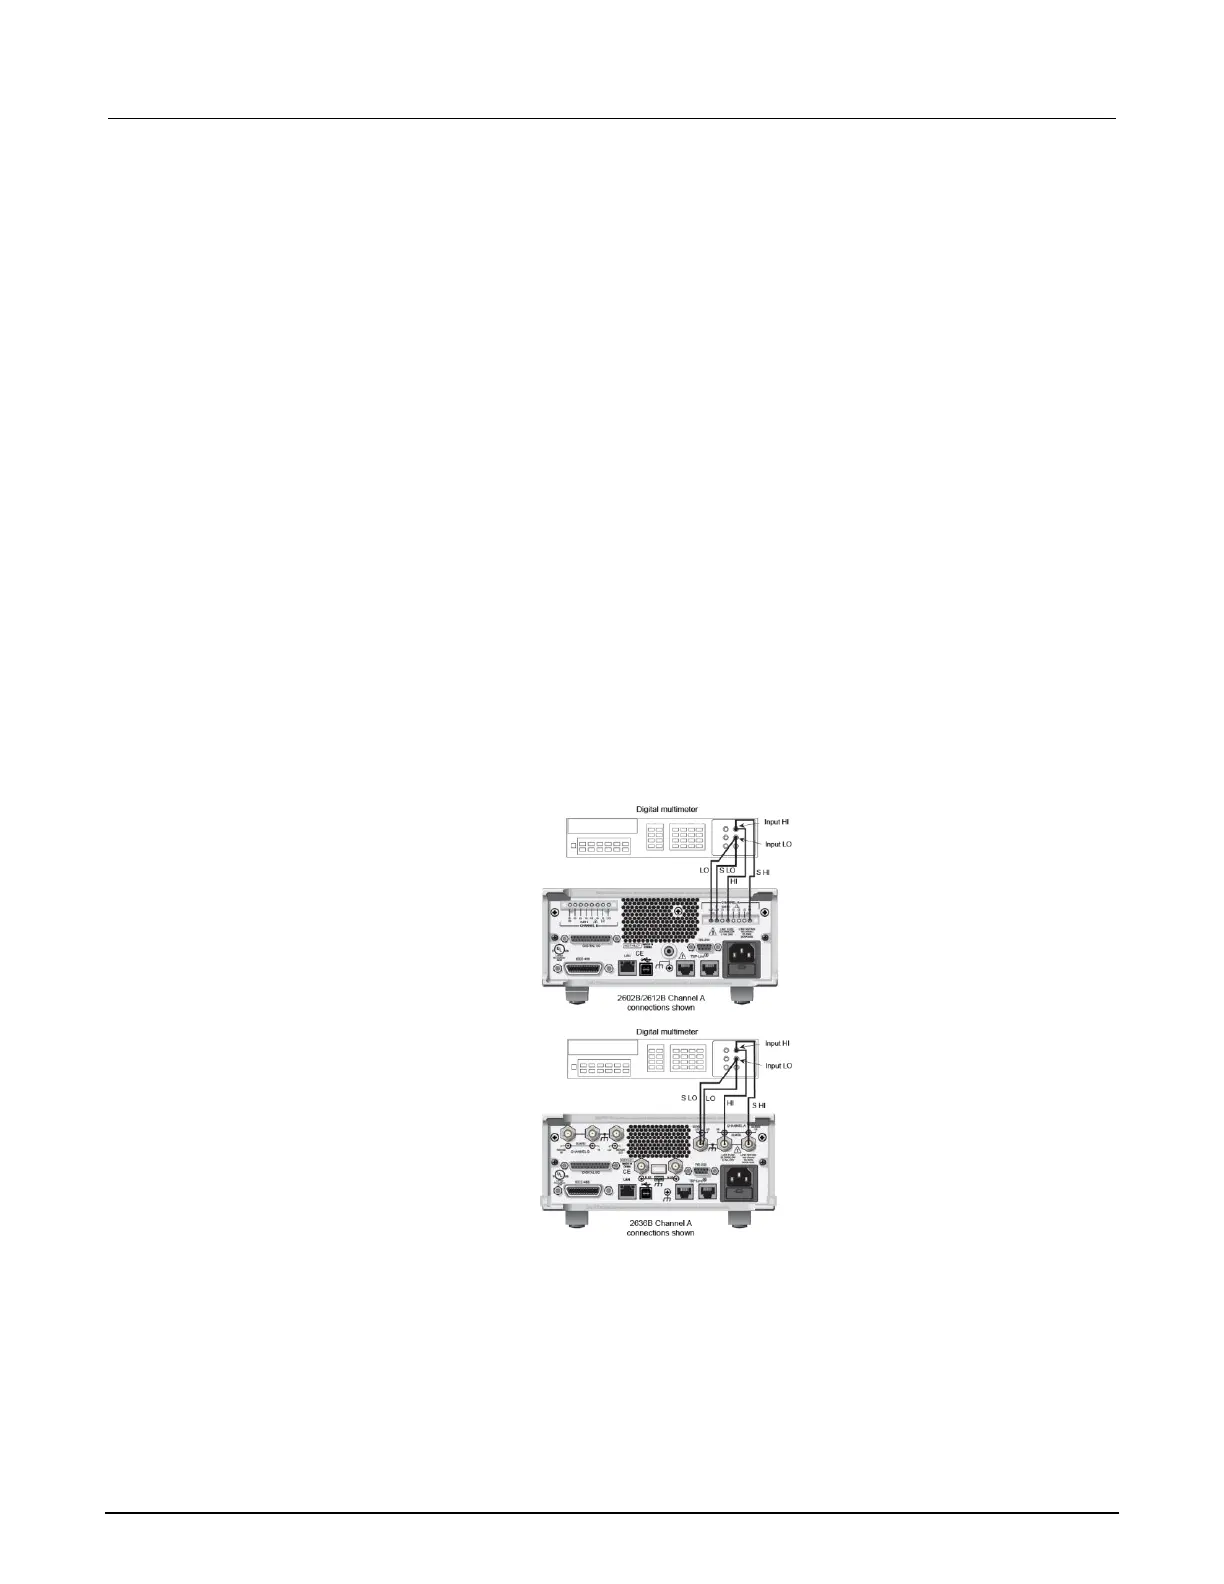
A. Connect the 2600B SMU to the digital multimeter using the 4-wire connections shown in the
figure below. Select the multimeter dc volts function.
Figure 132: Connections for voltage calibration
B. Send the following commands to initialize voltage calibration:
smua.cal.unlock("KI0026XX")
smua.reset()
smua.source.func = smua.OUTPUT_DCVOLTS

 Loading...