Measure autodelay
The measure delay is a specific delay that is applied before each measurement is made. This delay is
disabled by default (measurements are made immediately). You can change the default delay by
setting the smuX.measure.delay (on page 9-221) attribute either to a specific value or to an autodelay
setting (set smuX.measure.delay = smuX.DELAY_AUTO). If the measure delay is set to the
autodelay setting, a range-dependent delay is applied each time the instrument performs a current
measurement. This delay also happens for the measurement that is made after changing current
ranges during an autoranged measurement. The default measurement delay varies by model.
You can increase or decrease the autodelay by changing the delay factor (for example, to reduce the
delay across all ranges by half, set smuX.measure.delayfactor = 0.5). For additional information,
refer to smuX.measure.delayfactor (on page 9-222).
Ranging limitations
If the source and measure functions are different (such as source V and measure I, or source I and
measure V), you can set source and measure ranges separately. If both the source and the measure
functions are the same, the measure range is locked to the source range. In addition, there are
other limitations.
• 2601B, 2602B, 2604B: With the 40 V V-Source range selected, the highest current measurement
range is 1 A. With the 3 A I-Source range selected, the highest voltage measurement range is 6 V.
Refer to Operating boundaries (on page 5-4) for power derating information.
• 2611B, 2612B, 2614B, 2634B, 2635B, 2636B: With the 200 V V-Source range selected, the
highest current measurement range is 100 mA. With I-Source ranges above 100 mA selected, the
highest voltage measurement range is 20 V. Refer to Operating boundaries (on page 5-4) for
power derating information.
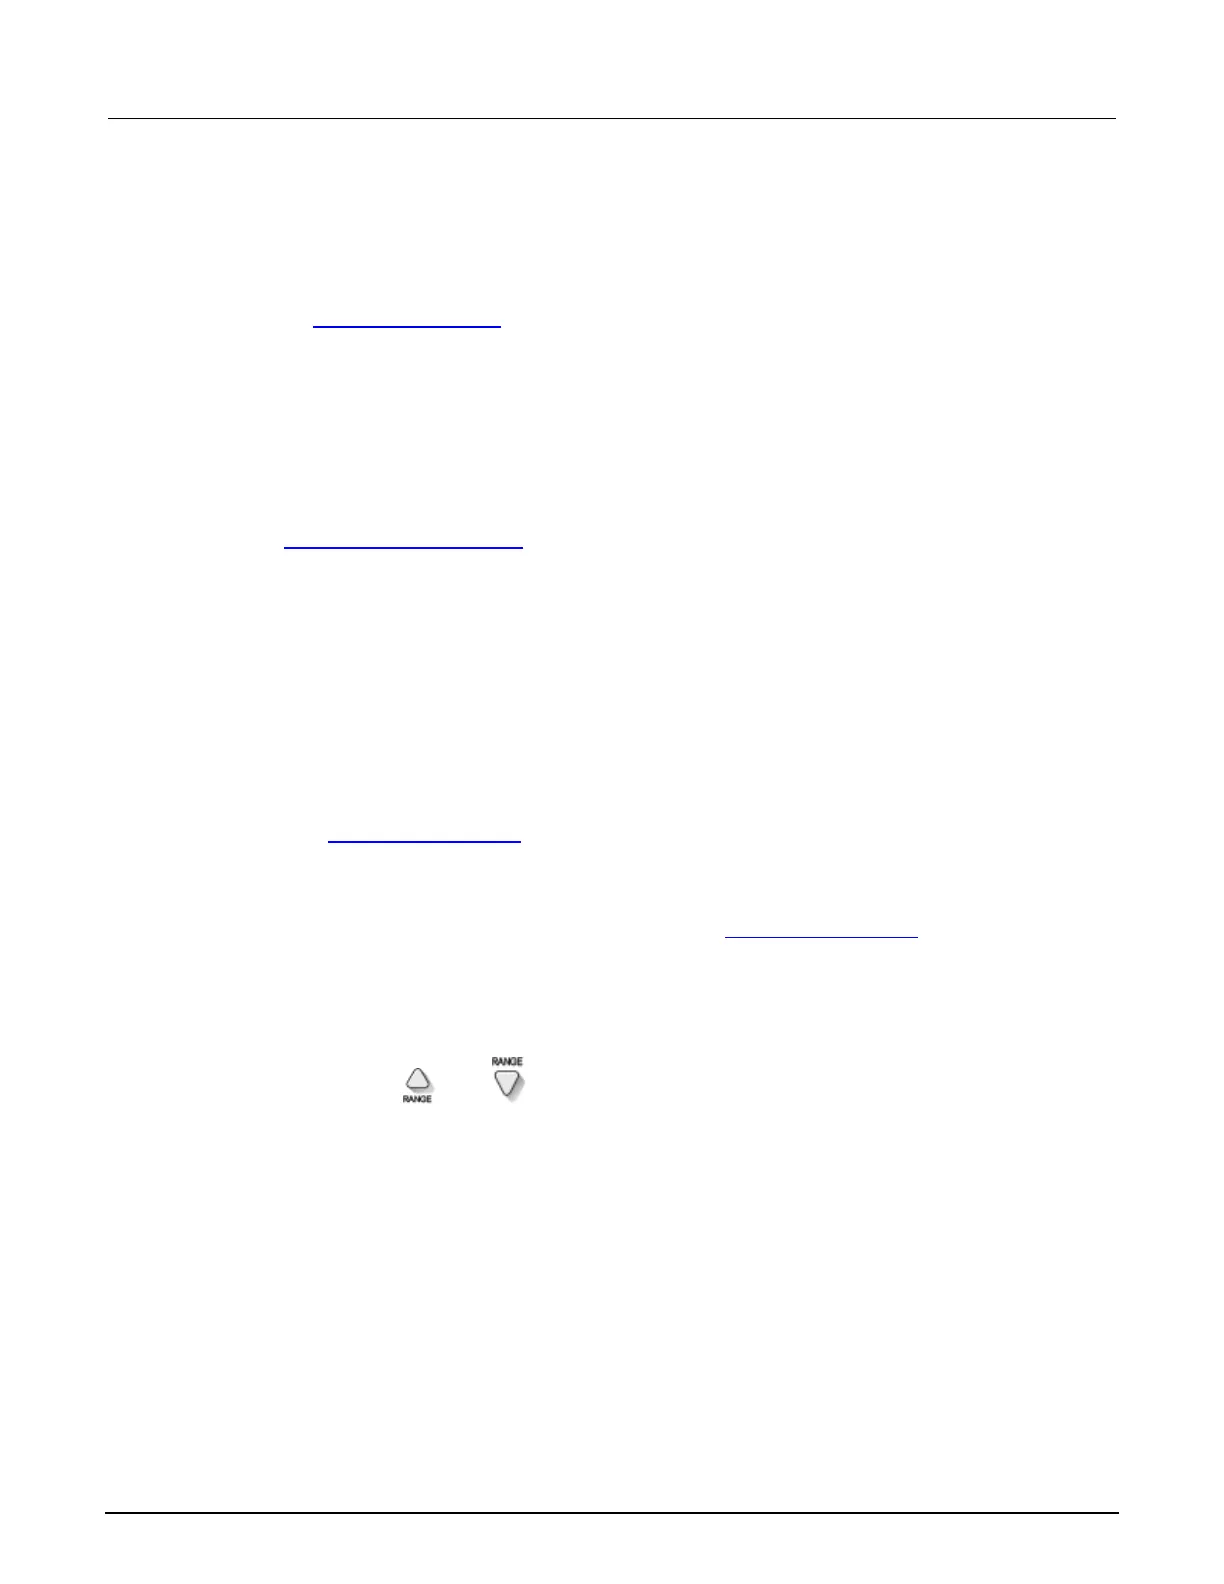
Manual ranging
Use the range keys, and , to select a fixed range:
• To set the source range, press the SRC key, and then use the RANGE keys to set the range.
• To set the measure range, select the single-channel display mode (2602B, 2604B, 2612B, 2614B,
2634B, or 2636B), and then use the RANGE keys to set the range.
If the instrument displays the overflow message on a particular range, select a higher range until an
on-range reading is displayed. To ensure the best accuracy and resolution, use the lowest range
possible that does not cause an overflow.

 Loading...