Basic Features
115
Fax
4
Specifying Destination using the Keyboard Screen
When the Additional G3 Port (optional) is installed, you can set the line (port) and send
faxes. Local terminal information can be registered to each line. You can use a line for
your purpose.
For information on local terminal information, refer to "Local Terminal Information" (P.320).
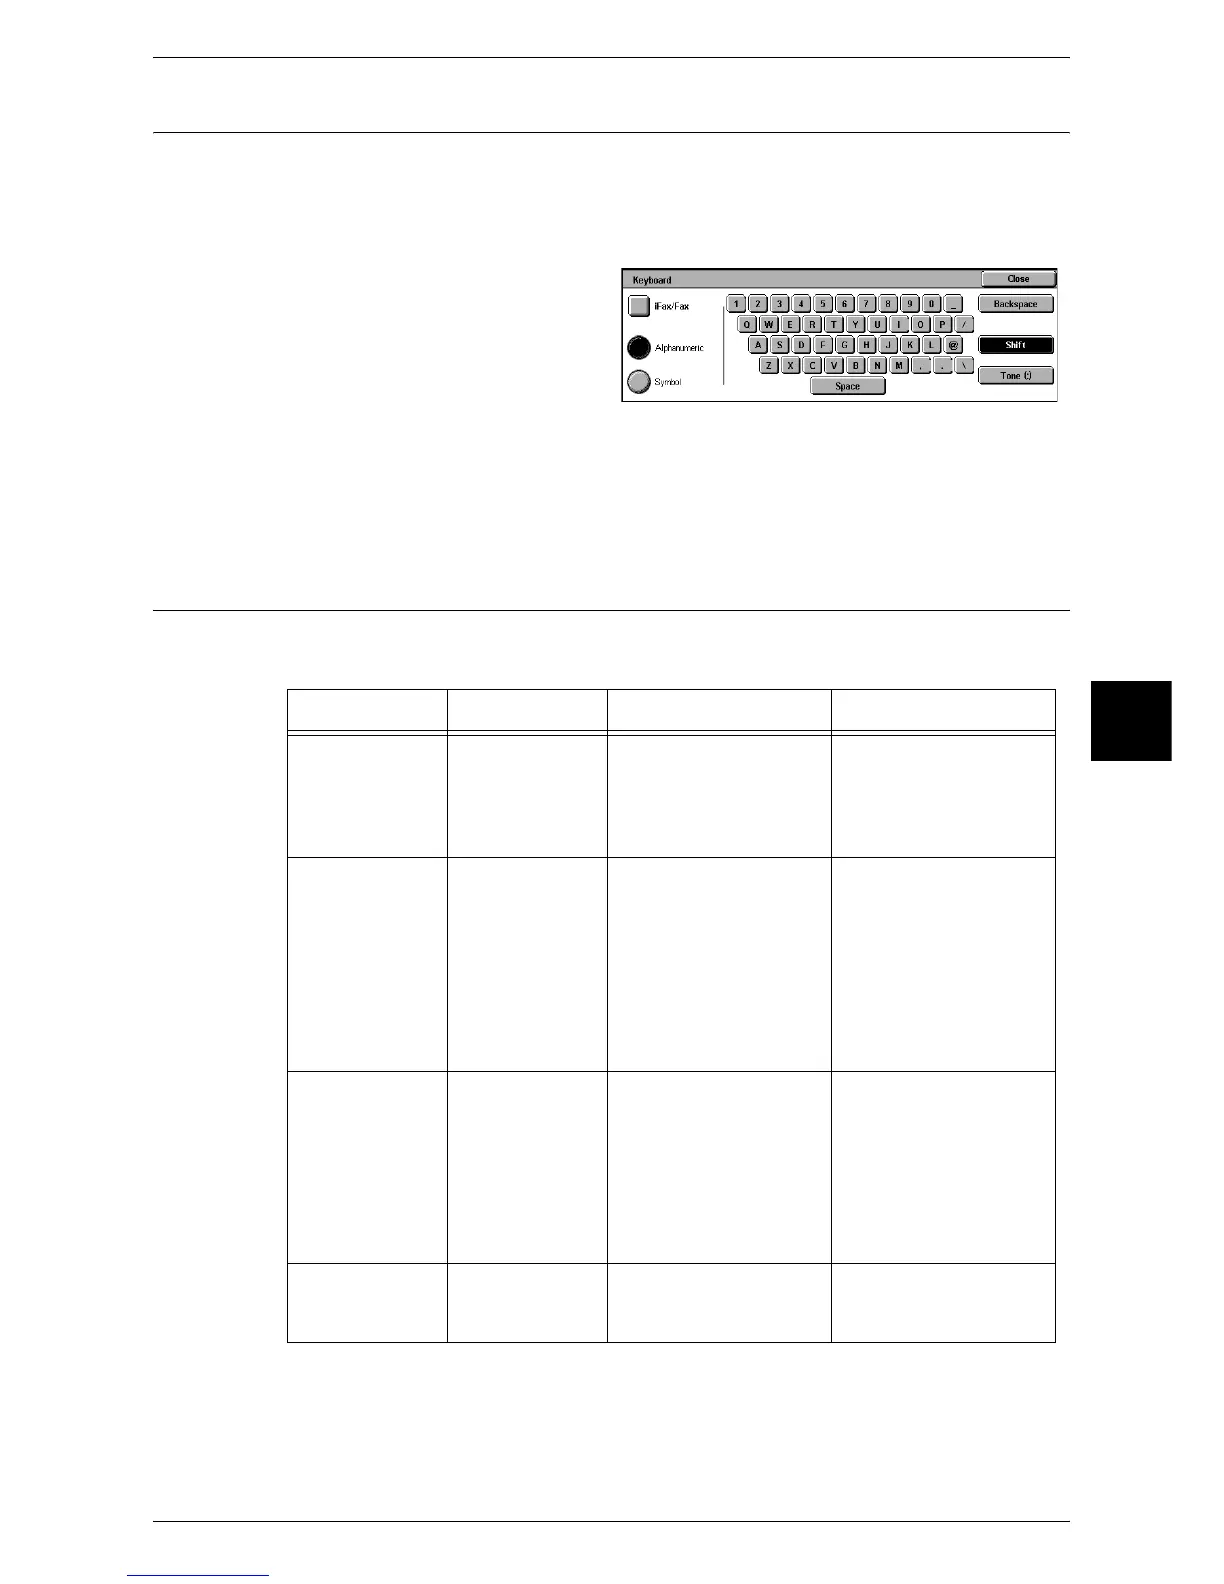
1 Select [Keyboard] on the [Basic
Features] screen.
2 Enter "<", "port number", ">", and
"telephone number" with the
keyboard that appears on the touch
screen.
3 Press the <Start> button.
Note • The port numbers are "1", line 2 (LINE 2 jack) J "2" and line 4 (LINE 4 jack) J "4".
• You can specify line 2 and line 4 when an option is installed.
Entering Specific Symbols
When specifying a recipient, you can use the following features to enter specific
symbols from the touch screen.
Note • When using the DTMF method, use specific symbols. For information on the DTMF method,
refer to "Remote Mailbox (Using Remote Mailbox)" (P.133), and "Broadcast" (P.144).
Feature Button Function Input method
Enter pause - or
<Pause> (-)
One pause is 3 seconds.
You can enter pauses of
6 seconds, 9 seconds,
etc. by additional button
presses.
Press the <Pause>
button.
(Example)
0-123 ...
0--123 ...
Transmit using a
password
S When a password has
been set, transmission
will only start if the
password matches the
ID number on the remote
terminal.
1. Select [Keyboard] in
the [Basic Features]
screen to display the
keyboard.
2. Select
[Alphanumeric].
3. Select [S].
(Example)
0312345678S12345678
Transmit DTMF
signal
! Use to transmit the
DTMF signal.
1. Select [Keyboard] in
the [Basic Features]
screen to display the
keyboard.
2. Select [Symbol].
3. Select [!].
(Example)
0311123456!123#
Transmit PB
(from dial pulse
to tone)
: Switches the dial type
from pulse to tone when
the Fax service is used.
1. Select [Tone (:)] on
the [On-hook] or [Off-
hook] screen.

 Loading...
