Common Settings
271
System Settings
11
Custom Buttons 1 to 3
Assign features to the custom buttons on the control panel: Custom 1 to Custom 3.
To leave a feature unassigned, select [Not Set].
The following example shows how to allocate a feature to the Custom 2 button. You
can allocate features to the Custom 1 and 3 buttons with the same procedure.
Note • The operation settings can be registered in the [Stored Programming] screen. For
information on Stored Programming, refer to "Registering Stored Program" (P.214).
• The default setting of [Custom Button 1] is [Copy].
1 Select [Custom Button 2], and
select [Change Settings].
2 Select the feature to be assigned.
Note • Select [ ] to return to the
previous screen or [ ] to
move to the next screen.
Job Type on Job Status Screen
Select the job types to be shown on the [Completed Jobs] screen of the [Job Status]
screen when the <Job Status> button on the control panel is pressed.
Select from [All Jobs], [Fax/E-mail/Scan Jobs], [Auto Transfer Jobs], and [Print Jobs].
Default Language
Select the language displayed on the machine.
There are two ways of selecting the language: set in the System Administration mode,
and set by ordinary users.
z
Setting in the System Administration mode
The language set here is the standard language that is retained even when the
machine is powered off and on.
z
Setting by ordinary users
The language setting in [Language] in the [All Services] screen is lost when the
machine is powered off.
Important • When set to [English], do not use characters other than ASCII characters.
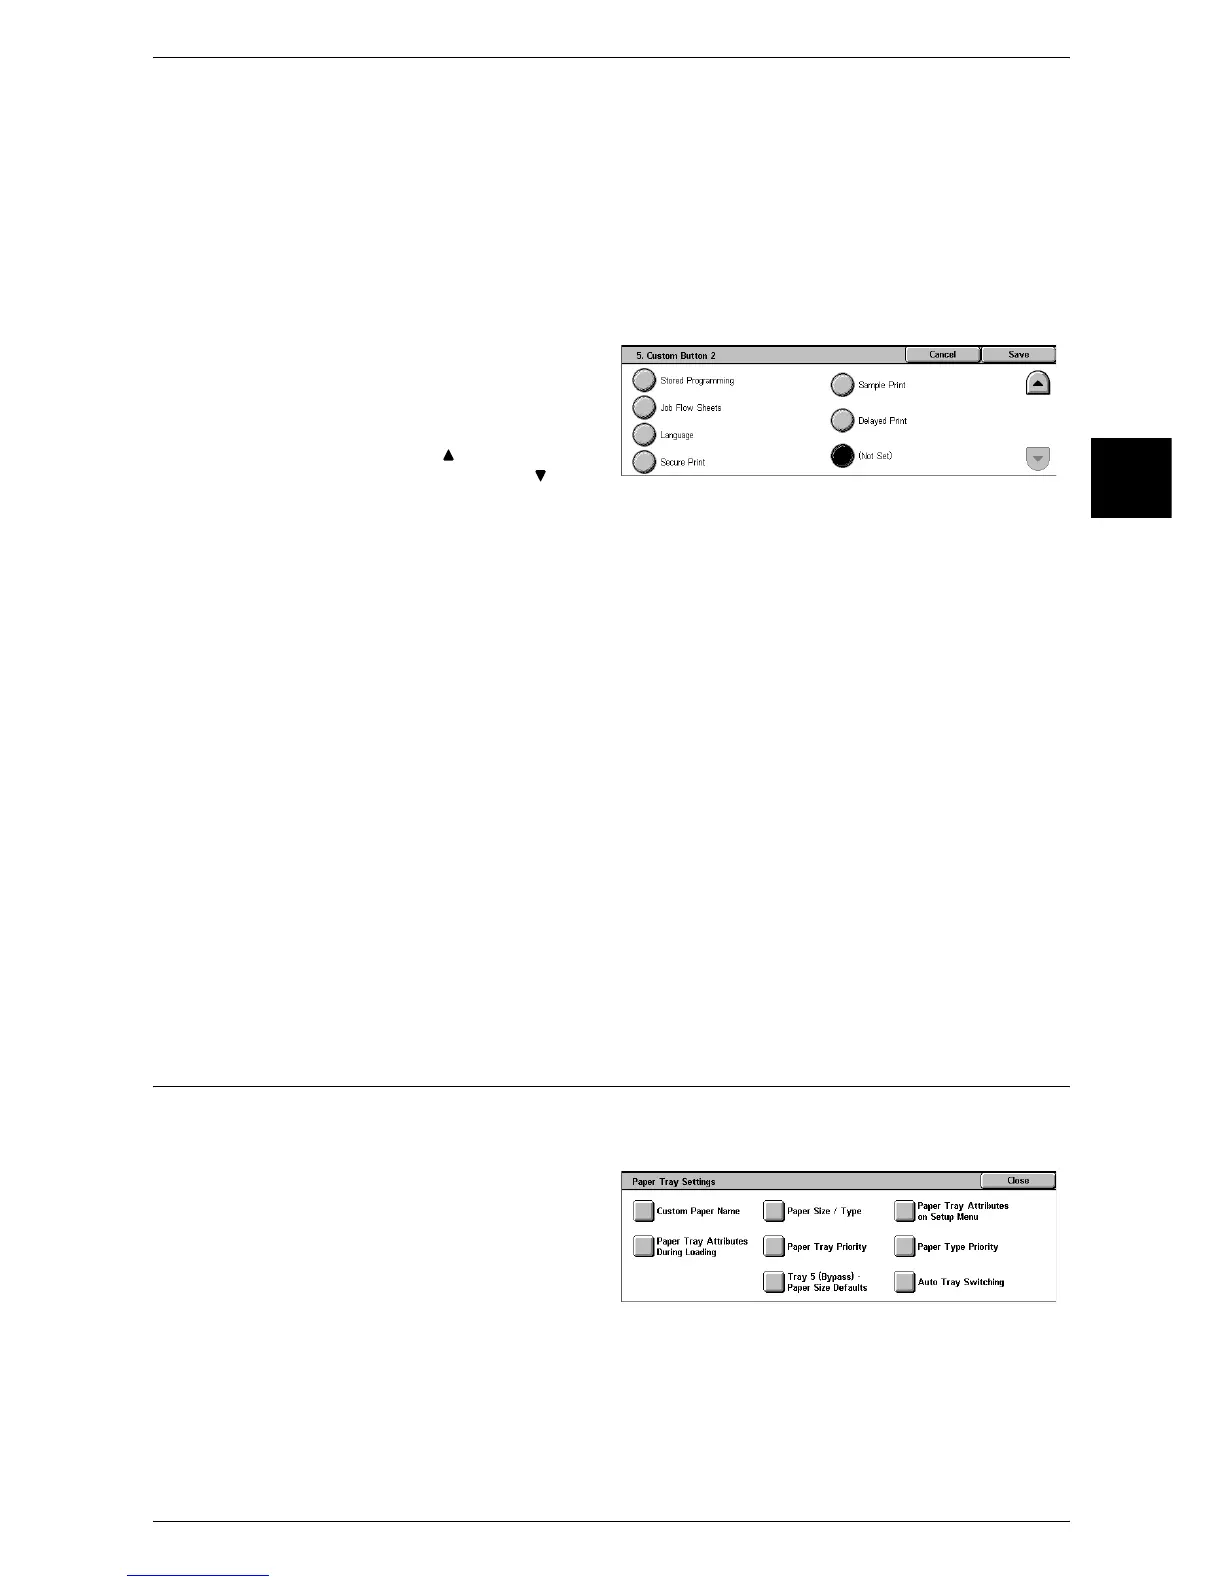
Paper Tray Settings
Set the items relating to the paper and trays, including the types and precedence of
paper loaded in the trays.
1 Select [Paper Tray Settings].
2 Select the item to be set.
3 Select the item to be set or
changed, and select [Change
Settings].
4 Set the setting value.
5 Select [Save].

 Loading...
