11 System Settings
300
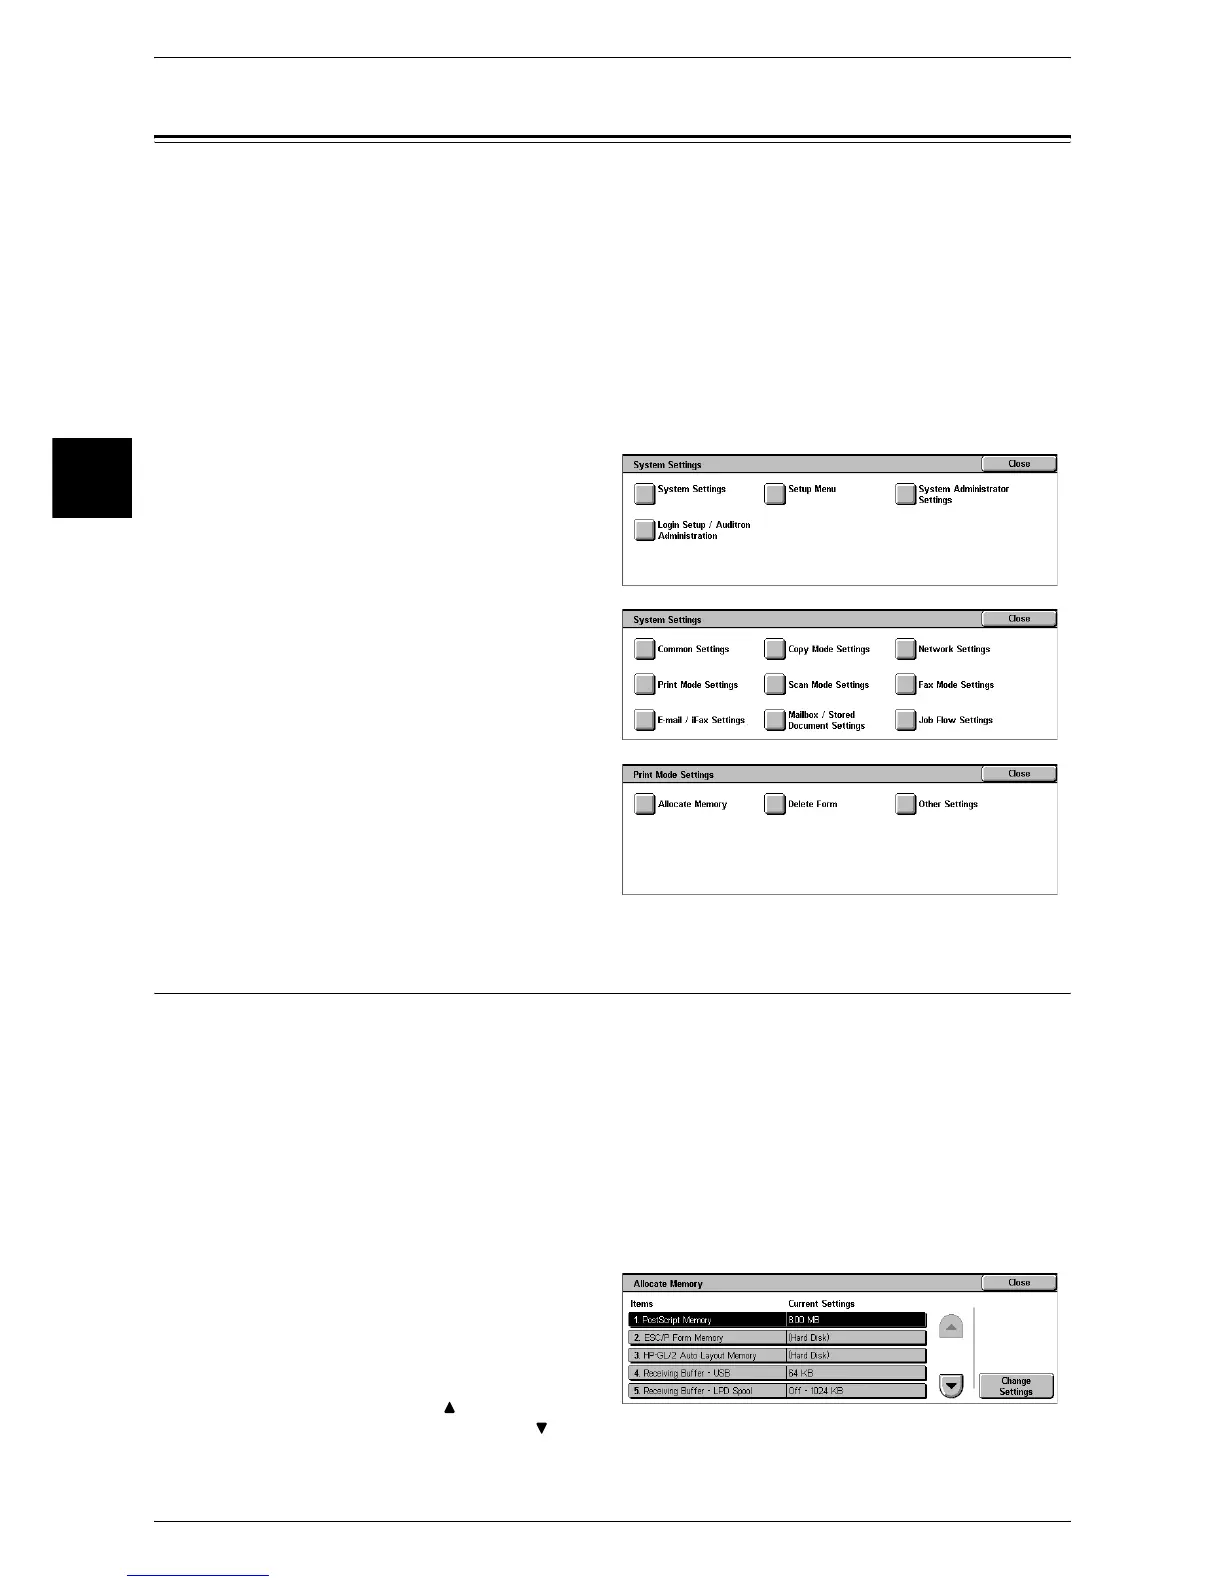
System Settings
11
Print Mode Settings
In [Print Mode Settings], you can make settings relating to the printer feature.
When using CentreWare Internet Services, more detailed settings are possible. For more details, refer to
"CentreWare Internet Services" (P.220), and the Network Administrator Guide.
The following shows the reference section for each item.
Allocate Memory ......................................................................................................................300
Delete Form...............................................................................................................................303
Other Settings............................................................................................................................303
1 In the [System Settings] screen,
select [System Settings].
For the method of displaying the [System
Settings] screen, refer to "System Settings
Procedure" (P.250).
2 Select [Print Mode Settings].
3 Select the item to be set or
changed.
Allocate Memory
For each interface, set the memory capacity for the receiving buffer (temporary storage
for data sent from the client).
You can change the receiving buffer capacity depending on the pattern of use and
purpose. Increasing the receiving buffer capacity may allow a client to be released
sooner from an interface.
Important • If you change the memory capacity settings, the memory is reset, and therefore data stored
in all memory areas is lost.
• It is not possible to assign more than the total memory. When the power is turned on, if the
settings exceed the available memory capacity, they are automatically adjusted by the
system.
1 Select [Allocate Memory].
2 Select the item to be set or
changed, and select [Change
Settings].
Note • Select [ ] to return to the
previous screen or [ ] to move to the next screen.

 Loading...
