6 Check Mailbox
202
Check Mailbox
6
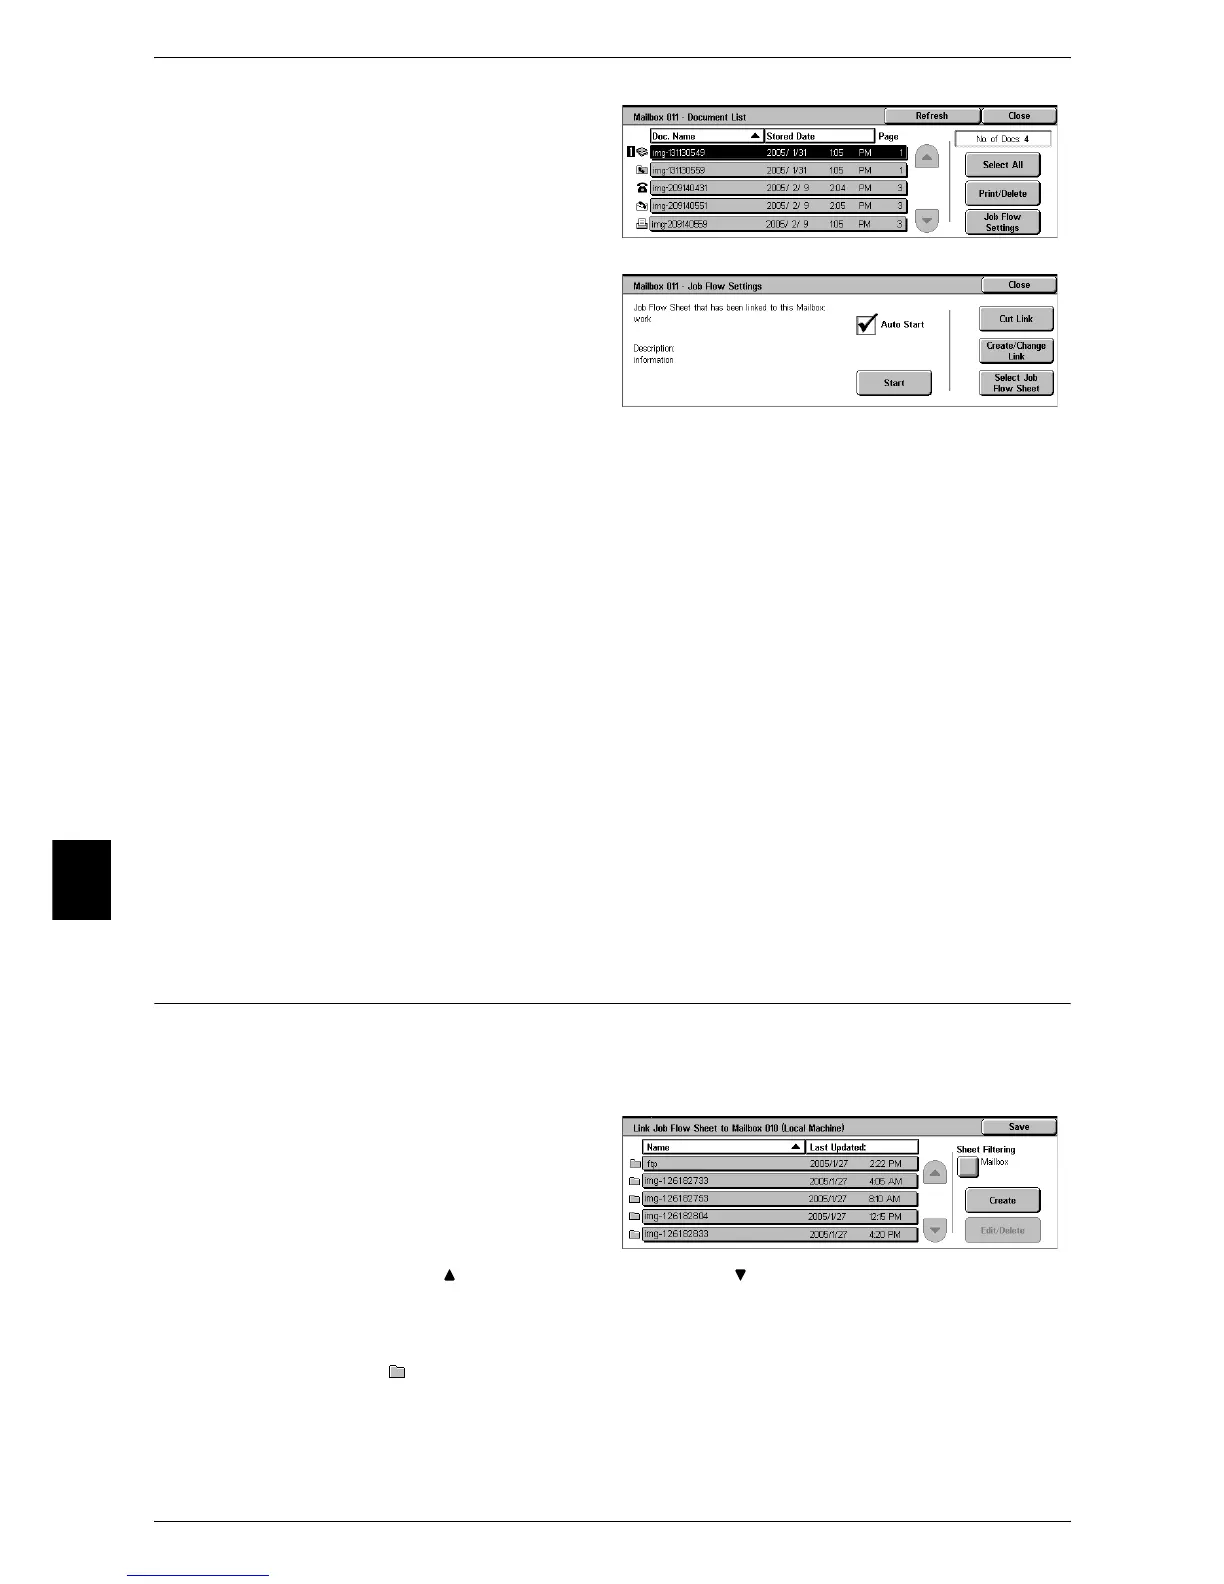
1 On the [Document List] screen,
select documents.
2 Select [Job Flow Settings].
3 Select any item.
Auto Start
This sets auto start of the job flow for documents stored in the mailbox. The job flow
automatically starts when a document is stored.
Start
Starts the job flow linked to this mailbox.
Important • After executing the job flow, print the job history report to check the result. For information on
the job history report, refer to "Job Status/Activity Report" (P.393).
Cut Link
Cancels the link between the mailbox and its job flow.
Create/Change Link
Displays the [Link Job Flow Sheet to Mailbox] screen.
Refer to "[Link Job Flow Sheet to Mailbox] Screen" (P.202).
Select Job Flow Sheet
Displays the [Select Job Flow Sheet] screen.
Refer to "[Select Job Flow Sheet] Screen" (P.203).
[Link Job Flow Sheet to Mailbox] Screen
You can change the link between the mailbox and its job flow.
Note • Linking, delinking, and auto start settings can be also performed during the creation of a
mailbox.
1 Select a job flow to link to.
Important • Pressing [Save] without
selecting a job flow does not
set a link. If the selected job
flow is already linked, then the
link is cancelled.
Note • Select [ ] to return to the previous screen or [ ] to move to the next screen.
• You can sort the list in ascending or descending order by pressing either [Name] or [Last
Updated].
• At the left of the name, an icon showing the target of the job flow is displayed.
: Mailbox Document
2 Select any item.

 Loading...
