Importing Scanned Data
229
Computer Operations
9
5 Select a document from the list,
and click [Import].
Note • One or more documents can
be selected.
• When [Save Destination] is
set to [Always display
destination to save] in the
import setting window, a
dialog box appears to allow
you to specify a save
destination. Specify the
destination, and click [OK].
For information on importing
documents, refer to "Import
settings for scanned
documents" (P.229).
6 The document is imported and saved in the specified destination.
Note • When [File Saving Options] is set to [Save in fixed destination] in the import setting window,
the document is saved in the destination specified in [Save in:].
For information on importing documents, refer to "Import settings for scanned documents"
(P.229).
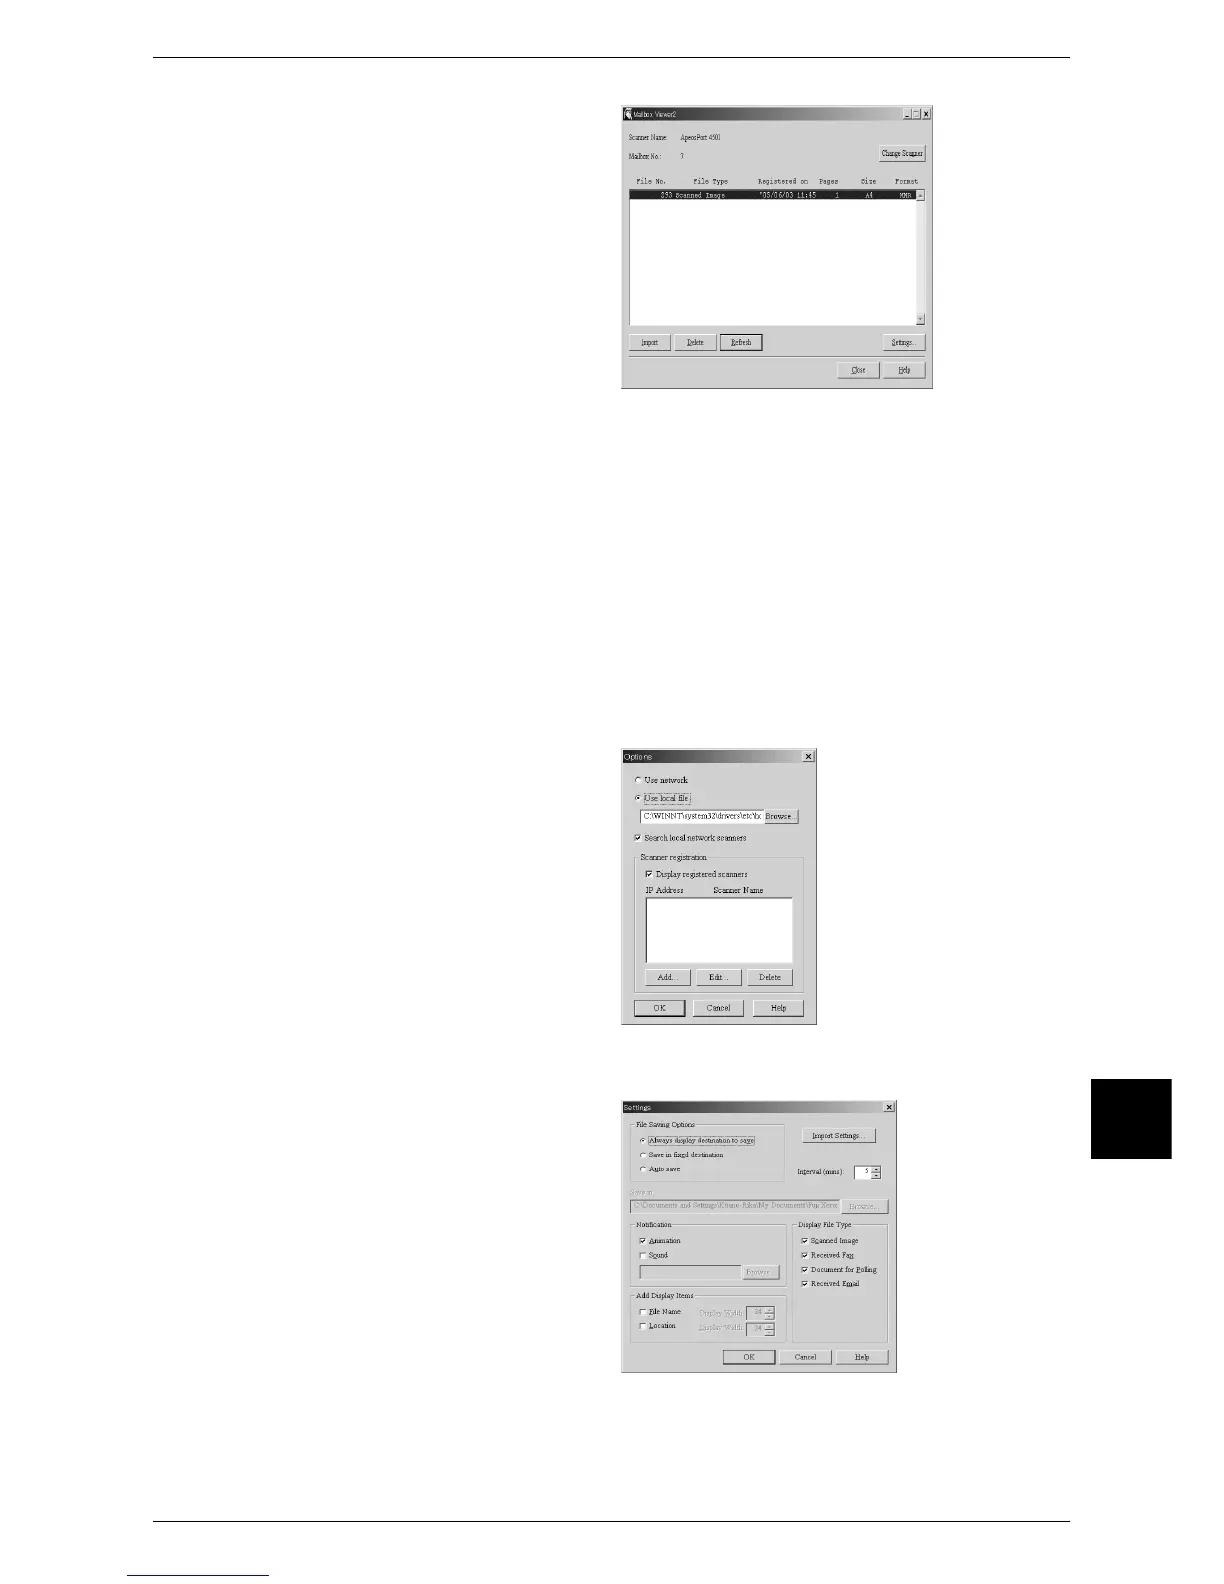
Changing Mailbox Viewer2 Settings
To learn about fields in the displayed dialog box, click [Help] to see the Mailbox Viewer2 online help.
Changing display of scanner names
You can change the display of
scanner names listed.
To change the display of scanner
names, click [Change Display] in
the scanner selection dialog box.
To display scanners on other
subnetworks, register them in
[Scanner registration].
Import settings for scanned documents
You can change the display and the
save destination of documents
scanned from a mailbox.
To change the import settings, click
[Settings] in the document selection
dialog box, and set in the dialog box
that appears.

 Loading...
