11 System Settings
266
System Settings
11
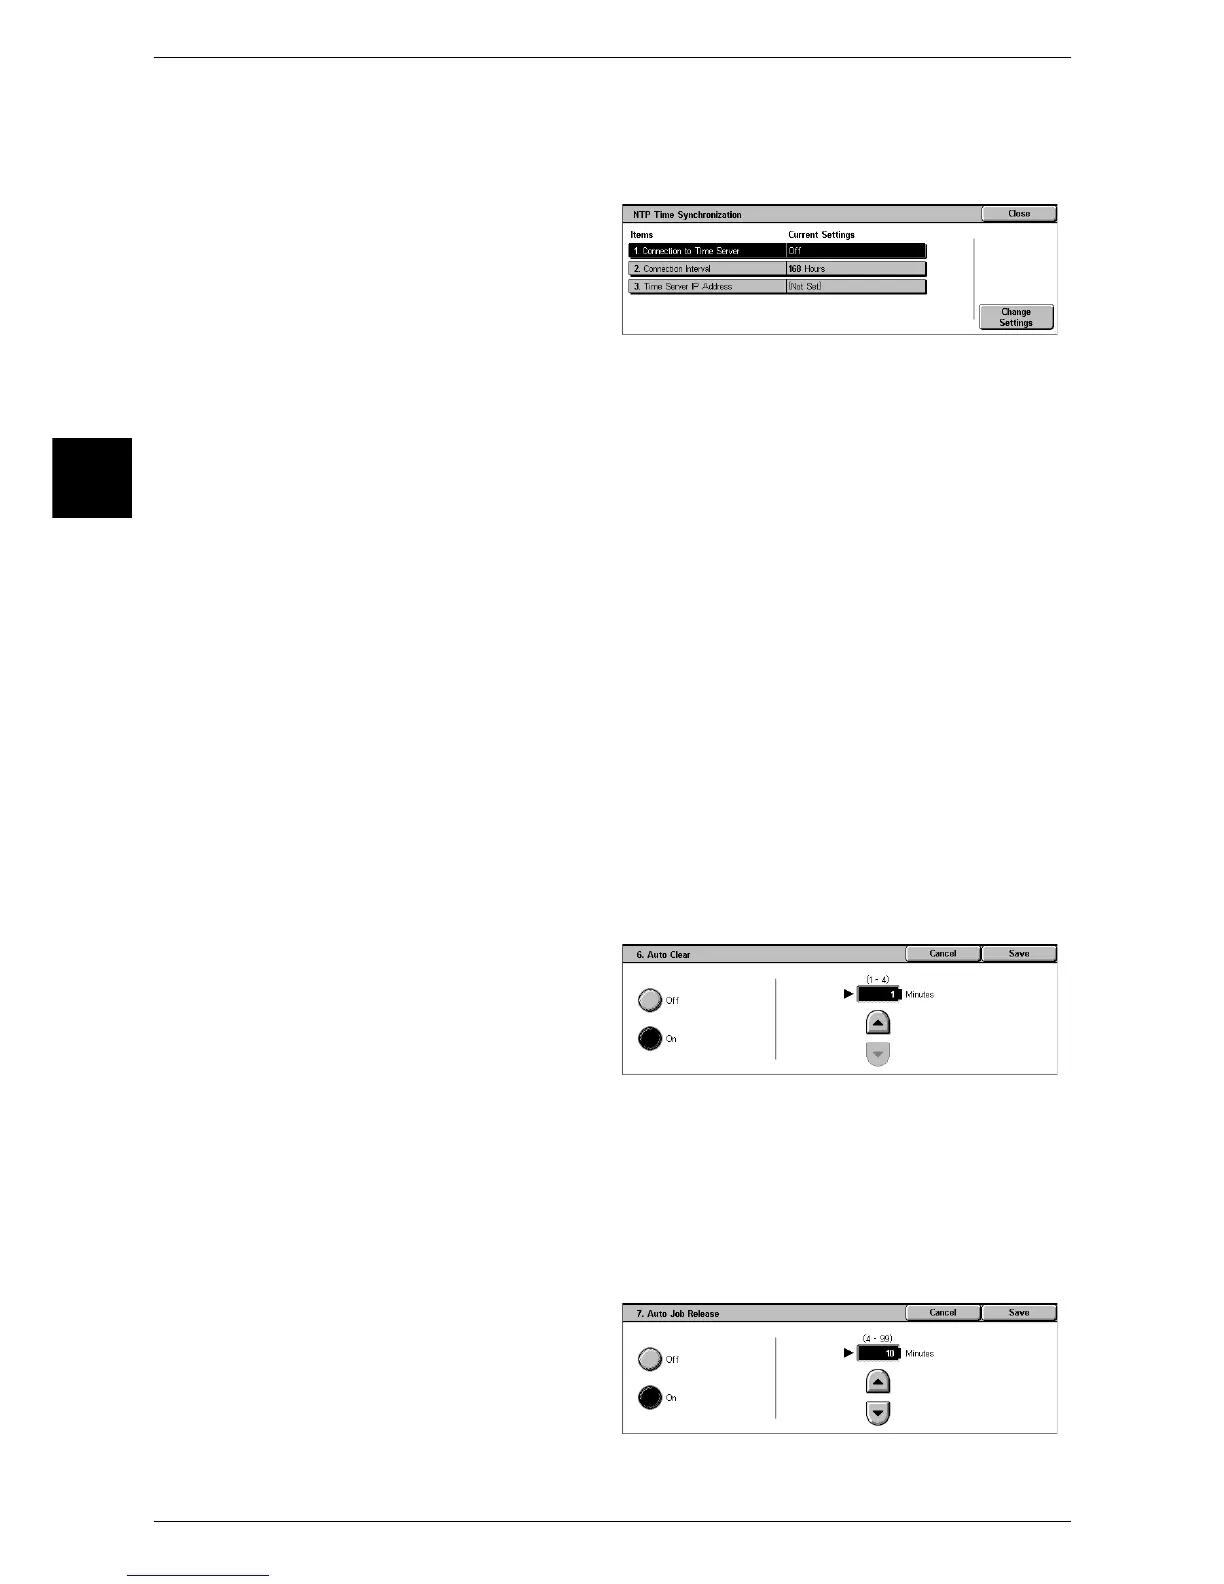
NTP Time Synchronization
You can obtain the time from a time server (NTP: Network Time Protocol), to
synchronize the machine time to the time server time.
1 Select [NTP Time
Synchronization], and select
[Change Settings].
2 Select any item, and select
[Change Settings].
Connection to Time Server
Select whether to connect to a time server. If you select [Off], the machine does not
obtain the time from a time server.
Connection Interval
Select the time interval at which a connection is made to the time server.
Select an interval from 1 to 500 hours in 1 hour increments.
Time Server IP Address
Set the IP address of the time server from which the time is obtained, using values 0 to
255.
Note • 244.XXX.XXX.XXX to 255.XXX.XXX.XXX and 127.XXX.XXX.XXX cannot be set.
Auto Clear
If a given time period elapses with no operation, the machine automatically returns to
the initial screen.
Set the period from 1 to 4 minutes in 1 minute increments. In order not to set this
feature, select [Off].
Note • Even if [Off] is selected, when there is no operation for 1 minute on the screen waiting for a
job command after scanning, the machine cancels the waiting condition and starts to
process the scanned documents.
1 Select [Auto Clear], and select
[Change Settings].
2 Select [Off] or [On].
3 If you selected [On], set the time.
Auto Job Release
Set the period to cancel the current job and start the next job when an error occurs
(document or paper jams, running out of paper, etc.) during making copies or printing
documents. In this case, jobs that can be continued are limited to those that only use
parts of the machine not affected by the error.
Set the value from 4 to 99 minutes in 1 minute increments. In order not to set this
feature, select [Off].
1 Select [Auto Job Release], and
select [Change Settings].
2 Select [Off] or [On].
3 If you selected [On], set the time.

 Loading...
