11 System Settings
288
System Settings
11
Features Allocation
Set the features appearing in the [Basic Copying] screen. By setting the most
commonly used features, you can avoid extra operations such as selecting tubs.
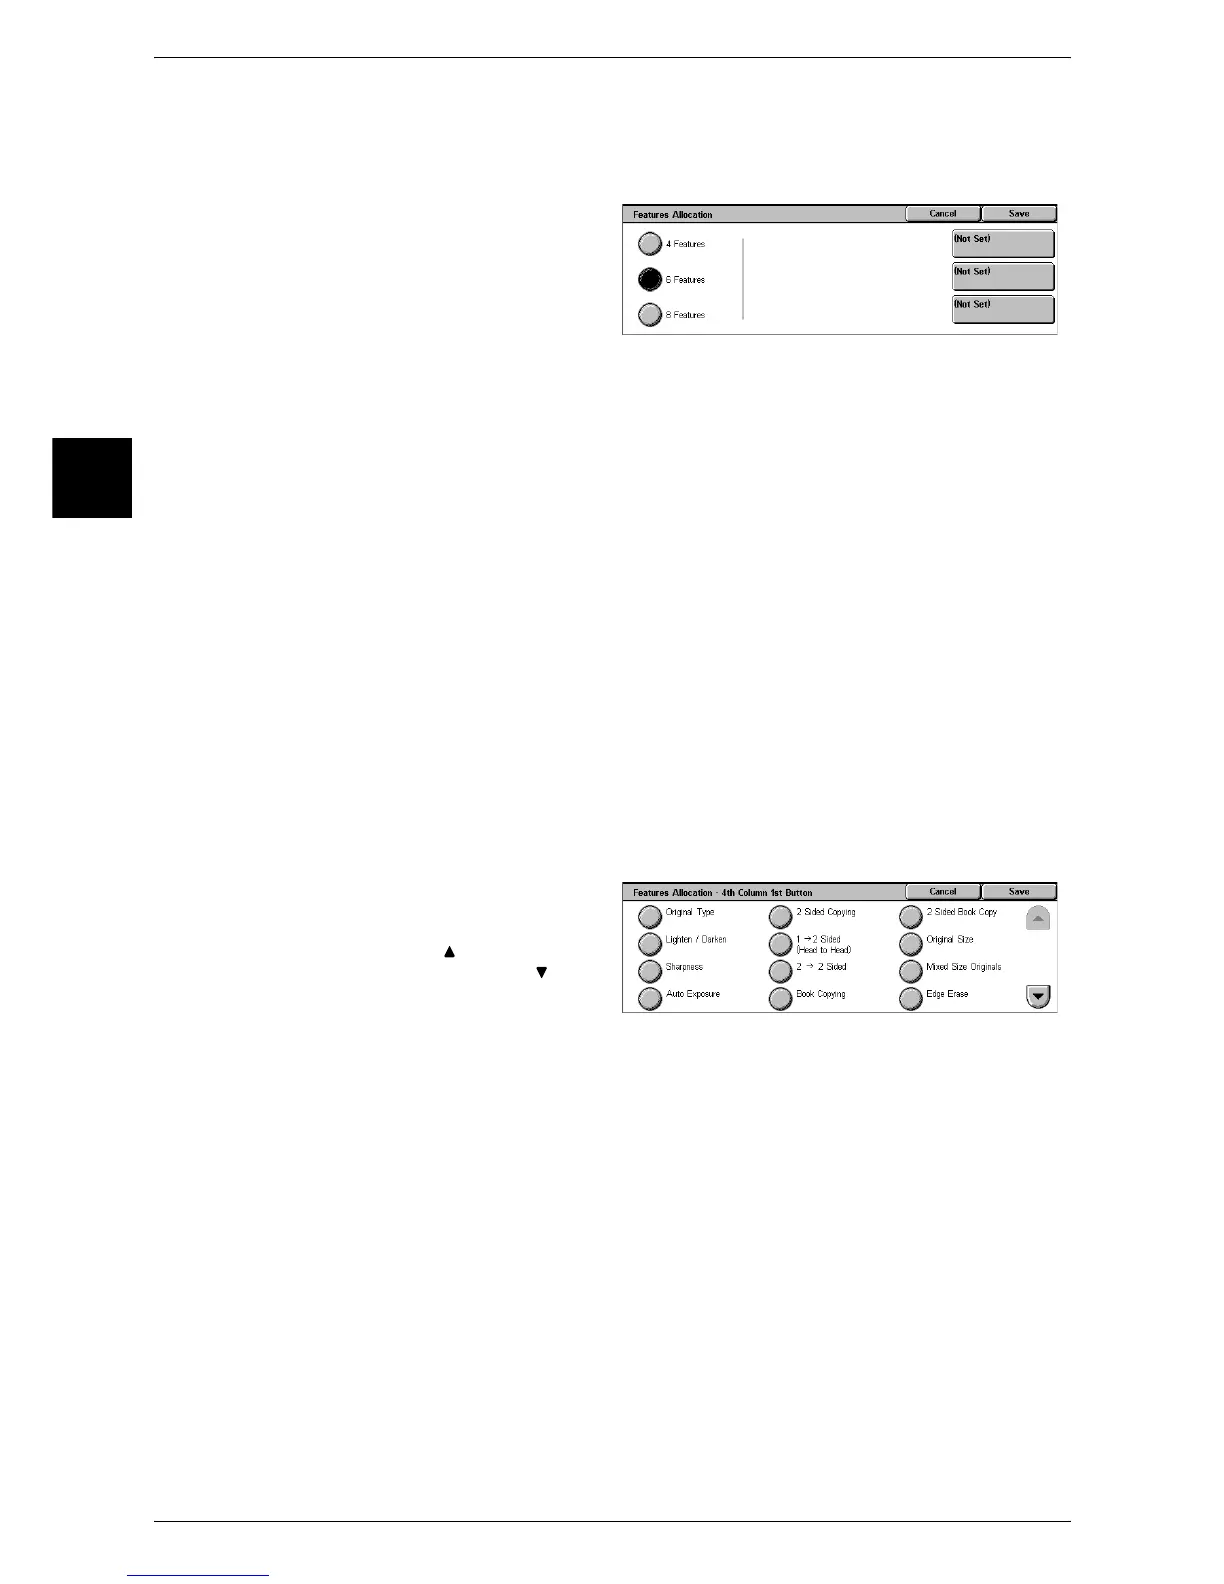
1 Select [Features Allocation], and
select [Change Settings].
2 Select the number of features
displayed on the [basic Copying]
screen.
3 From the buttons appearing on the right, select the position where you want to
allocate a feature.
Note • The position of the buttons on the right of the screen shows the position of the buttons in the
[Basic Copying] screen.
4 Features
The [Reduce/Enlarge], [Paper Supply], [2 Sided], and [Finishing] features are displayed
in the [Basic Copying] screen. You cannot change the displayed features and their
positions.
6 Features
You can set the features appearing in the fourth column from the left of the [Basic
Copying] screen. Up to 3 features can be allocated.
Note • [Reduce/Enlarge] and [Paper Supply] cannot be allocated.
8 Features
You can set the features appearing in the third and fourth columns from the left of the
[Basic Copying] screen. Up to 6 features can be allocated.
Note • [Reduce/Enlarge] and [Paper Supply] cannot be allocated.
4 Select the feature to be displayed,
and select [Save].
Note • Select [ ] to return to the
previous screen or [ ] to
move to the next screen.
5 Repeat Steps 3 and 4 as required.
Paper Supply - 2nd Button
For the 5 feature buttons appearing in [Paper Supply] in the [Basic Copying] screen,
you can set the second paper tray from the top.
Paper Supply - 3rd Button
For the 5 feature buttons appearing in [Paper Supply] in the [Basic Copying] screen,
you can set the third paper tray from the top.
Paper Supply - 4th Button
For the 5 feature buttons appearing in [Paper Supply] in the [Basic Copying] screen,
you can set the fourth paper tray from the top.

 Loading...
