TOUCH SCREEN CALIBRATION
A229 5-110 SM
5.13 TOUCH SCREEN CALIBRATION
After doing a memory all clear or when the touch panel detection mechanism is not
working properly, calibrate the touch screen as follows.
1. Press the following keys in sequence to enter touch screen calibration mode.
x5
CAUTION
Do not execute any of the other items in the self diagnostic menu.
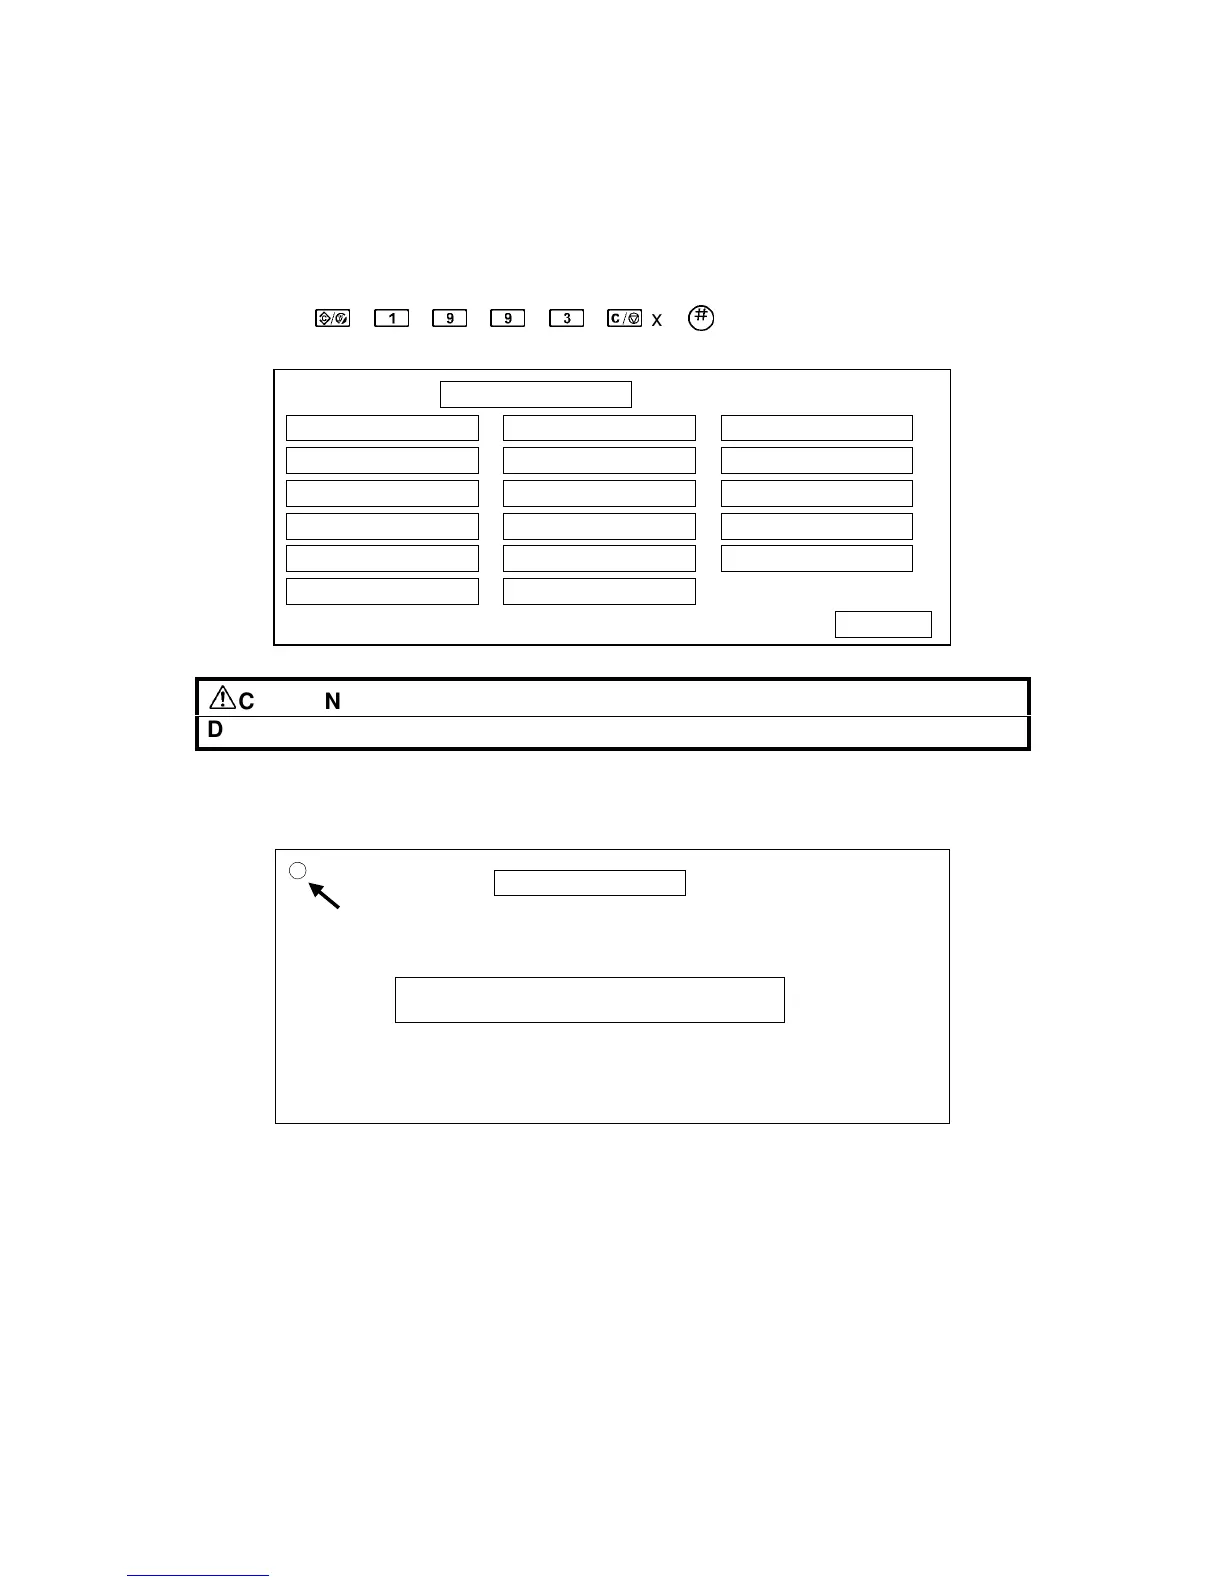
2. The “Self Diagnostics Menu” screen will appear.
Press the # key to select the “Touch Screen Adj.” Mode.
3. The “Touch Screen Adj.” calibration screen will appear. Touch the upper left
corner then the lower right corner of the panel using a pointed (but not sharp!)
tool.
4. Touch a few spots on the LCD touch panel, and confirm that the marker (a
small circle) appears on the screen at exactly the same location as where it is
touched. If it does not, touch “Cancel” on the adjustment screen. Then repeat
the calibration procedure.
5. Touch “Ok” on the adjustment screen.
6. Touch “[q] Exit” and “Execute” to exit the self diagnostics menu.
Self Diagnostic Menu
[a] ROM Checksum Test
[b] System RAM R/W Test
[c] Video RAM R/W Test
[d] ROM/RAM Test
[e] LCD Test
[f] Touch Screen Test
[g] Key Test
[h] LED Test
[i] Op.Panel Emulation
[j] LCD Information
[k] Code Dump
[l] Interface Test
[#] Touch Screen Adj.
[0] ARS Test
[*] Process Test
[p] Debug Tools
[q] Exit
Execute
A229R690.WMF
Touch Screen Adj.
Touch the upper left corner and then the lower
right corner of the panel using a pointed tool.