Atmospheric Single-Arm Robot Manual
4000-0016 Rev A
43
cable for both the TTR-100 and the S2-93A-compliant TTR-200. To
determine if your Teach Pendant has this cable or the older cable, contact
your Equipe representative.
If you are using a TTR 100 and do not have the shielded cable, skip
Steps 1 to 3 in the following instructions. Always keep the cable
unplugged when you are not using the Teach Pendant.
1. Using a 3/16 hex driver, unscrew the 4-40 jack screw located between
the COM2 port and the DB25 connection. Keep the star washer and
screw.
2. Place the #6 ring lug on the grounding strap over the 4-40 screw hole.
Do not cut or shorten the grounding strap.
3. Replace the 4-40 jack screw and star washer. Tighten.
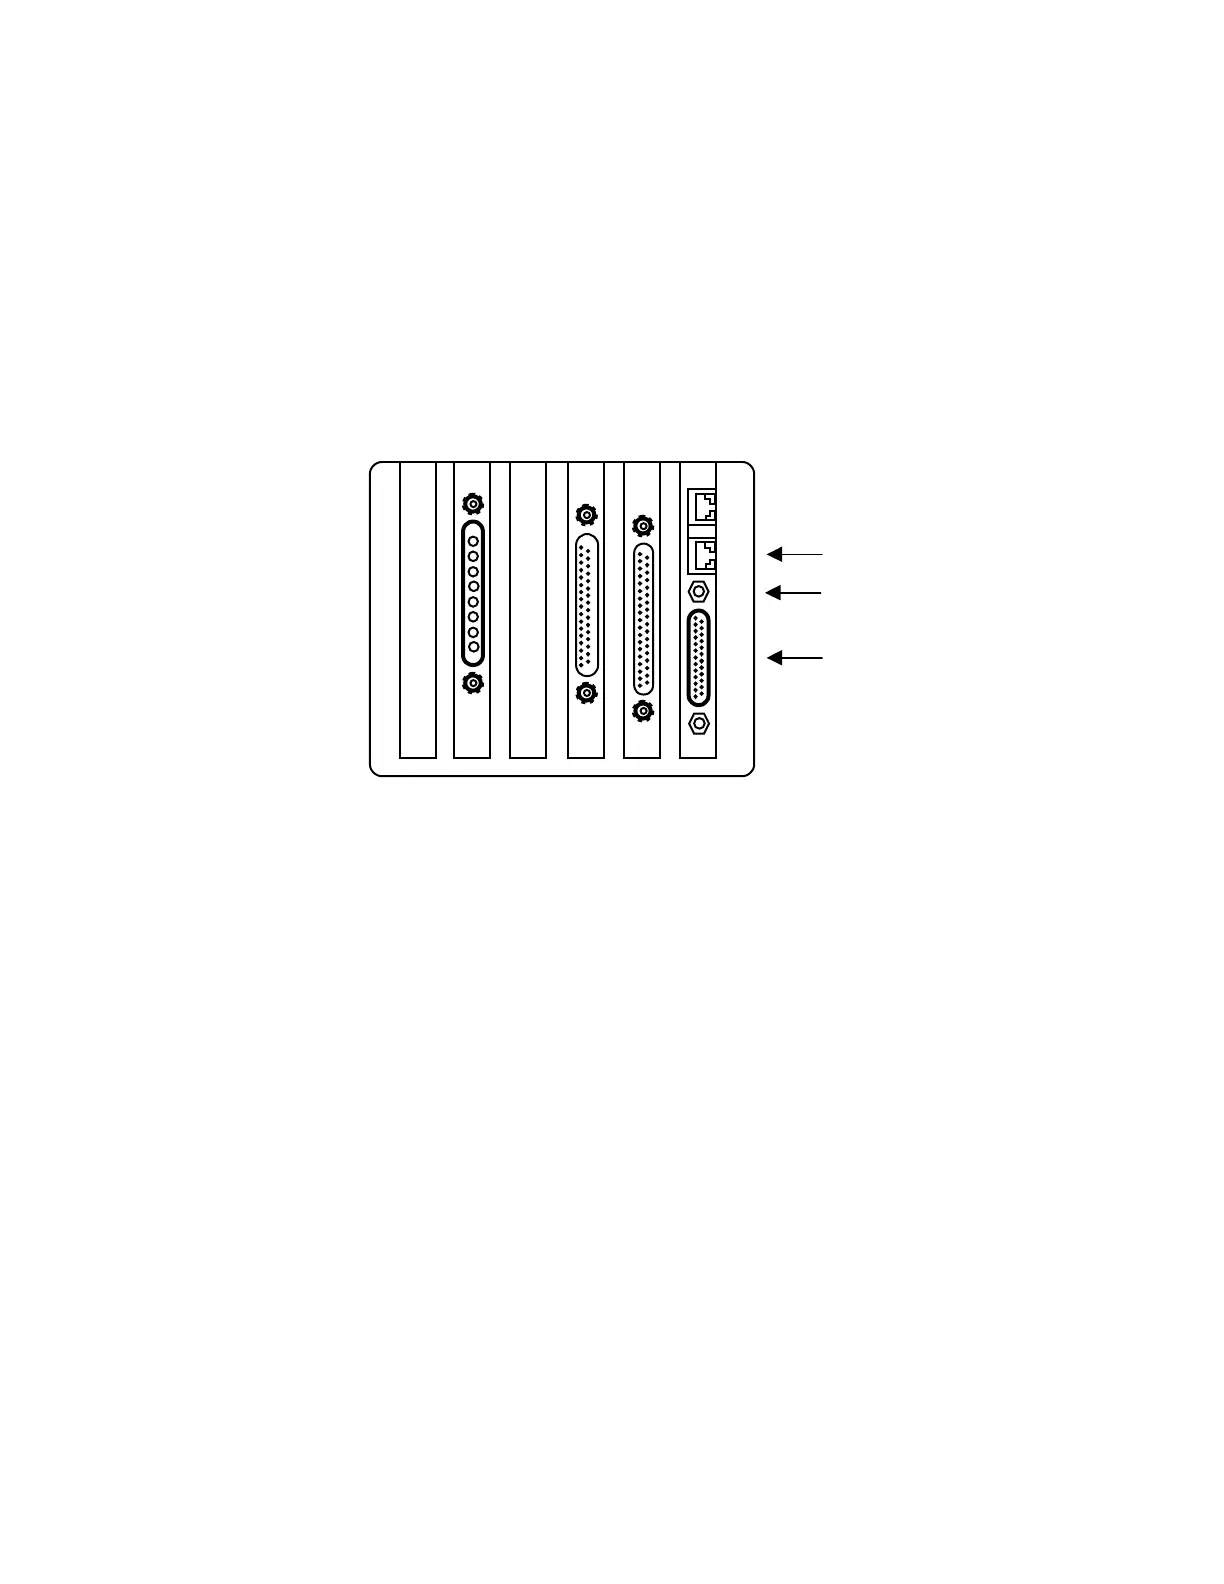
4. Connect the Teach Pendant cable to the bottom RJ12 connector next to
DB25 on the controller. This is the COM2 port. If you are using a
TTR-200, ensure that the cable shields (through grounding strap or
connectors) are grounded directly to chassis ground (equipment
ground).
5.
Access the Terminal mode by pressing CTRL + T, then press T again.
6.
At the cursor, type SVON and press the Enter key. This turns on all
servo motors. You should feel torque on the robot axes.
7. Type HOM and press Enter. This homes all axes of the robot and the
pre-aligner, if present. When all axes are in the home position, the
Teach Pendant displays a status message.
COM 3 Port with
RJ12 connection
4-40 jack screw
DB25 connection