Atmospheric Single-Arm Robot Manual
4000-0016 Rev A
46
Adjusting the Vacuum Sensor
An SMC Series ZSE2-T1-15 vacuum sensor is installed in the lower arm
link of the robot. If you have two end effectors, you have two vacuum
sensors.
The functioning range of this sensor is from 0 to –30 in. Hg (0 to 101592
Pa). The robot vacuum sensor is set for detecting silicon wafers at –15 in.
Hg (50796 Pa). If you use a stronger or weaker vacuum supply, you can
adjust the sensor as follows:
1. Remove the cover to the lower arm link by unscrewing the screws that
attach the arm cover to the arm. The sensor has a yellow
potentiometer with High (H) and Low (L) marked above it. You will
need a small screwdriver to turn the potentiometer.
2. Connect the vacuum line.
3. Install the end effector.
4. Open the vacuum valve using the EQT interface or by entering a
command. For a single end effector or the first end effector, enter:
OUTP 0,0
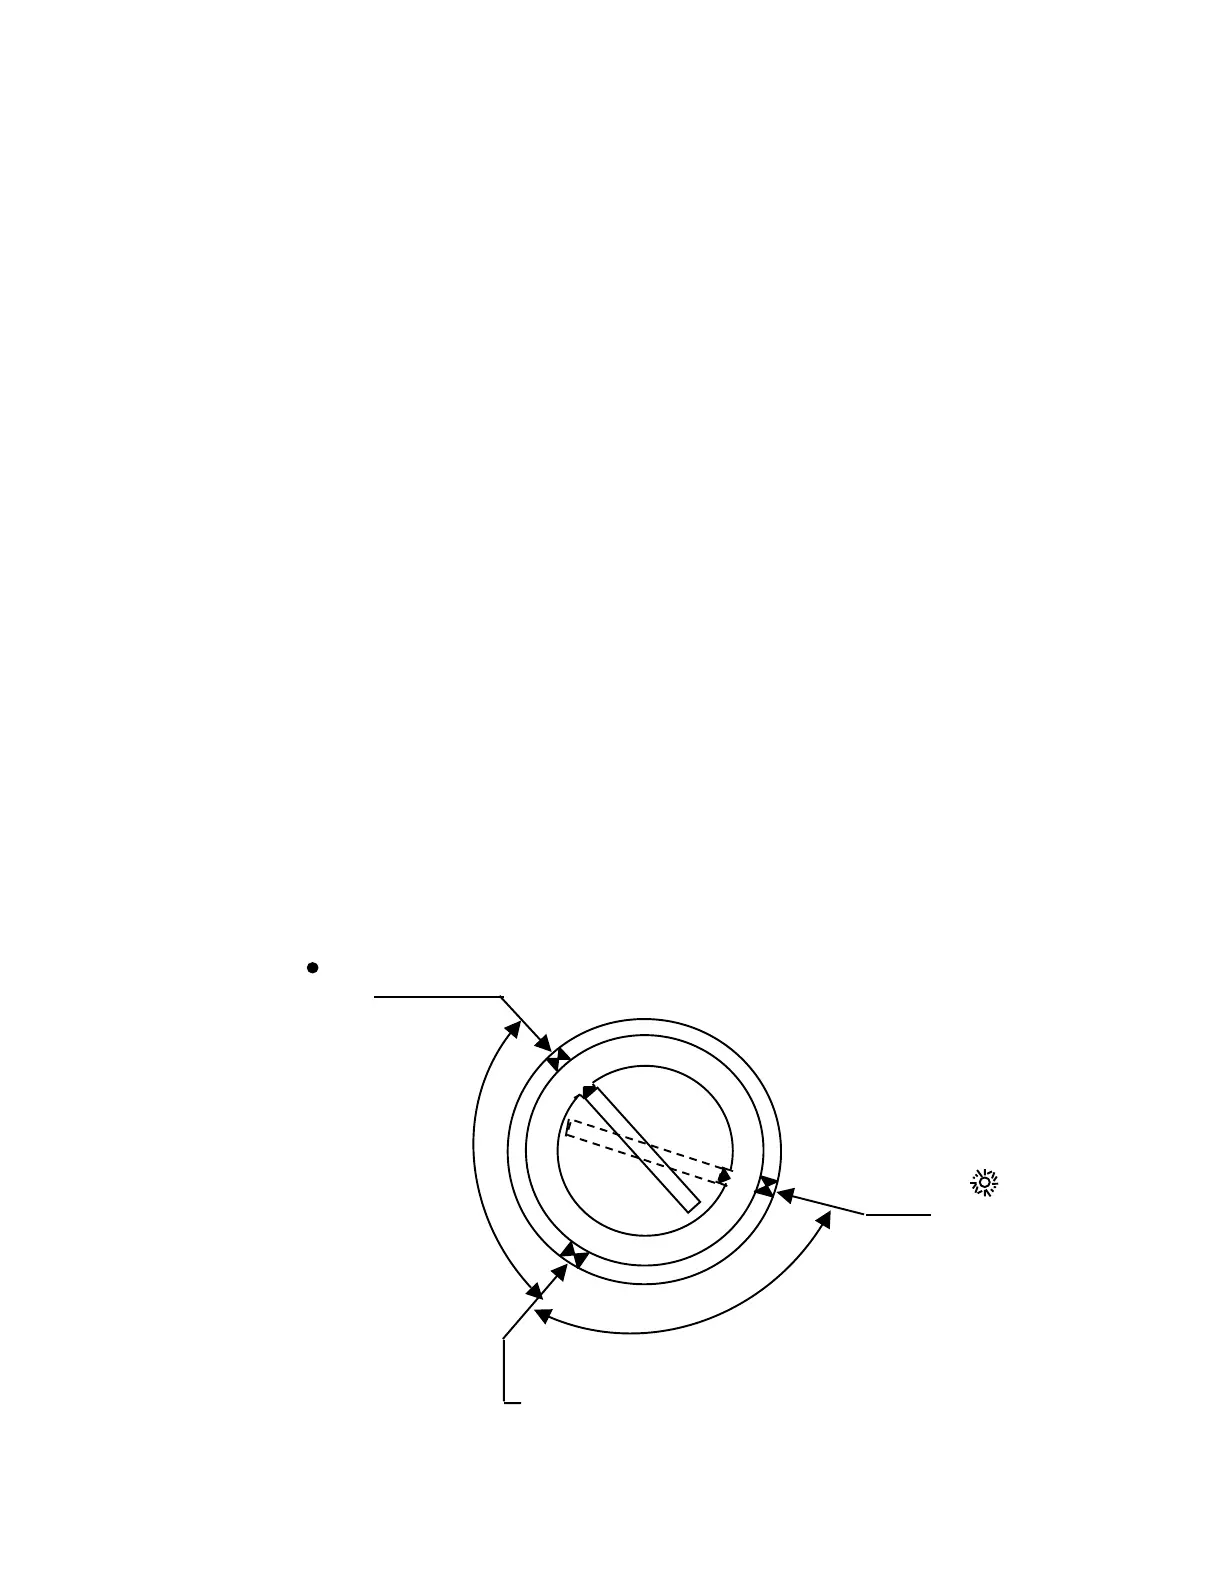
5. Without a wafer on the end effector, turn the potentiometer counter-
clockwise until the red LED lights. Consider this position A.
LED
Position B
LED
Position A
Position C