Vacuum Robot Manual
4000-0315 Rev 1
32
Adjusting the VAC400 Radial Arm
These instructions are for a VAC400 robot only. To adjust the VAC514
radial arm, refer to Steps 4 to 7 on page 20. This procedure has three
parts:
• Adjusting the physical location of the arm
• Adjusting the Radial Home Offset
• Changing the Radial Axis Customized Home
Follow these steps to adjust the physical location of the arm. Refer to
your COC or customer specifications to determine the desired home
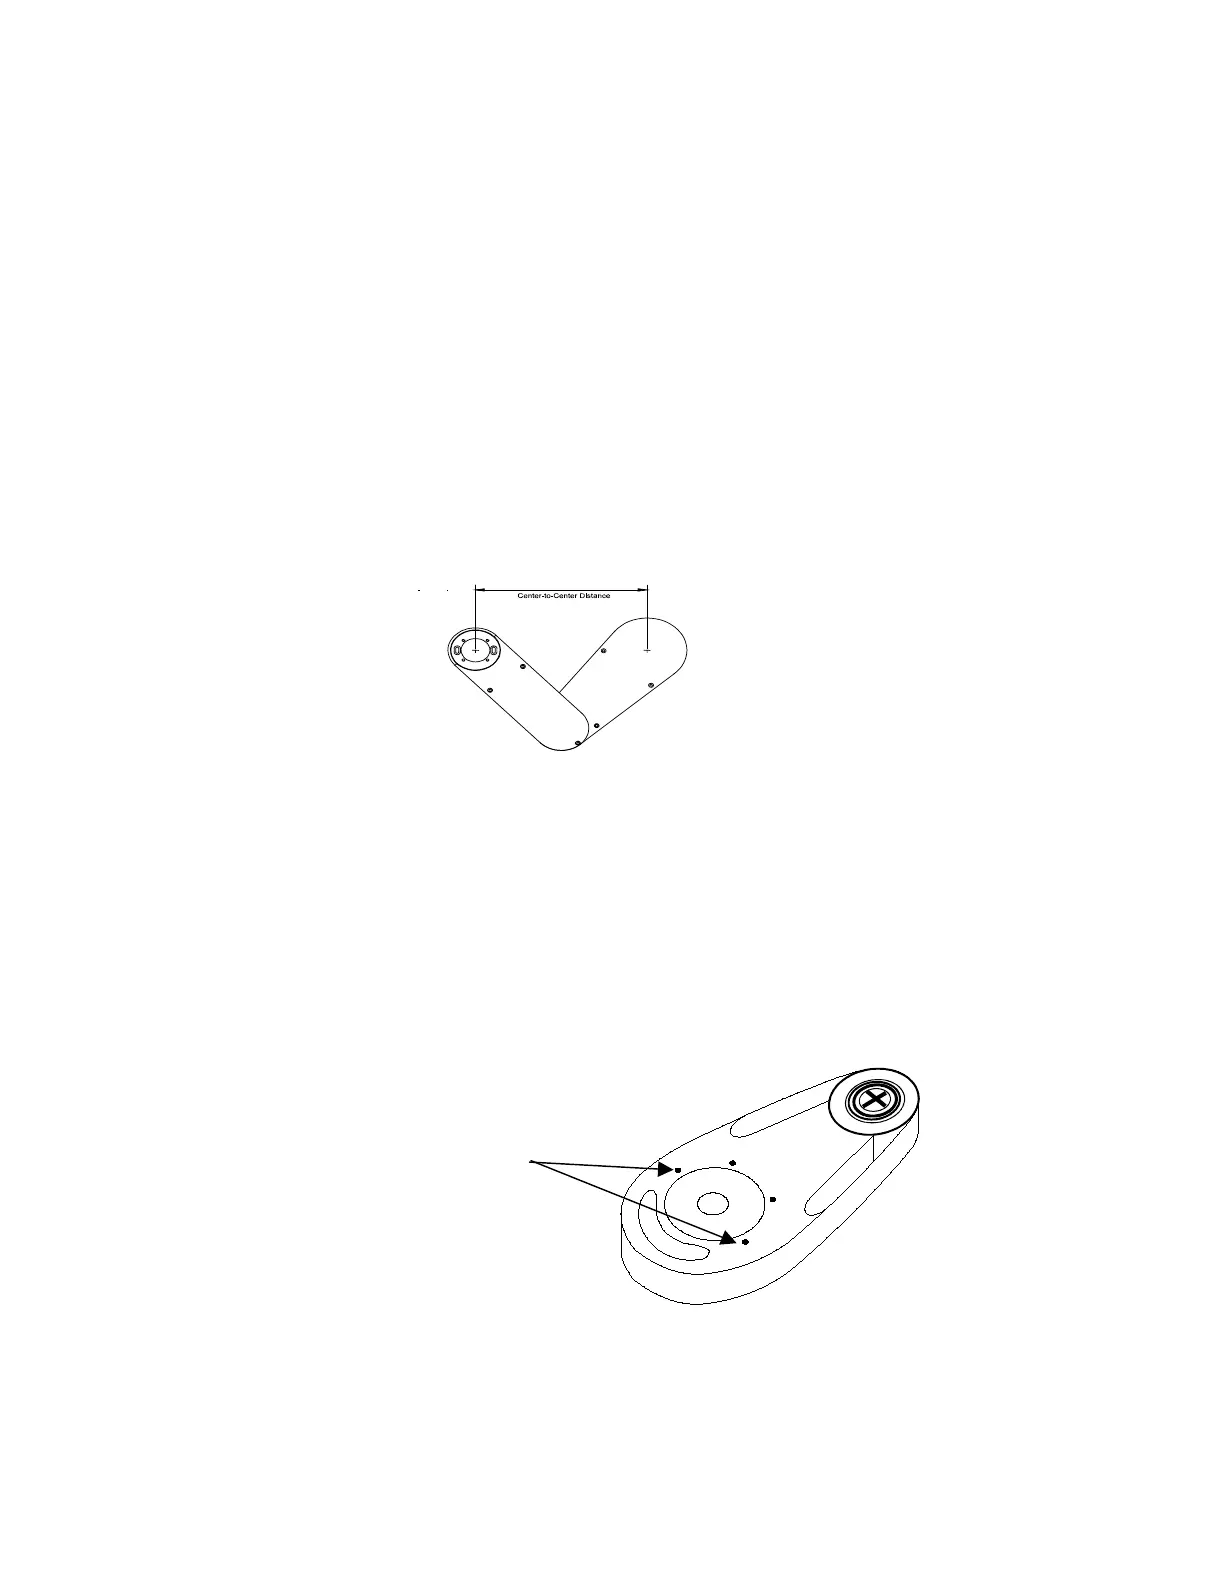
position of the robot radial axis and the center to center distance, as shown
here. You will use this in Step 5 and again in the last set of instructions.
1. To remove lower arm plate, remove the counter-sunk screws.
2. Rotate the theta axis to prevent the end effector from hitting any
obstacles when you home the R axis in the next step.
3. Access the R Home Test and Set Diagnostic, Step 9. Press Enter.
Select Yes when prompted “Adjust R at Home?” The radial axis
moves home.
4. Free the retainer clamp by loosening the four 8-32 x 1/2 LG socket-
head screws, as shown here:
5. Physically position the arm in the desired position. If you reach the
end of the slotted holes on the clamp, fully remove the four screws,
rotate the arm into position and reinstall the screws.
Screws