Vacuum Robot Manual
4000-0315 Rev 1
33
6. Secure the retainer clamp by tightening the four 8-32 x 1/2 LG socket
head screws.
7. Press ESC to exit the Home Diagnostic.
8. Confirm that the distance is correct by homing the radial axis again
using Robot Diagnostic Step 9. Adjust as necessary.
Follow these steps to adjust the Radial Home Offset. You are in Robot
Diagnostic Step 9 with the radial home in correct position.
1. You are prompted to “Move R to proper Home switch position.” Press
Enter.
2. You are prompted to “Adjust R at index.” Press No. The radial Axis
homes again.
3. You are prompted to “Adjust the R Offset.” Press Yes. The robot
moves to the radial offset position, which is also the zero reference for
the Radial Axis.
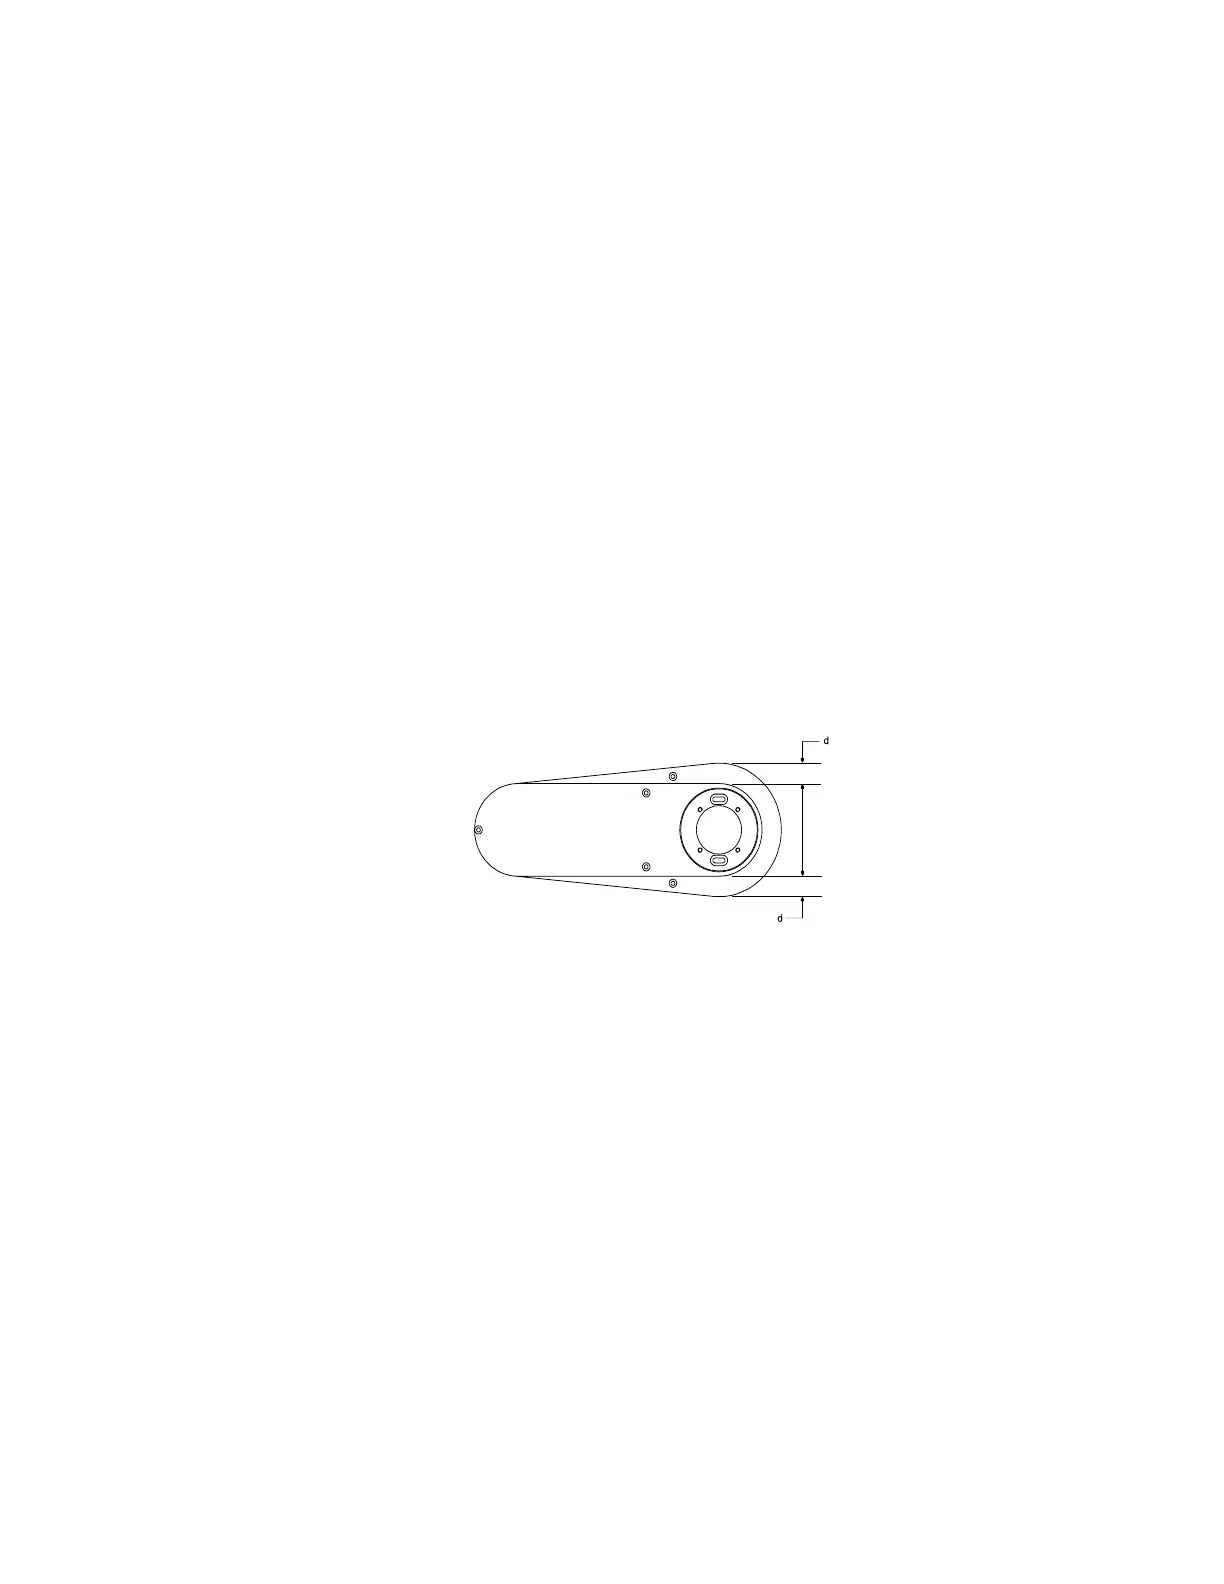
4. You are prompted “Is the offset correct?”
• If the arm links are center-over-center as shown, press Enter.
• If the arm links are not center-over-center, press No. The robot
radial servo motor turns off. Correct the home offset by pushing
the outer end of the inner link.
5. Press Enter to exit diagnostic step 9.
6. Press ESC to access Terminal mode.
7. Enter RSA to restore the operational speed and acceleration.
8. Enter SAV to store the Offset in the Robot Parameter File.
Follow this last set of steps to change the Radial Axis Customized Home
value. You will need the physical home position of the robot radial axis
arm from your COC or customer specifications.
1. Using EQT, upload the Robot Parameter File.