Firmware Version 3/4.31.37
9.17 RELATIVE DENSITY CALIBRATION
Use the Relative Density screen to calibrate relative density for a Meter.
3. From the Views & Inquiries Menu, choose Relative Density. After selecting the preset and meter, the
Relative Density screen displays:
4. If the observed Relative Density is different from the unadjusted relative density displayed, there are two
options:
- Press 1 and key in the observed offset (that is, the difference between the Relative Density Unadjusted
and Relative Density Adjusted).
- Or, press 2 and key in the observed density in the Relative Density Adjusted field, in which case the
Relative Density Offset will automatically be calculated and displayed.
Use the +/- key to toggle between a minus (–) sign and a plus (+) sign on the offset.
Displays the current Relative Density offset value, which is the difference
between the Relative Density Unadjusted value and the Relative Density
Adjusted (observed relative density) value.
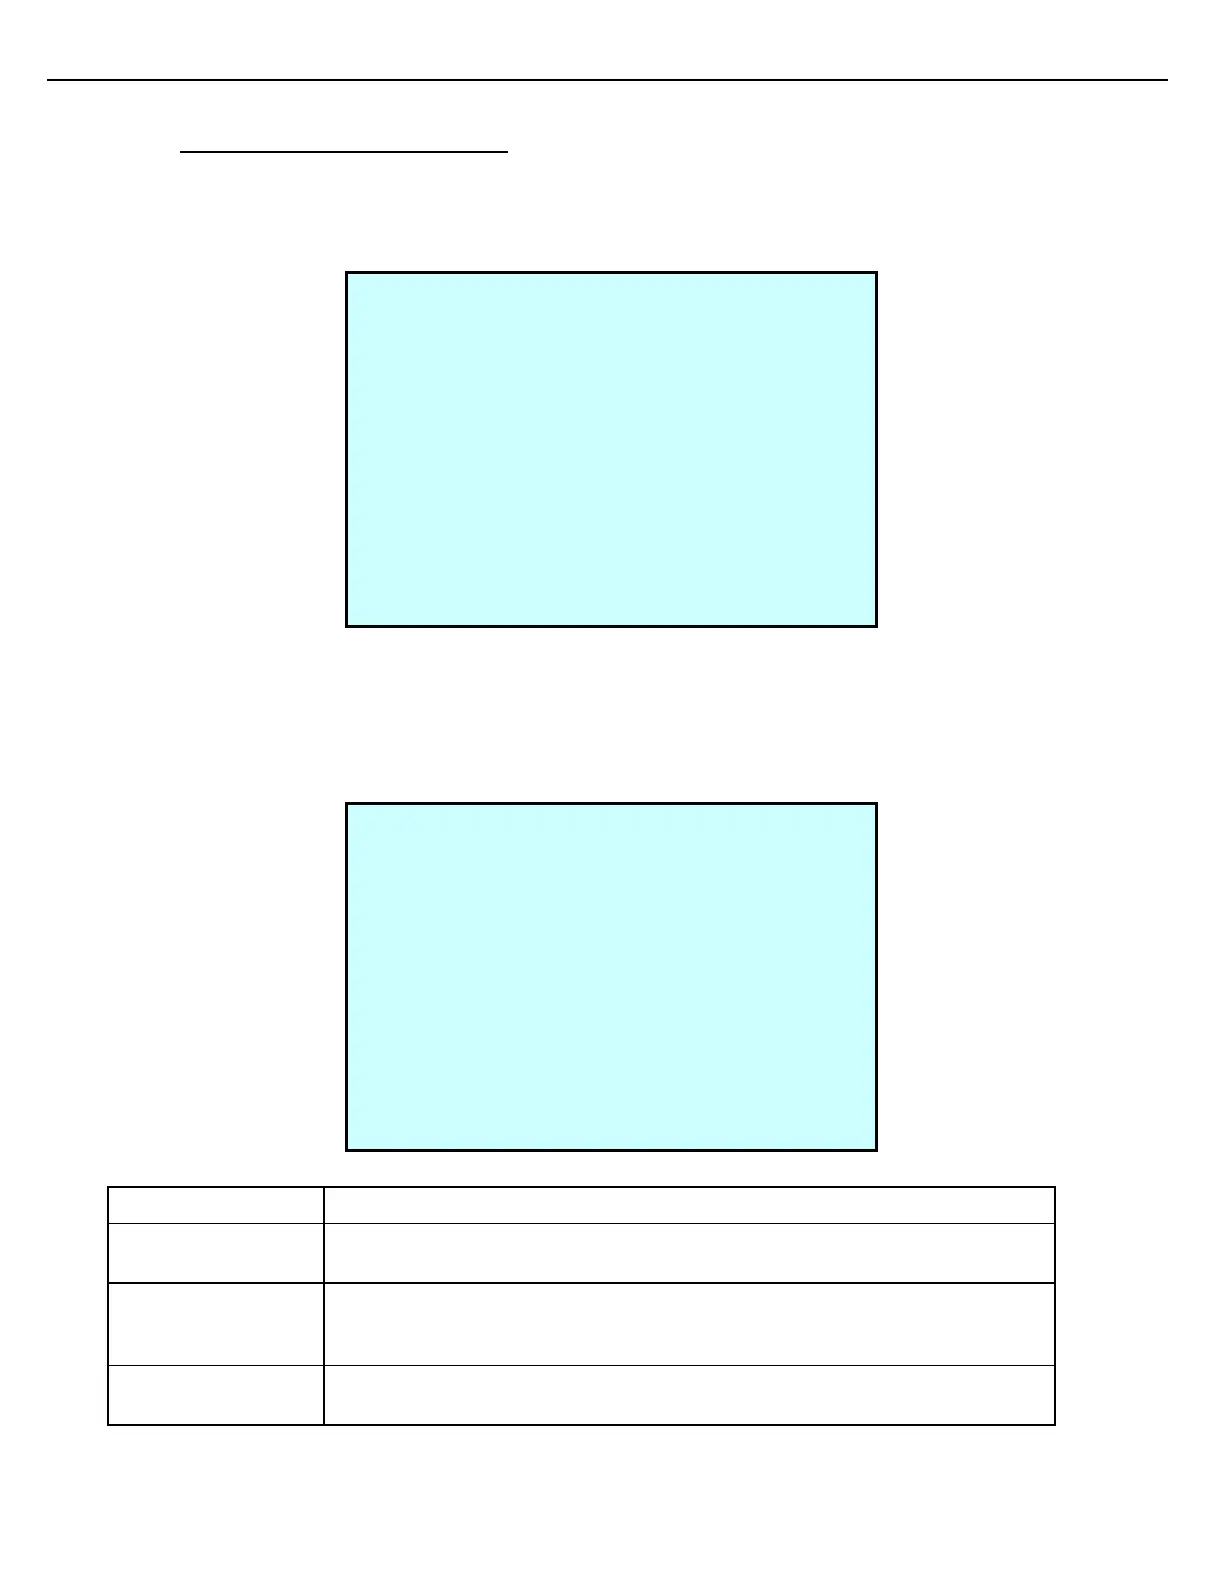
PRE #1 MTR #1 DENSITY
Relative Density Unadjusted:+0.5000
[1]Relative Density Offset: +█
[2]Relative Density Adjusted: +0.5000
+/- Enter Exit
PRE #1 MTR #1 RELATIVE DENSITY
Relative Density Unadjusted:+0.5000
[1]Relative Density Offset: +0.0000
[2]Relative Density Adjusted: +0.5000
Next Prev Exit