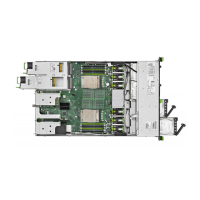
1 SAS/SATA cable
2 SAS/SATA cable
3 Power cable
4 SAS/SATA cable
5 OOB cable
For the cable plan, see "Appendix B" on page 571.
Concluding steps
▶
Insert all HDD/SSD modules, see "Installing a 3.5-inch HDD module" on
page 147
.
Ensure that you install the HDD module in the bay it was located
before the HDD backplane replacement.
▶
Insert all dummy modules, see "Installing a 3.5-inch dummy module" on
page 150.
▶
"Installing the fan cage" on page
76.
▶
"Reassembling" on page
60.
▶
"Connecting the power cord" on page 65.
▶
"Switching on the server" on page 69.
▶
If applicable, "Installing the front cover with lock" on page 69.
7.4.6 Replacing the 12x 3.5-inch HDD backplane
Field Replaceable Unit
(FRU)
Hardware: 15 minutes
Tools: Phillips PH2 / (+) No. 2 screw driver
Hard disk drive (HDD) / solid state disk (SSD)
RX2540 M6 Upgrade and Maintenance Manual 155
 Loading...

