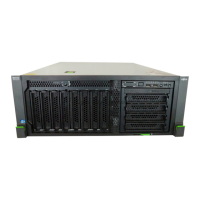
RX300 S8
Upgrade and Maintenance Manual 339
Accessible drives
Ê Fasten the tape drive dummy module with 2 screws.
Ê Insert the drive cage into bay 2, for further infomation see "Installing HDD
cage and front panel cage" on page 445
Ê If applicable, remove the USB 3.0 interface card as describe in section
"Removing an expansion card" on page 188
12.12.4 Concluding steps
Ê "Installing the fan box" on page 164
Ê "Installing the front cover" on page 446
Ê "Reassembling" on page 63
Ê "Connecting the server to the power source" on page 69
Ê "Switching on the server" on page 71
Ê "Verifying and configuring the backup software solution" on page 86
Ê "Enabling BitLocker functionality" on page 95
12.13 Replacing the tape/RDX drive in 2.5-inch
version
12.13.1 Preliminary steps
Ê "Disabling BitLocker functionality" on page 73
Ê "Locating the defective server" on page 51
Ê "Removing backup and optical disk media" on page 76
Ê "Verifying and configuring the backup software solution" on page 77
Upgrade and Repair Unit
(URU)
Hardware: 10 minutes
Tools: Phillips PH2 / (+) No. 2 screw driver
 Loading...
