RX300 S8
Upgrade and Maintenance Manual 317
Accessible drives
12.8 Installing a tape/RDX drive in 3.5-inch
version
I Notes on RDX drive USB cabling:
– A USB 2.0 RDX drive may be replaced by a USB 3.0 RDX drive with
previous cabling.
– A USB 3.0 RDX drive may be connected with a USB 2.0 cable to an
onboard USB 2.0 connector with limited performance.
– For full performance, connect the USB 3.0 RDX drive to a USB 3.0
interface card by USB 3.0 cable.
– The USB 3.0 cable cannot be connected to a USB 2.0 RDX drive.
I – Connect the tape/RDX drive to the onboard connector of the
systemboard with cable C17.
– Connect the RDX drive to the USB 3.0 interface card with cable C21.
12.8.1 Preliminary steps
Ê "Disabling BitLocker functionality" on page 73
Ê "Locating the defective server" on page 51
Ê "Shutting down the server" on page 54
Ê "Disconnecting power cords" on page 54
Ê "Getting access to the component" on page 57
Ê "Removing the fan box" on page 162
12.8.2 Installing a tape/RDX drive in the cage
I – A drive cage is installed
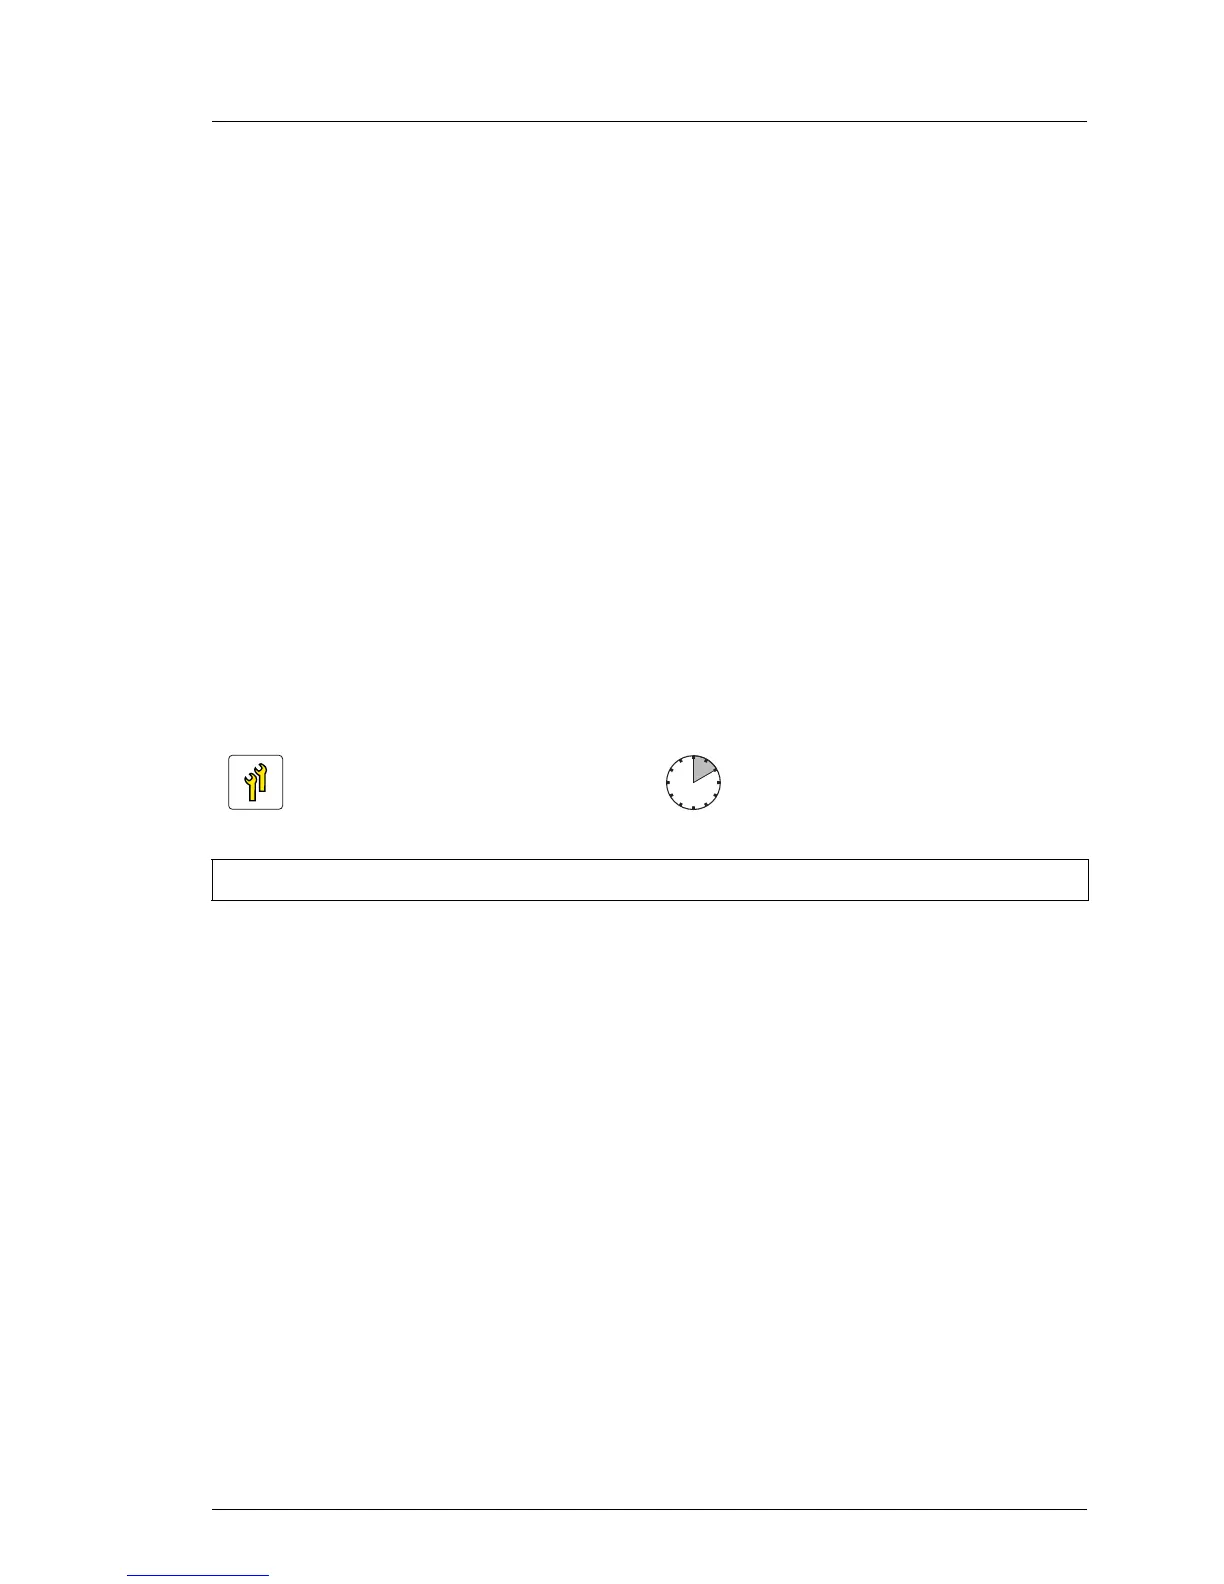
Upgrade and Repair Unit
(URU)
Hardware: 10 minutes
Tools: Phillips PH2 / (+) No. 2 screw driver

 Loading...