6D-12 - LOWER UNIT 90-824052R3 JUNE 2002
8. Remove locknut from the front gear housing
mounting stud.
9. Loosen the side mounting locknuts. (DO NOT
attempt to remove one nut before opposite side
is loosened sufficiently, or driveshaft housing
could be damaged.)
10. Pull gear housing away from driveshaft housing
as far as the loosened nuts (in Step 9) will allow,
then remove loosened nuts. (DO NOT allow gear
housing to fall, as it now is free.)
11. Pull gear housing from driveshaft housing.
a
b
51879
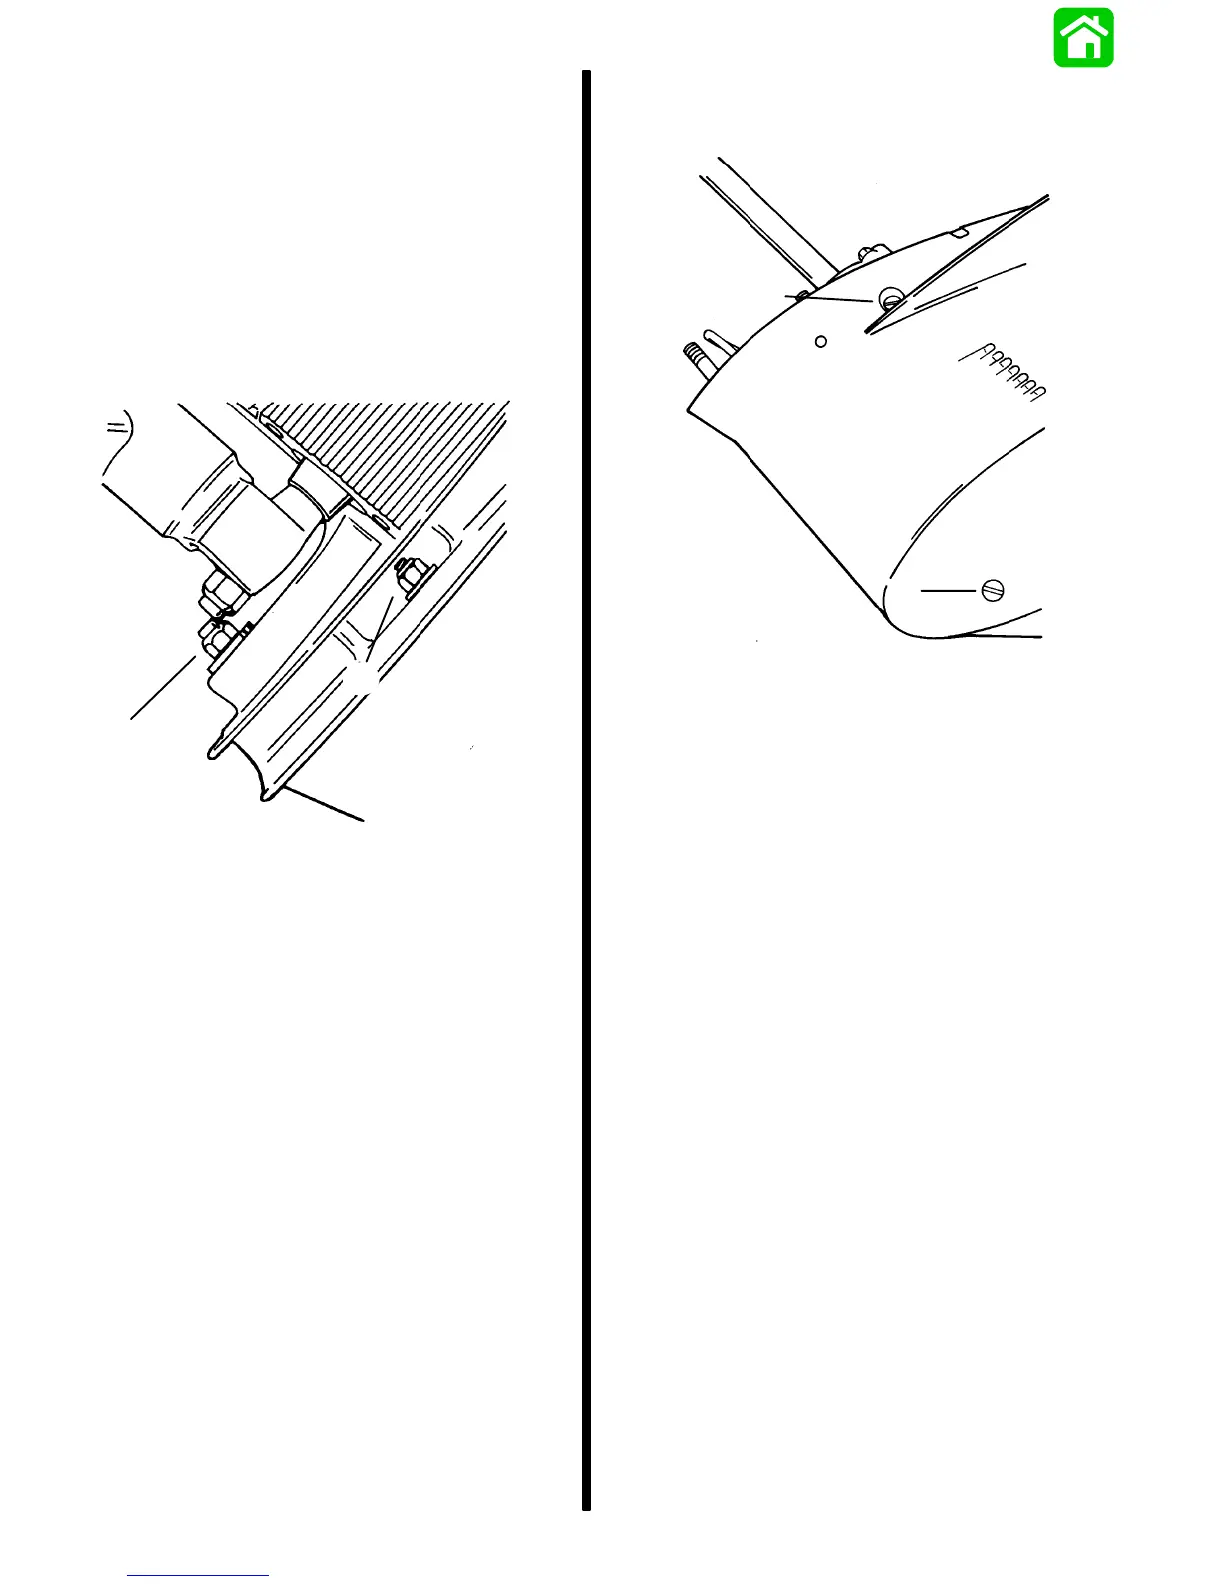
a - Front Mounting Locknut
b - Side Mounting Locknut (One Each Side)
DRAINING AND INSPECTING GEAR
HOUSING LUBRICANT
1. Place gear housing in a suitable holding fixture or
vise with the driveshaft in a vertical position.
2. Position a clean drain pan under gear housing
and remove “Fill” and “Vent” screws from gear
housing.
b
a
51871
a - “Fill” Screw
b - “Vent” Screw
3. Inspect gear lubricant for metal particles.
Presence of a small amount of fine metal
particles (resembling powder) indicates normal
wear. Presence of larger particles (or a large
quantity of fine particles) indicates need for
gear housing disassembly, and component
inspection.
4. Note the color of gear lubricant. White or cream
color indicates presence of water in lubricant.
Check drain pan for water separation from
lubricant. Presence of water in gear lubricant
indicates the need for disassembly, and
inspection of oil seals, seal surfaces, O-rings and
gear housing components.
NOTE: Gear lubricant drained from a recently run
gear case will be a light chocolate brown in color due
to agitation/aeration. Oil which is stabilized will be a
clear yellow brown in color.

 Loading...