ELECTRICAL - 2B-15
90-824052R3 JUNE 2002
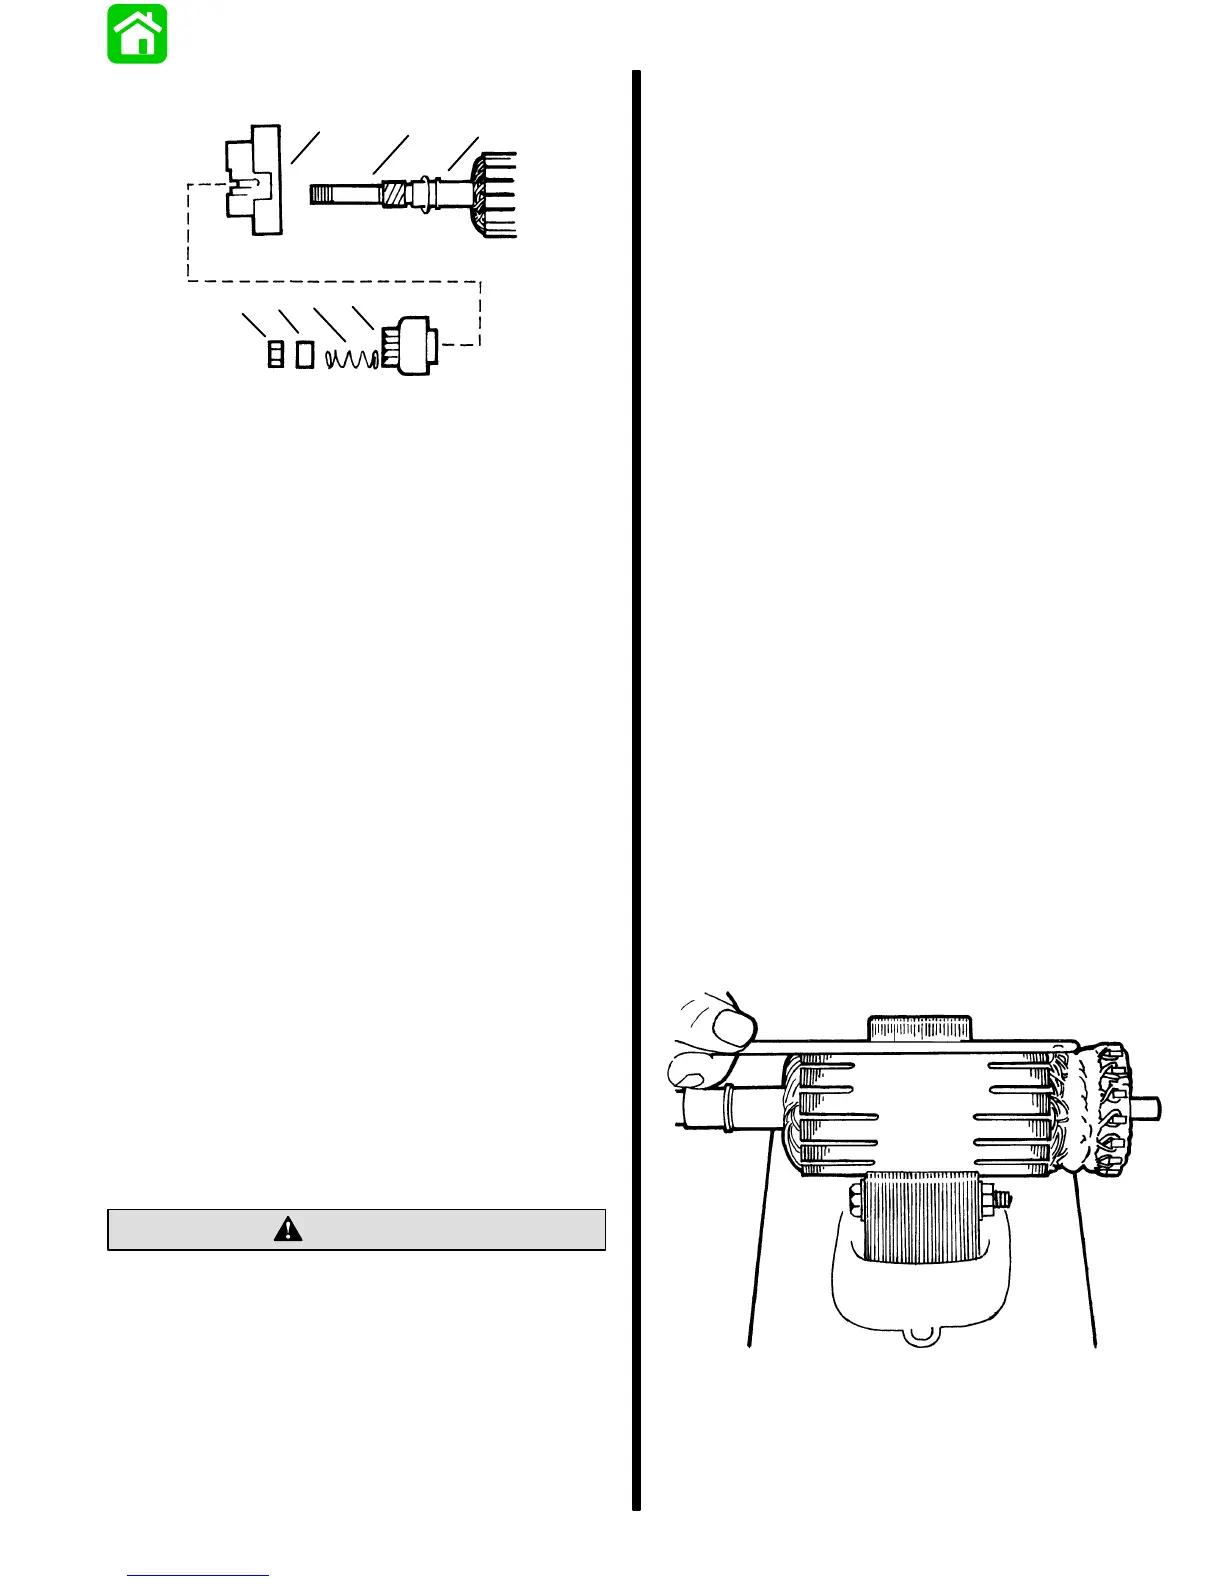
Then remove parts from shaft.
11658
e
f
g
a
b
c
d
a - Locknut
b - Spacer
c - Spring
d - Drive Assembly
e - Drive End Cap
f - Armature Shaft
g - Washer
Starter Cleaning, Inspection and
Testing
CLEANING AND INSPECTION
1. Clean all starter motor parts.
2. Check pinion teeth for chips, cracks or excessive
wear.
3. Replace the drive clutch spring and/or collar if
tension is not adequate or if wear is excessive.
4. Inspect brush holder for damage or for failure to
hold brushes against commutator.
5. Replace brushes that are pitted or worn to less
than 1/4 in. (6.4mm) in length.
6. Inspect the armature conductor (commutator bar
junction) for a tight connection. A loose
connection (excessive heat from prolonged
cranking melts solder joints) results in a burned
commutator bar.
7. Resurface and undercut a rough commutator as
follows:
CAUTION
Do not turn down the commutator excessively.
a. Resurface the commutator and undercut the
insulation between the commutator bars
1/32 in. (0.8mm) to the full width of the insu-
lation and so that the undercut is flat.
b. Clean the commutator slots after
undercutting.
c. Sand the commutator lightly with No. 00
sandpaper to remove burrs, then clean the
commutator.
d. Recheck the armature on a growler for shorts
as specified in the following procedure
(“Testing”).
8. Open-circuited armatures often can be repaired.
The most likely place for an open circuit is at the
commutator bars, as a result of long cranking
periods. Long cranking periods overheat the
starter motor so that solder in the connections
melts and is thrown out. The resulting poor
connections then cause arcing and burning of the
commutator bars.
9. Repair bars, that are not excessively burned, by
resoldering the leads in bars (using rosin flux
solder) and turning down the commutator in a
lathe to remove burned material, then undercut
the mica.
10. Clean out the copper or brush dust from slots
between the commutator bars.
11. Check the armature for ground. See the following
procedure (“Testing”).
TESTING
Armature Test for Shorts
Check armature for short circuits by placing on
growler and holding hack saw blade over armature
core while armature is rotated. If saw blade vibrates,
armature is shorted. Recheck after cleaning between
commutator bars. If saw blade still vibrates, replace
armature.
11669

 Loading...