90-824052R3 JUNE 2002 MID-SECTION - 5B-17
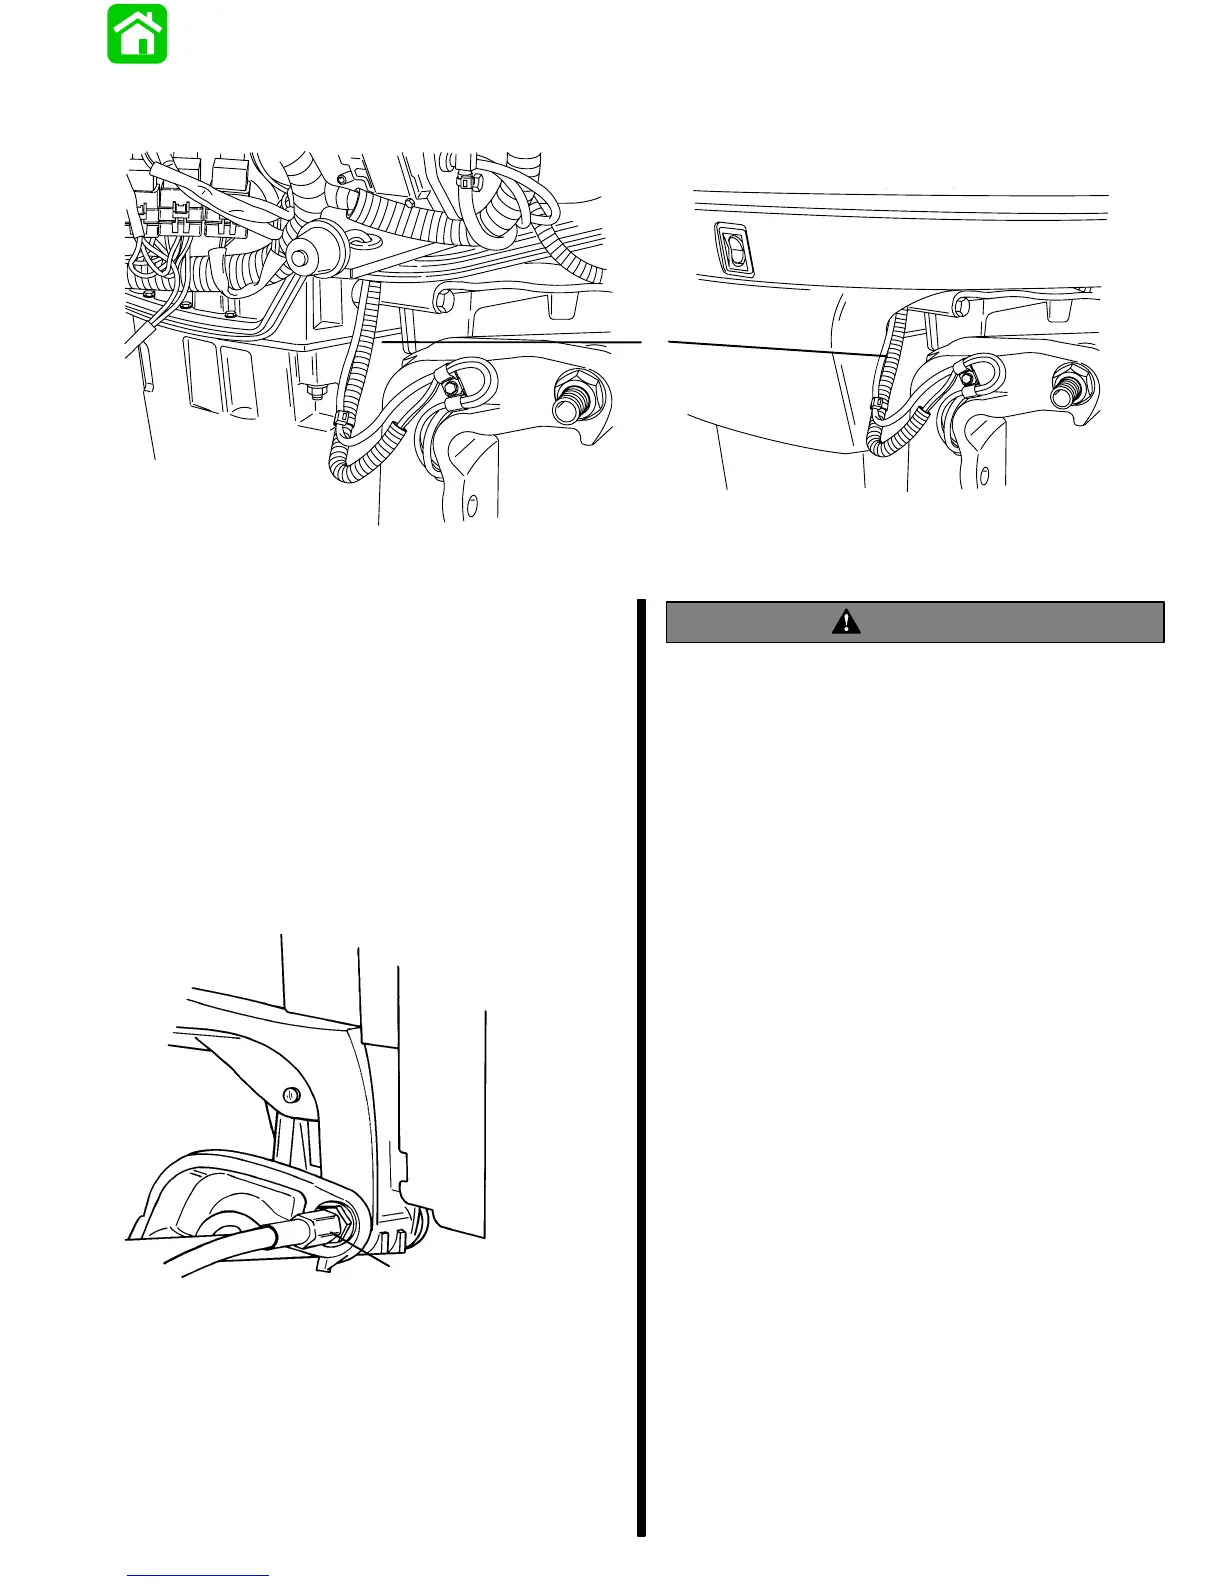
NOTE: The 2 power leads going to the trim motor should be encapsulated with conduit tubing. If tubing has not
been previously installed, order 32-828547-353 and cut to appropriate length.
56921
56922
a
a - Conduit Tubing
7. Apply marine sealer to shanks of mount bolts and
install transom mount bolts.
IMPORTANT: Do not use an impact driver to tight-
en transom mount bolts.
Apply marine sealer to threads of mount bolts.
Secure with flat washers and locknuts. Be sure
installation is watertight.
8. Tighten tilt tube nut securely.
IMPORTANT: Outboards equipped with thru-the-
tilt-tube steering: Tighten steering cable retain-
ing nut securely to tilt tube.
51354
a
a - Steering Cable Retaining Nut
9. Apply Quicksilver Liquid Neoprene
(91-25511--2) on all electrical connections.
WARNING
Electrical wires passing through cowl openings
must be protected from chafing or being cut.
Follow the recommended procedures outlined in
Section 1D of this Manual. Failure to protect
wires as described could result in electrical
system failure and/or injury to occupants of boat.
Testing Power Trim System With Test
Gauge Kit (91-52915A6)
IMPORTANT: This test will not locate problems in
the trim system. The test will show if the system
is correct after a repair. If minimum pressures are
not obtainable, the trim system requires addi-
tional repair.
“UP” Pressure Check
IMPORTANT: Insure battery is fully charged
before performing tests.
1. Tilt outboard to full “Up” position and engage tilt
lock lever.
2. Slowly remove “Fill” plug to bleed pressure from
reservoir.
3. Remove circlip securing manual release valve
and unscrew release valve from trim assembly.

 Loading...