Parker EME
Motion control
192-121102 N04 June 2008 261
5.10.8. 10 Steps for cam generation
In this chapter you can read about:
Step 1: C3 ServoManager................................................................................................261
Step 2: Connect motor......................................................................................................261
Step 3: Supply & I/O wiring...............................................................................................261
Step 4: RS232 connection & C3 ServoManager ..............................................................261
Step 5: Set Compax3 device type ....................................................................................262
Step 6: Configuration........................................................................................................262
Step 7: Selecting Master signal source ............................................................................262
Step 8: Generating the cam .............................................................................................262
Step 9: Create IEC program.............................................................................................263
Step 10: Starting and monitoring cam ..............................................................................263
Example:
Electronic Cam with 2 standstill areas,
Master signal is the internal virtual master.
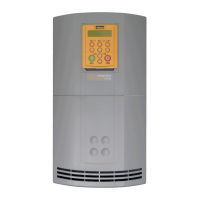
5.10.8.1 Step 1: C3 ServoManager
Install Compax3 ServoManager (Compax3-CD 840-100005) on your PC (it is
recommended to un-install all previous versions beforehand).
Install CamDesigner (Compax3-CD 840-100005).
You need a RS232 cable (SSK1/xx) for the connection PC - Compax3 X10.
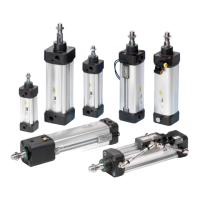
5.10.8.2 Step 2: Connect motor.
Motor cable to Compax3 X3
Feedback cable to Compax3 X13.
5.10.8.3 Step 3: Supply & I/O wiring
AC supply (1 or 3 phase) to X1
DC supply to X4
Device enable by 24VDC on X4/Pin3
The following digital inputs must be assigned:
Input 0 - Pin X12/6 24V = Enable of the power output stage
Input 1 - Pin X12/7 24V = Start machine zero
Input 2 - Pin X12/8 24V = Start virtual master
0V = Stop virtual master
Input 4 - Pin X12/10 24V = select and start curve
Input 5 - Pin X12/12 24V = curve coupling
Input 6 - Pin X12/13 24V = curve decoupling
Input 7 - Pin X12/14 24V = Reset (ackn.)
5.10.8.4 Step 4: RS232 connection & C3 ServoManager
Establish RS232 connection (cable SSk1/xx) between PC and C3 X10.
Start C3 ServoManager