General Operation
Humphrey Field Analyzer II-
i
series User Manual 2660021145640 A
2-6
Using the External Keyboard
The external keyboard will operate many of the buttons
on the HFA II-
i
screen. An outline (or
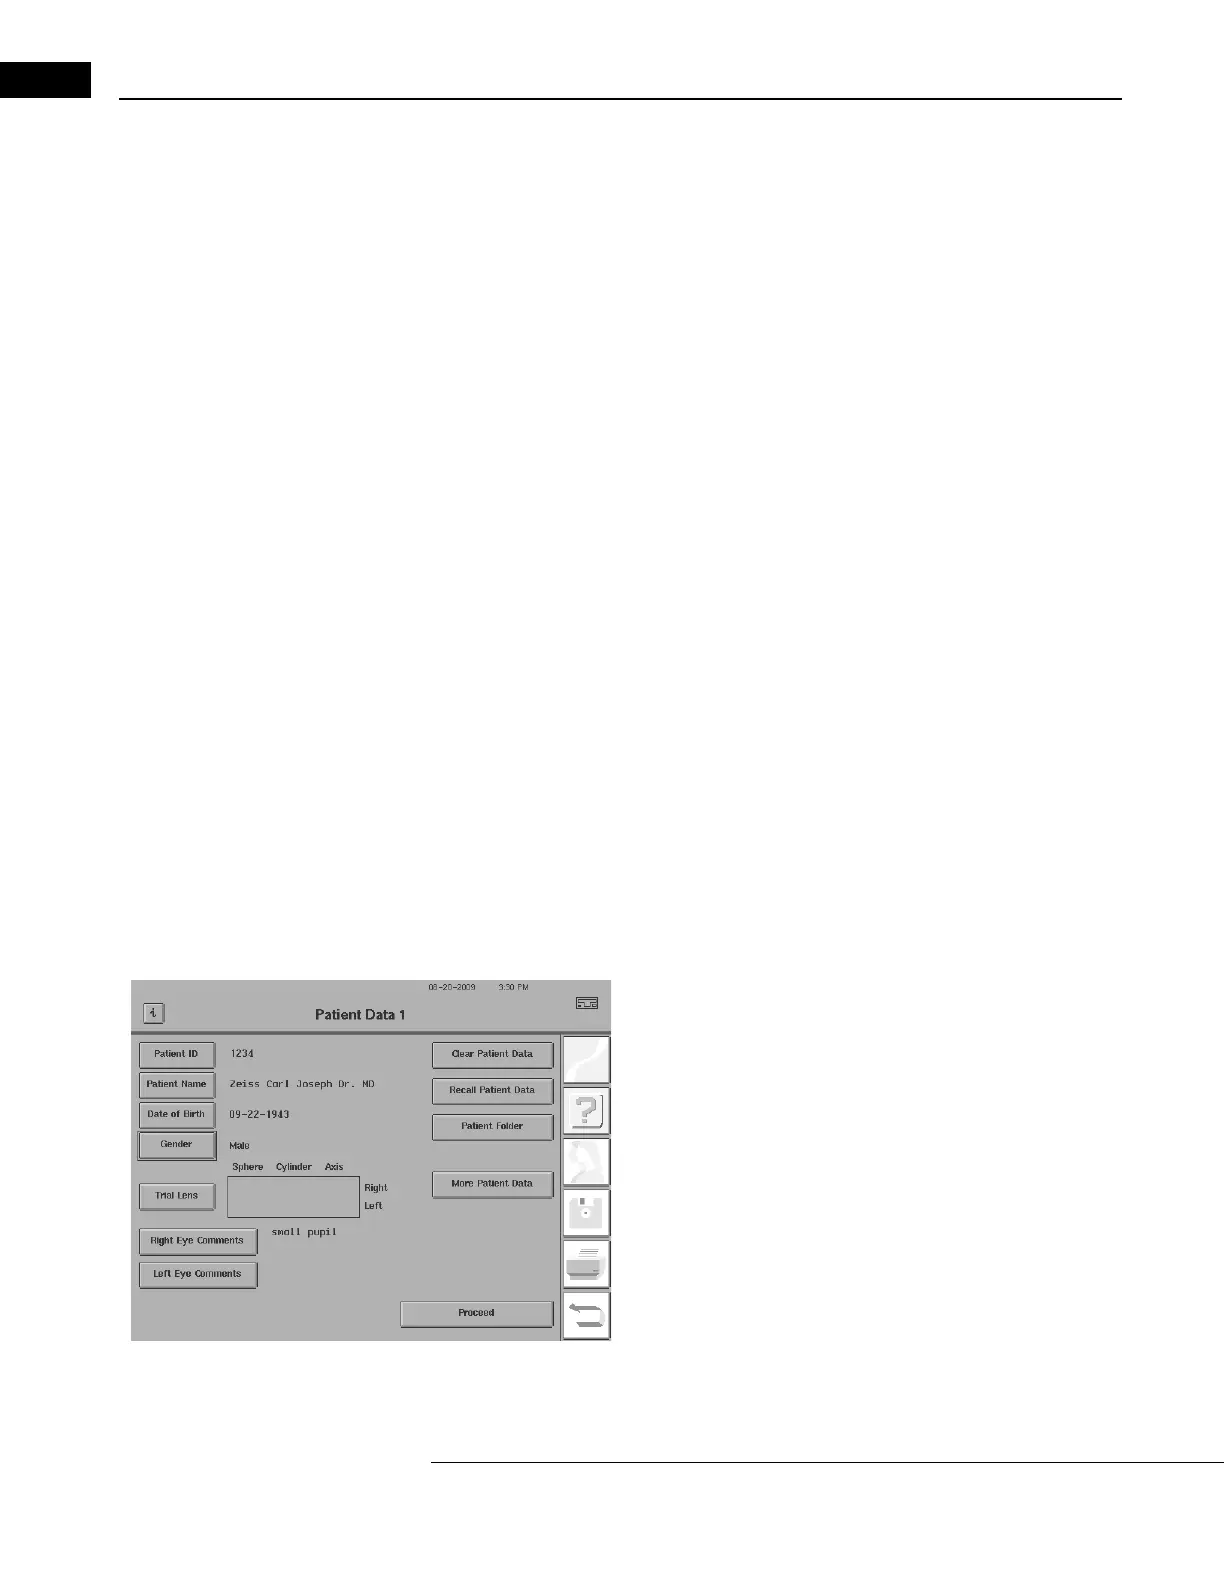
highlight) surrounding the active button indicates the action to be performed. The example below
shows the highlight around the PATIENT NAME button. Pressing the ENTER key or SPACE BAR will
activate the highlighted button. The TAB key allows you to move the highlight from button to button
in a forward direction. Holding the SHIFT key down while pressing the TAB key will cause the
highlight to move in the opposite direction.
You can use the arrow keys, in most cases, to move the highlight from butt
on to button. They mimic
the action of the TAB and SHIFT-TAB keys for moving the highlight. Like the TAB key, both the
DOWN and RIGHT arrows move the highlight forward. The UP and LEFT arrows reverse the direction
of the highlight as the SHIFT-TAB combination does.
The arrow keys will not advance the highlight on screens having
drop-down menus (for example,
the Parameter Setup and System Setup screens). Instead, use the TAB or SHIFT-TAB keys to move the
highlight around the screen. Use the arrow keys to select the choice within the window, as
described below.
You must press the PAGE DOWN key on the external keyboard if you wish to change the setting on a
dr
op-down list with the external keyboard. This applies to all of the fields on the Parameter Setup
screens, the drop-down lists at the top of the System Setup screen, and the Disk Options windows.
For example, if you wish to change the fixation target from CENTRAL to LARGE DIAMOND by using
the external keyboard, you would first use the TAB key to move the highlight to the FIXATION
TARGET drop-down menu. Press PAGE DOWN to activate the selection feature. The UP and DOWN
arrow keys will scroll the highlight through the choices on the selection menu. Choose the
highlighted selection by pressing the ENTER key.
You may use the keyboard to enter patient data. You c
an enter both uppercase and lowercase letters
with the keyboard. You may find that it is more efficient to use the keyboard in combination with the
touch screen, especially for applications such as entering trial lens data.
After you enter data (such as PA
TIENT NAME), the highlight will
remain around the button just activated. To advance to the next
button, you simply press the TAB key.
You may also choose to navigate through the system with the help of
the keyboard function keys. F1 through F6 serve as keyboard
equivalents of the icon buttons. The function keys and the associated
icon buttons they activate are listed below:
F1
HELP
F2
MAIN MENU
F3
PATIENT DATA
F4
FILE FUNCTIONS
F5
PRINT FUNCTIONS
F6
SYSTEM SETUP / UNDO

 Loading...


