Network Names and IP Addresses
5-44 Hardware Installation
Step 2. Select Accessories to show the Accessories menu.
Step 3. Click on Command Prompt to bring up the MS DOS Console window shown
in Figure 5-39.
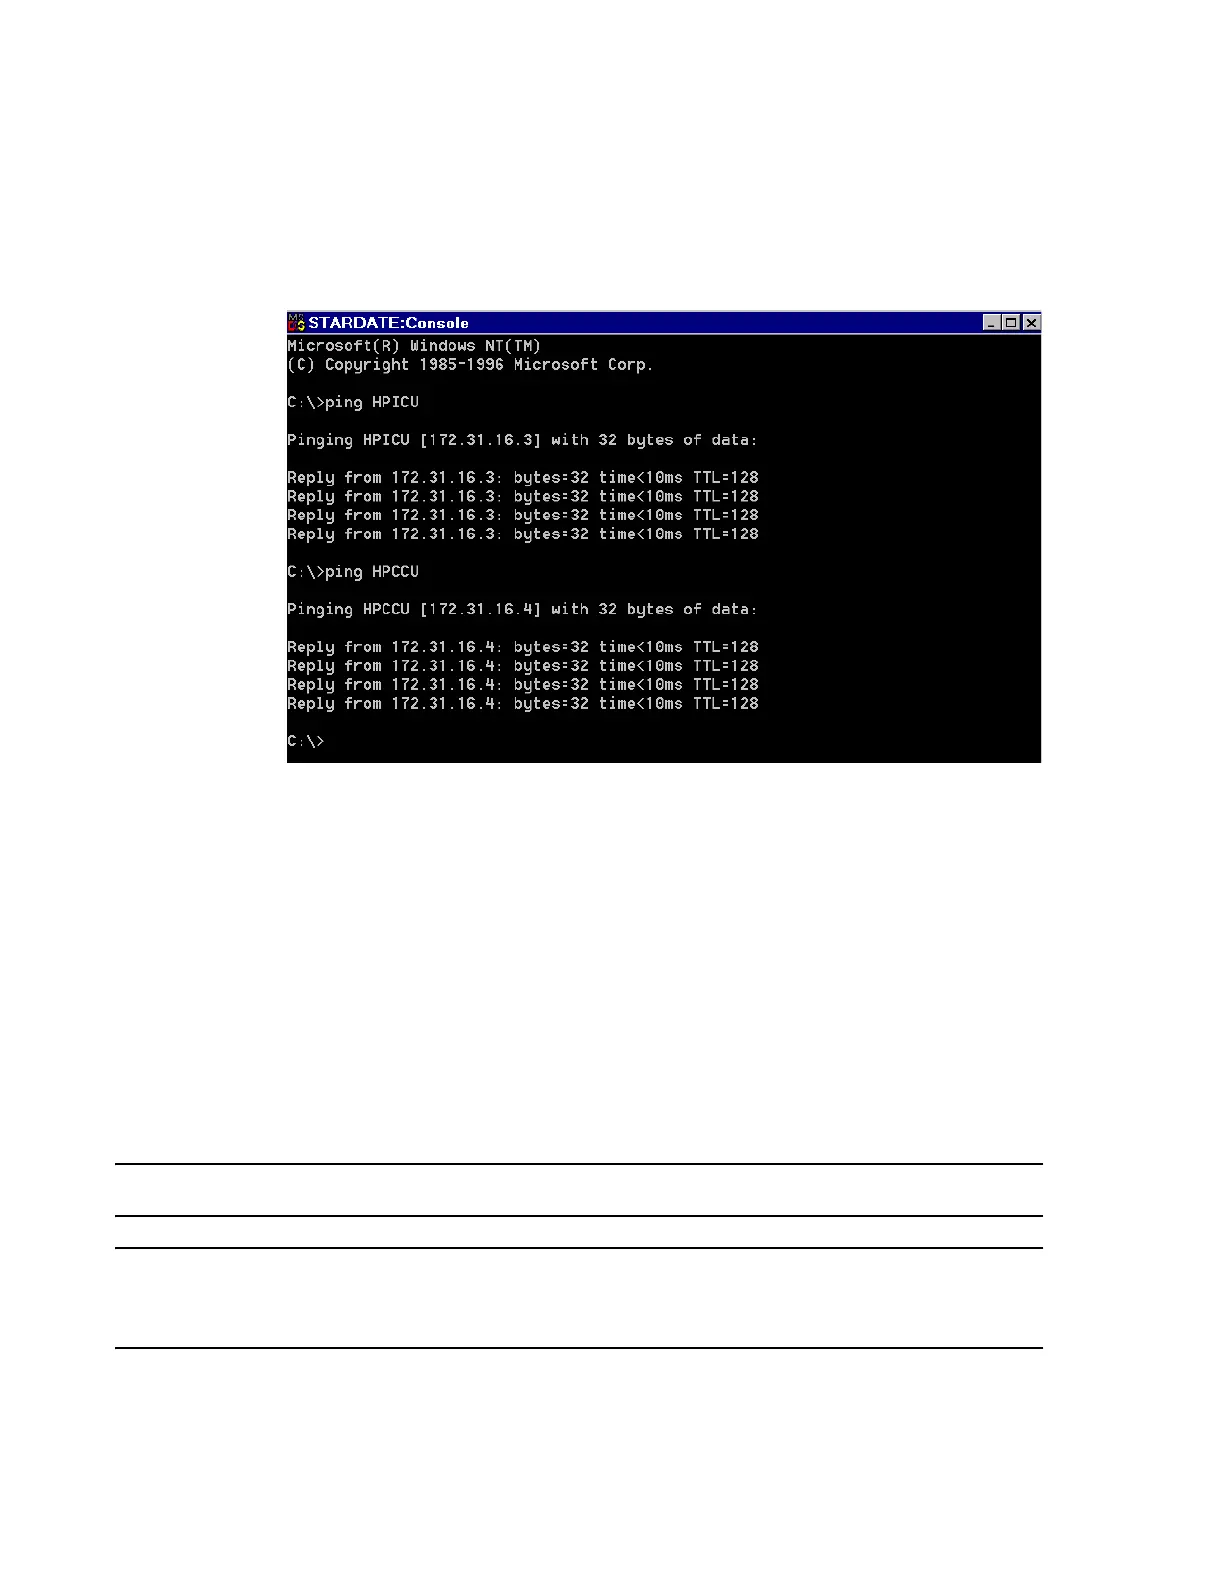
Figure 5-39 MS DOS Console Window for Testing Network Connectivity
Step 4. Type ping hostname (or ping IPAddress) for one of the Network connected
Information Centers after the C:\ > prompt, as shown for Host Name = HPICU (and
HPCCU) in Figure 5-39, and press Enter.
If the ping is successful, i.e. the network connection is complete and the Host Name is
correct, a reply using the device’s correct IP Address will appear, as shown in Figure 5-39.
If the ping fails, the reason for the failure (e.g. bad IP Address) will be shown. Identify the
problem, correct it (e.g. use an IP Address instead of the Host Name), and repeat the process.
Step 5. Repeat Step 4 for each Information Center, Client, Switch, Access Point, and
Printer on the Network.
Step 6. Click Yes to restart the computer.
Note Allow the computer to fully reboot before proceeding.
Note Allow the computer to fully reboot before proceeding.
After the Host Name has been changed, Philips software must be reinitialized. See
Installation Procedure.
Step 7. Repeat this process for each Information Center, Client, and the Server.
 Loading...