Details on Procedure Space Constructions
Figure J.10. Pulse Tip - Hiding CH1 Drive Properties
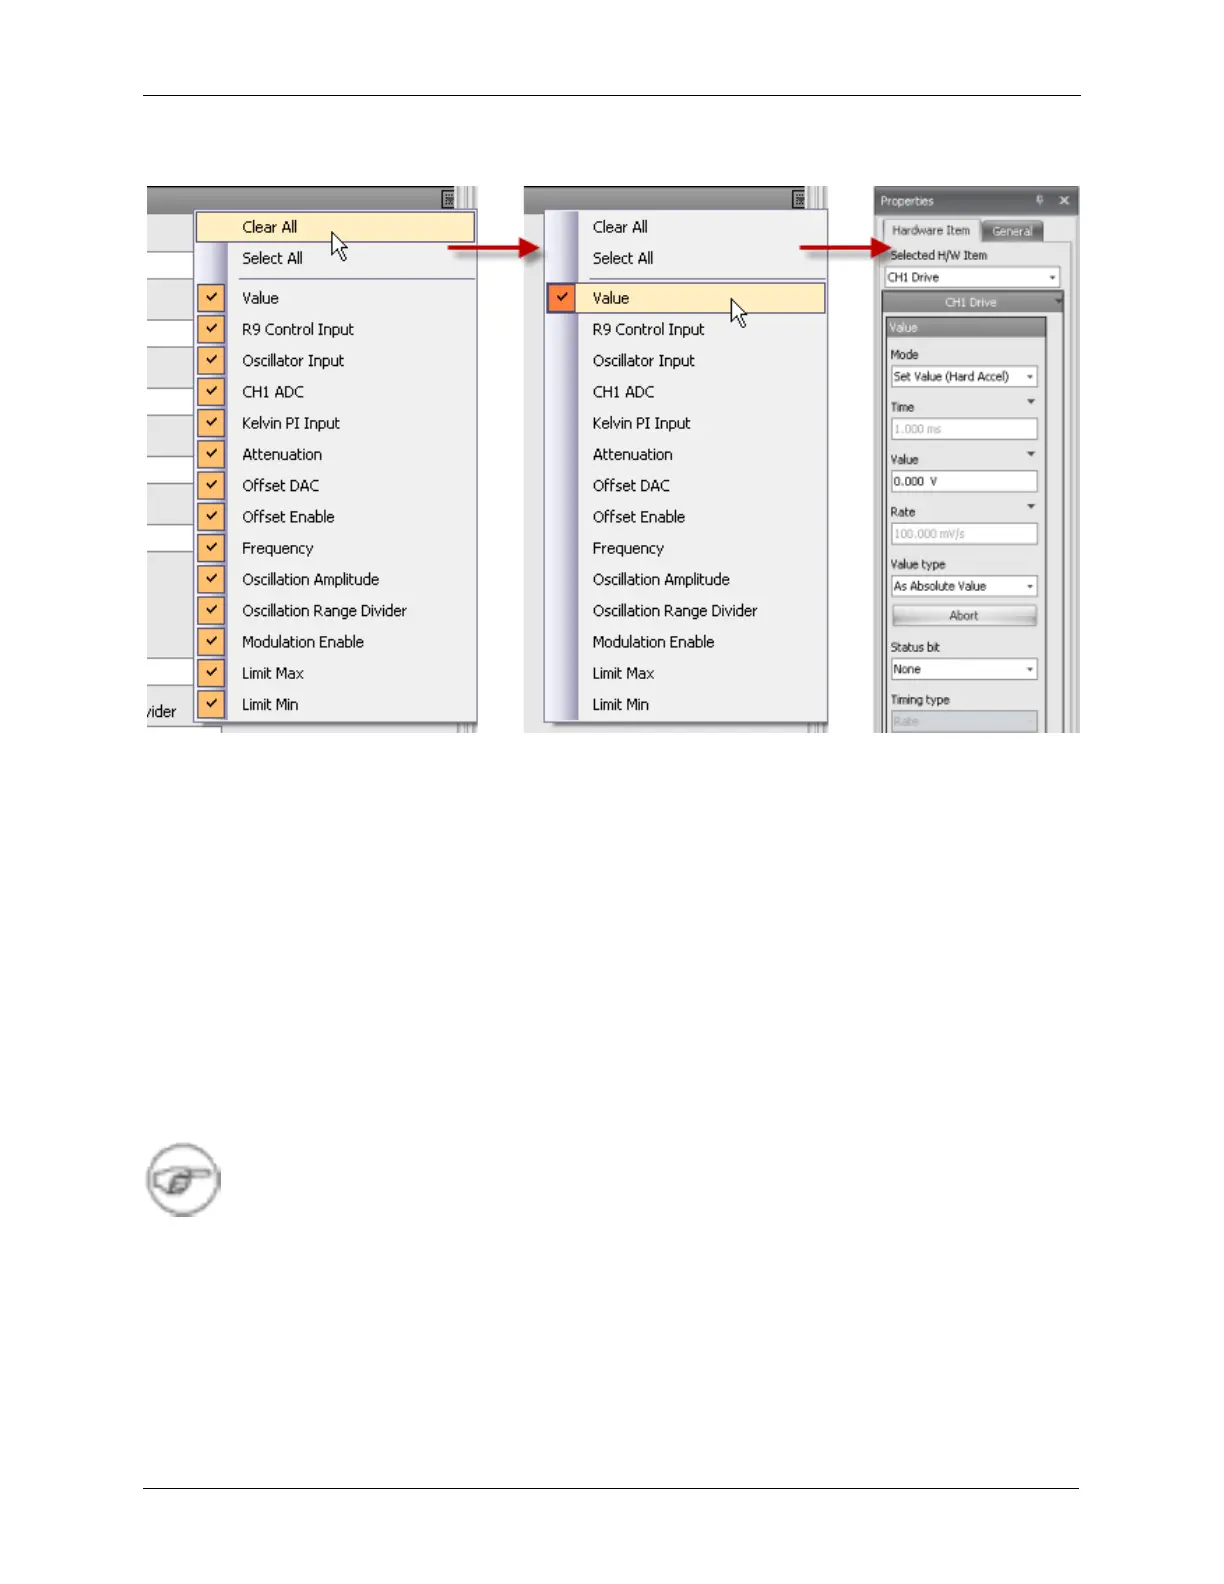
In the Value parameter panel, the Mode has been set to Hard Accelerate. This means the voltage will
immediately jump from the current value to the new value, creating a pulse. The other Mode settings
allow the voltage to be gradually ramped to the new value. The Ramp settings are used when fast
transients caused by sudden parameter changes are to be avoided.
The Value has been set to 5 V and the Value type has been set to Relative Value. This means the
procedure will add 5V to the current bias voltage. If the bias voltage had previously been set to 1 V, this 5
V relative increase will yield a new bias voltage of 6 V.
If the requirement was for the pulse to go to 5 V instead of adding 5 V to the current value, then the
parameter in the Value type drop down box would be set to As Absolute Value. This will produce a
pulse to 5 V, regardless of the previously set bias voltage.
If Ramp had been selected in the Mode dropdown box, the bias voltage can be programmed to ramp
from the current value to the newly selected Value. The choice of Relative Value or Absolute Value type
has the same meaning in Ramp mode as it does in Hard Accelerate mode.
Note
If the Ramp mode has been selected, the Timing type must be selected. The choices in
the Timing type dropdown box are Rate and Time. If the Rate parameter is selected, the
parameter entered in the Rate data entry box will determine the rate at which the bias
voltage will ramp from the current value to the new value of 5 V. In this example, the bias
voltage will ramp at a rate of 100 mV/s. If the Timing type is selected as Time, the bias
voltage will ramp from the current value to the new value of 5 V in 1 ms.
Click on the General Tab in the Properties panel. The generic name of Active can be changed to the
specific operation that has been defined. This new name will be shown on the icon. A description can be
added to this step of the procedure to remind yourself of what this step does or why it was added. This is
only a note that does not effect the operation of the procedure.