Details on Procedure Space Constructions
J.11. Adding Loops to Procedures
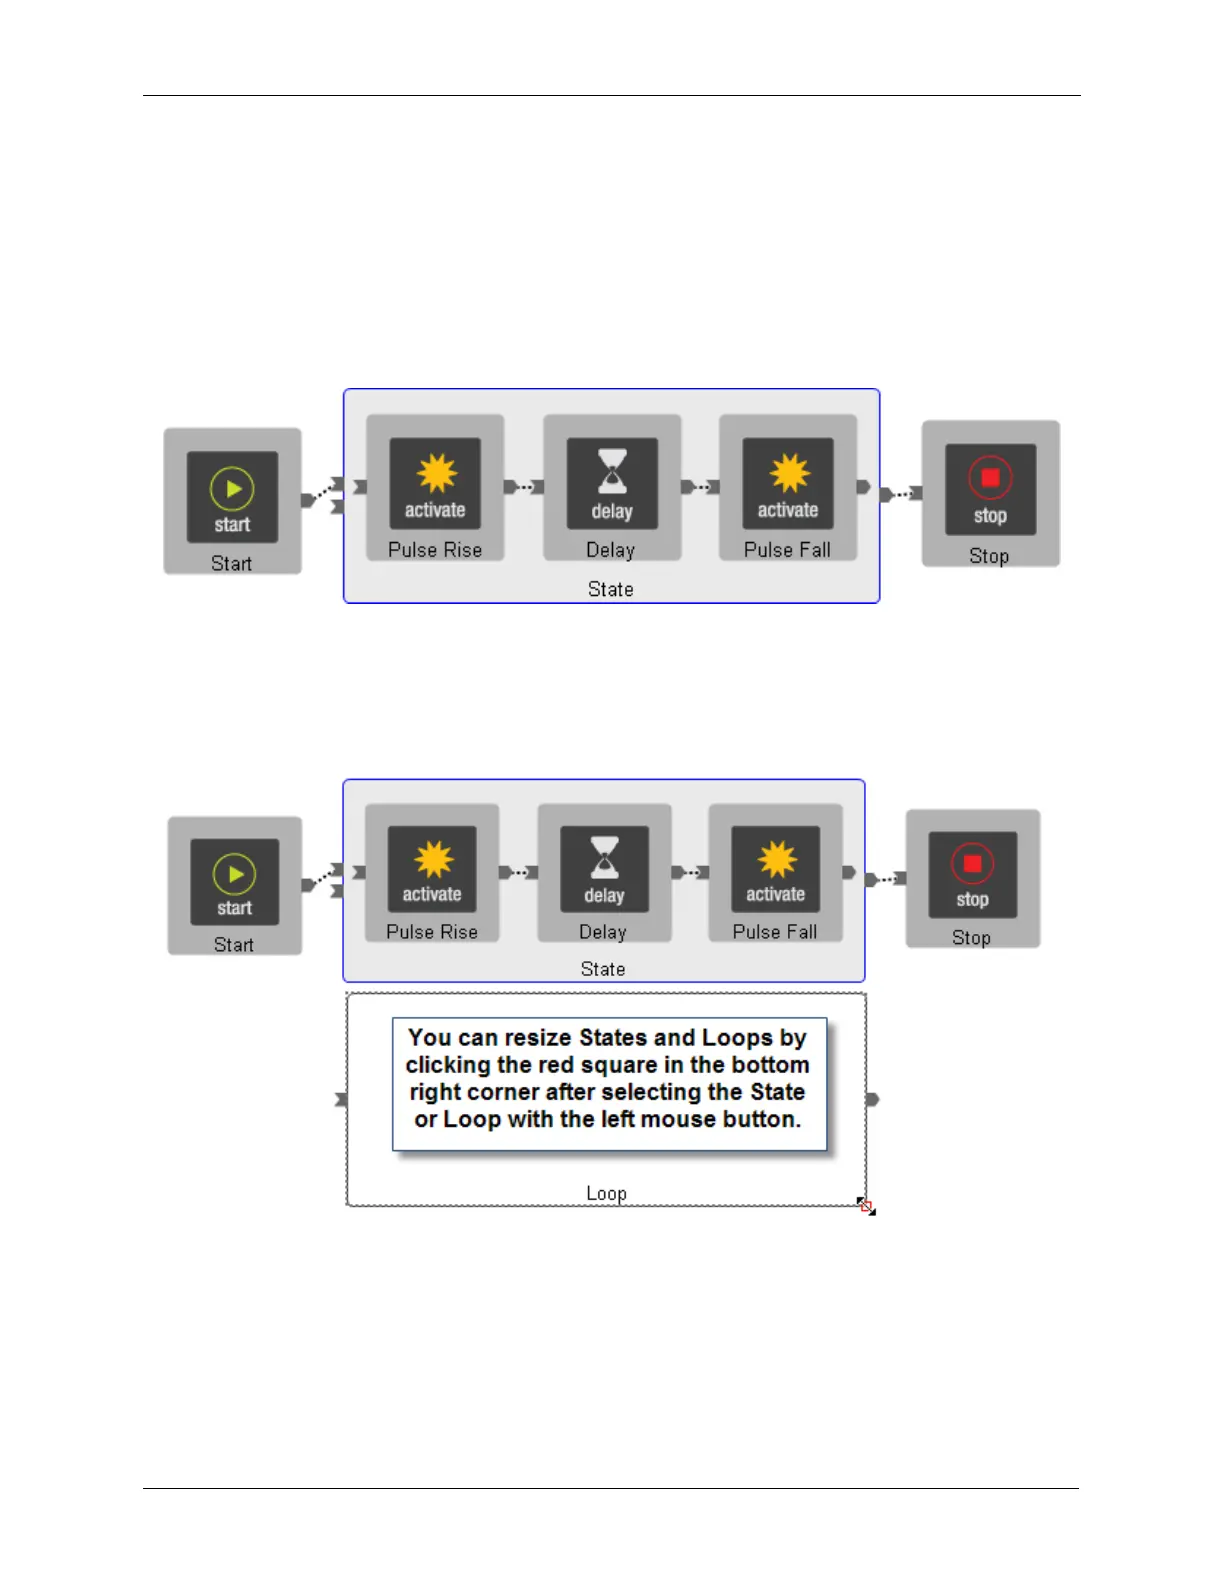
The above example showed the basic construction of a Procedure. The following example will add
another components to illustrate other capabilities that can be employed to build a more complex and
useful Procedure. The figure below shows the original procedure that generates a single pulse when the
Start button is pressed.
Figure J.24. Tip Pulse - Original Procedure
The next step is to modify the procedure so it will generate multiple pulses each time the Start button is
pressed. To do this, the Loop item is used. From the Item Palette, drop a loop icon into the Procedure
Space as shown below.
Figure J.25. Tip Pulse - Adding a Loop
The existing three objects in the procedure can be copied or moved inside the Loop. First, select all three
objects inside the State by selecting the Pulse Rise object, then hold <Ctrl> on the keyboard while
selecting the remaining two objects. This will allow multiple objects to be selected so they can be moved
(cut and pasted) inside the Loop.