Details on Procedure Space Constructions
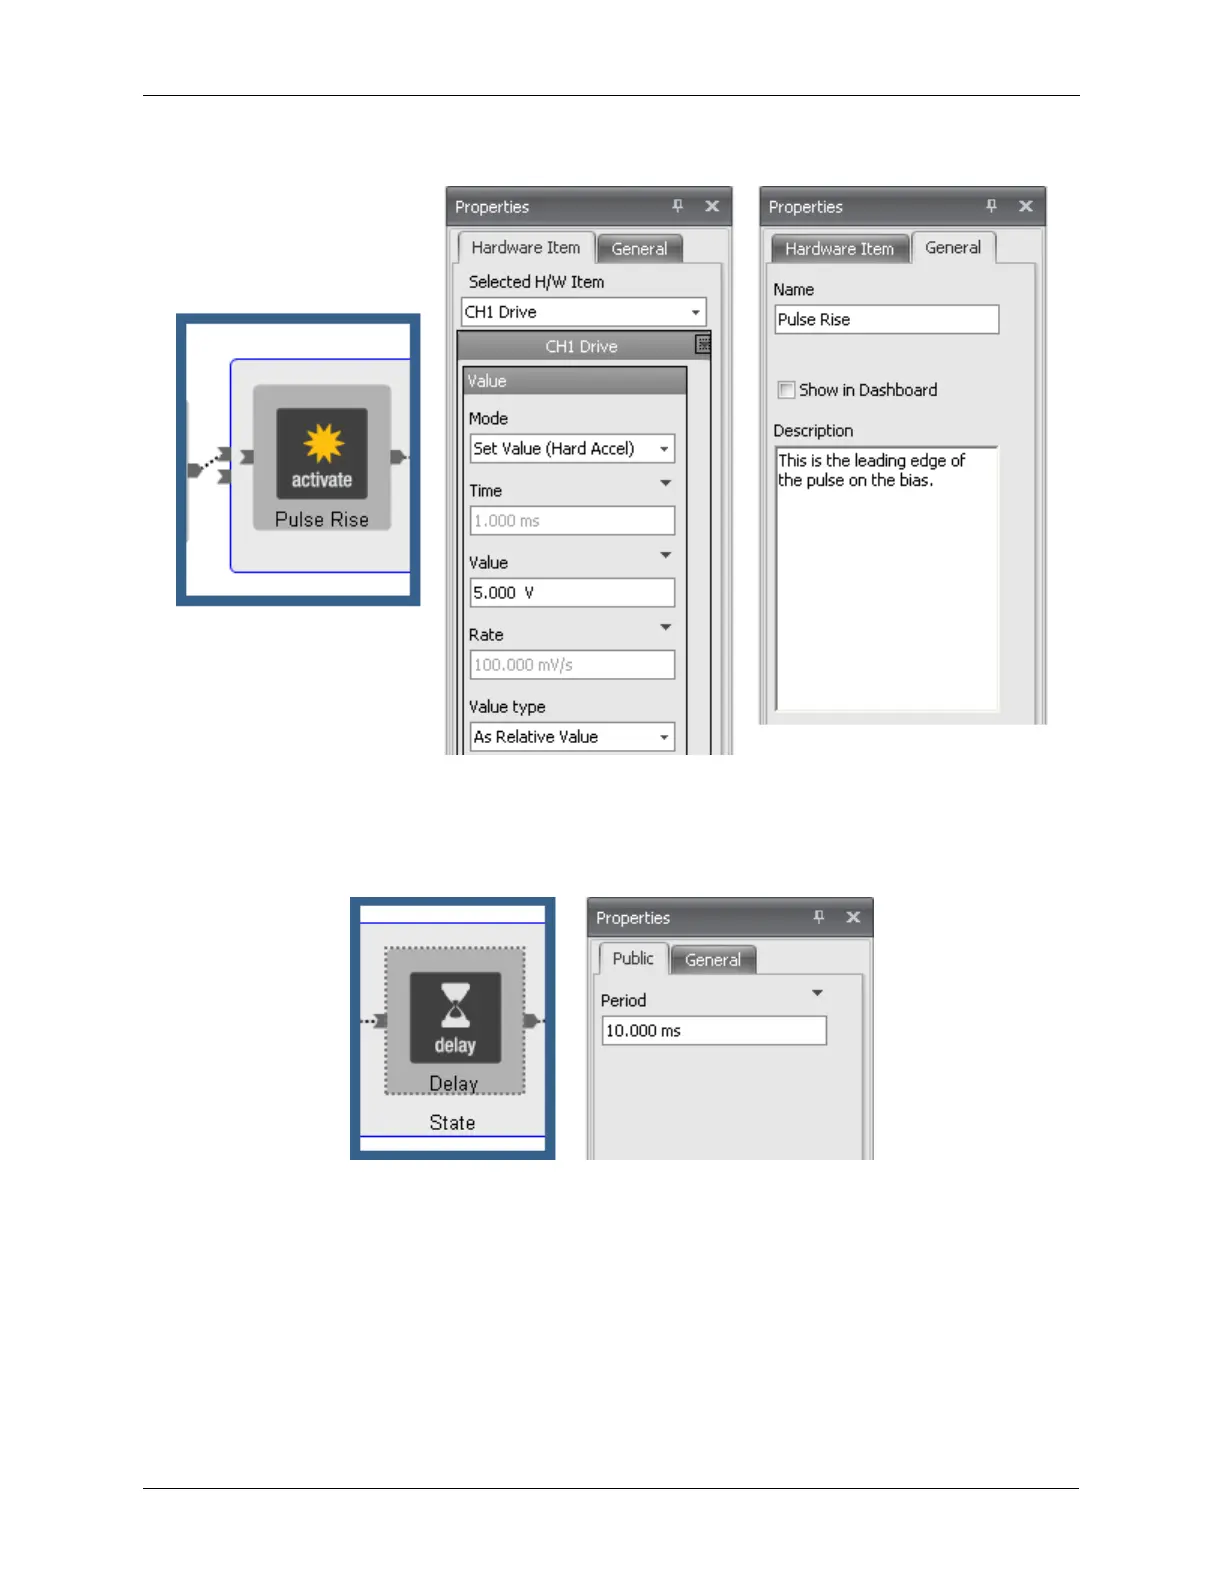
Figure J.11. Pulse Tip - Setting the CH1 Drive Pulse Rise
Now that the bias voltage has jumped by 5 V from the previous bias voltage, the length of the pulse must
be defined. Clicking on the Delay icon will bring up the Properties panel as shown below. The time that
the bias is to stay at the new higher value is entered into the Period data entry box.
Figure J.12. Pulse Tip - Setting the Pulse Duration
The bias will now be returned to the previous value. The steps to set the falling edge of the bias voltage
pulse are similar to the steps to set the rising edge of the bias voltage pulse.
1. Click on the second Activate icon. Note that no hardware item has been automatically selected.
2. Select the CH1 Drive from the Selected Hardware Item in the Properties Panel.
3. Open the list of parameters by clicking on the arrow in the top right corner of the parameter window.
4. Hide all parameters except the Value parameter.
The parameter for Mode is set to Hard Accelerate. As with the rising edge of the pulse, this setting will
produce a sharp jump in the bias voltage.