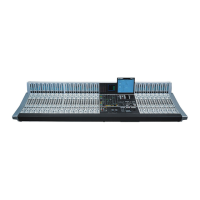
D950 Digital Mixing System
Date printed: 03.09.03 SW V3.3 Troubleshooting/Maintenance 9-11
9.4 Regular Maintenance
9.4.1 Air Filters
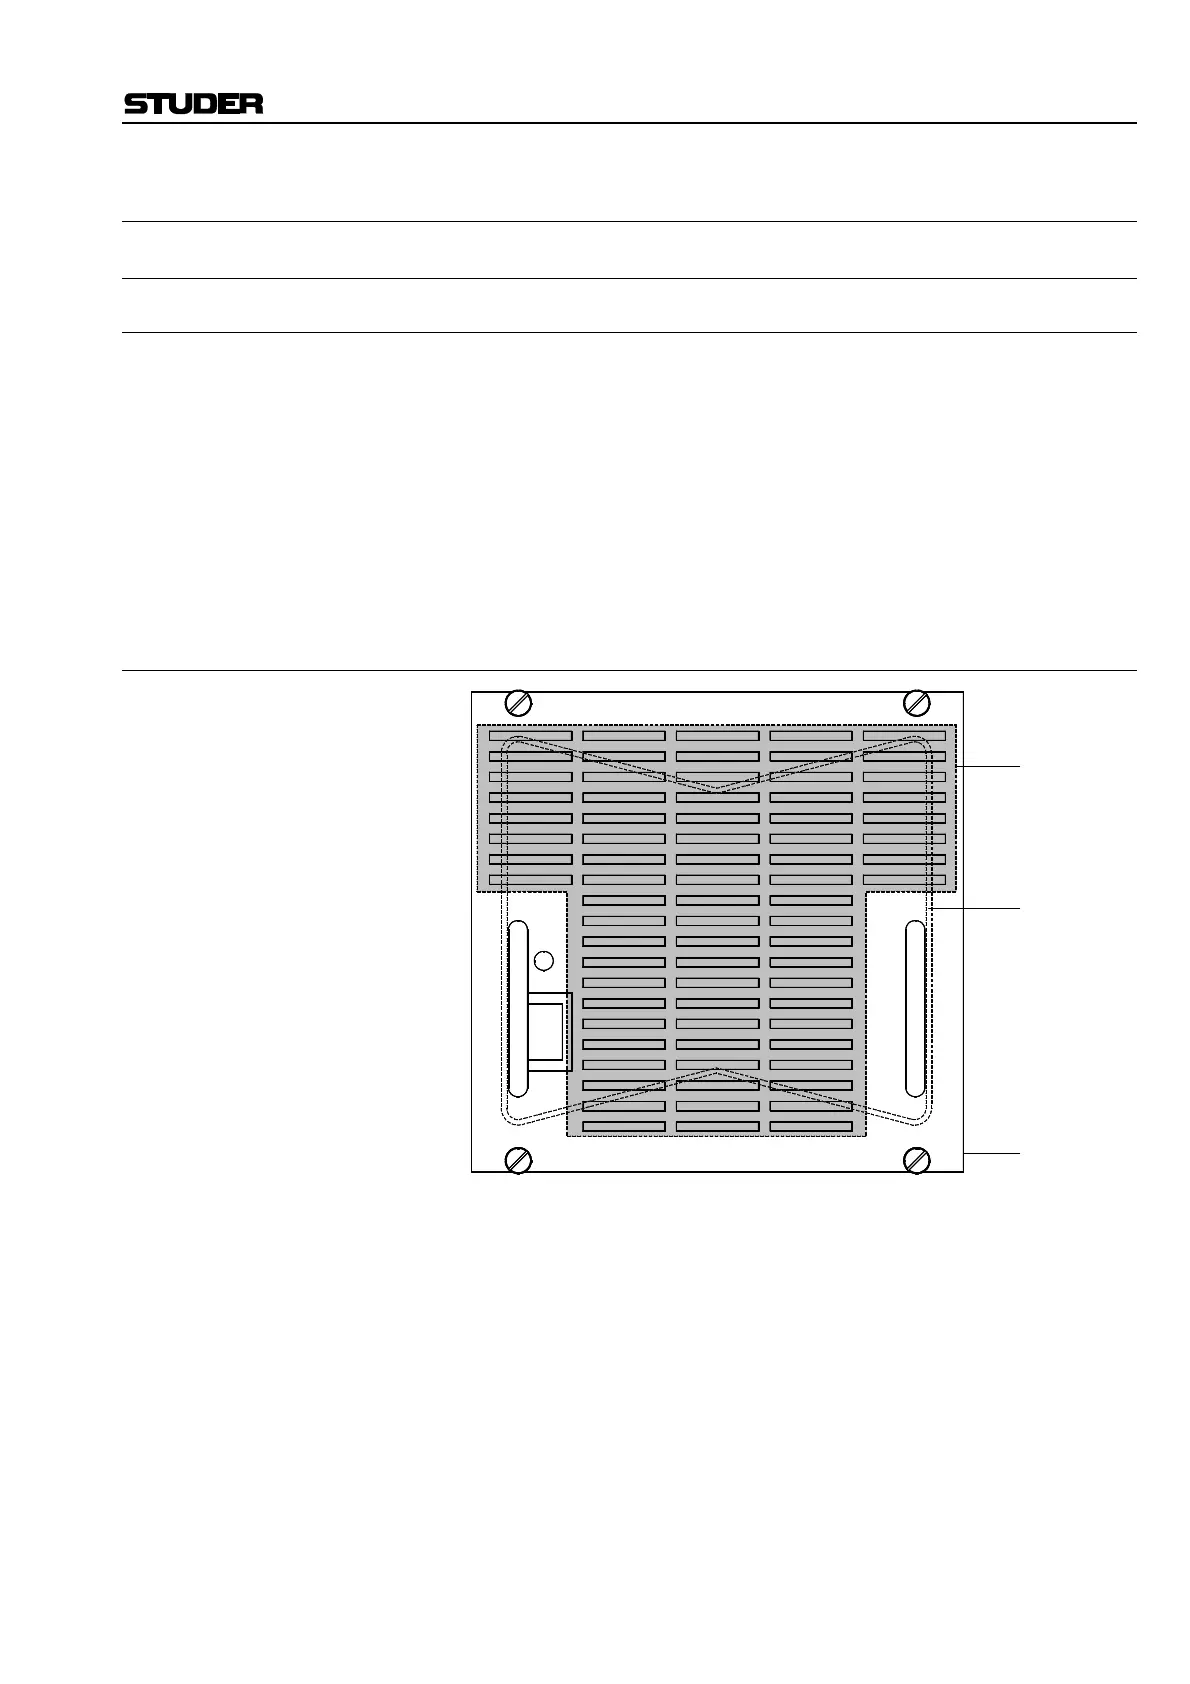
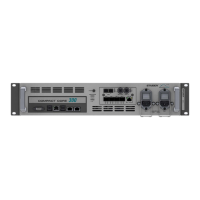
9.4.1.1 Removing and Installing the Supply Unit (1.950.601.00) in the Rack
Removing: • Before you start set the DC OUTPUT switch to OFF, also switch off the
mains supply whenever possible.
• Loosen the four knurled screws at the front panel; pull out the supply unit
towards the front.
Installation: • Carefully insert the supply unit into the rack.
• Never apply sheer force if the connector contacts do not find their way
easily; check the path to the female contact points inside the rack, it might
be blocked by a foreign object.
• Retighten the four knurled screws at the front panel.
9.4.1.2 Changing the Air Filter Mat
• Remove the supply unit as described above.
• Place the supply unit onto your working surface in a way that the front
panel is directed towards you.
• The wire bracket which fixes the filter mat is hooked into four recesses;
first unhook at the upper right, then at the upper left.
• Now the filter mat can be pulled out in upward direction.
• For inserting the new filter mat tilt the supply unit to the left. Carefully lift
the lower part of the wire bracket by a small amount with an appropriate
tool (e.g. screwdriver); slide the new filter mat in under the bracket. Make
sure that all the air vents are covered by the filter mat and readjust it, if
necessary.
• Bring the supply unit in an upright position again and hook the wire
bracket first at the left, then at the right-hand side.
• Recheck that all the air vents are covered by the filter mat.
• Reinstall the supply unit as described above.
DC
OK
DC OUTPUT
ON
OFF
Filter mat
Wire bracket
Front panel,
front view