4 - 45
Chapter 4 Disassembly / Assembly and Adjustments
When carrying out the work described next procedure, take care not to drop the
CONSOLE ASSY PANEL AIO.
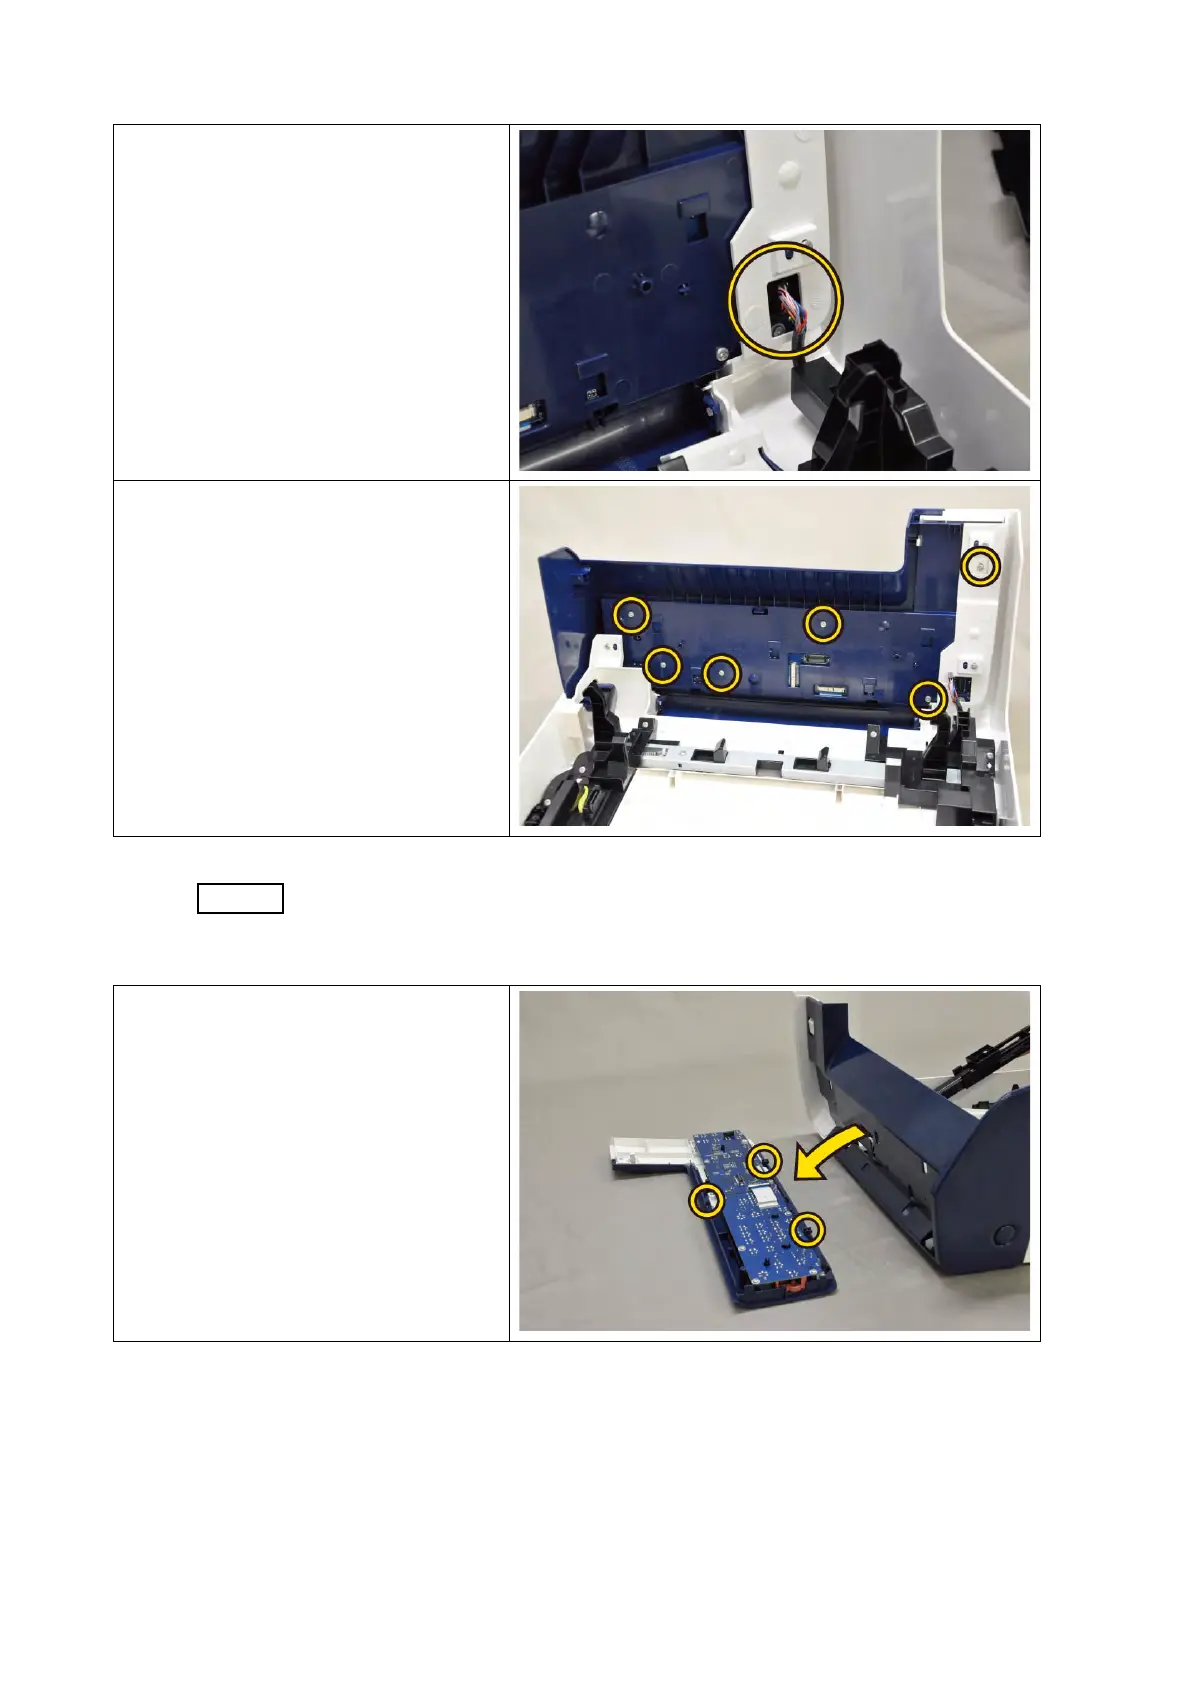
9) Disengage the connector (P/J202) of
the CONSOLE ASSY PANEL AIO.
10) Remove the six screws (silver, tap,
8mm) that fix the CONSOLE ASSY
PANEL AIO to the COVER ASSY
FRONT.
11) Release the three hooks of the CON-
SOLE ASSY PANEL AIO, remove
the CONSOLE ASSY PANEL AIO
from the COVER ASSY FRONT.
 Loading...


